Getting started
Keep reading to find out more about getting started with your vServer from Hoststar.
The necessary login details for your vServer were sent to you by email after you made payment and installed the vServer.
1. Log into vServer Panel
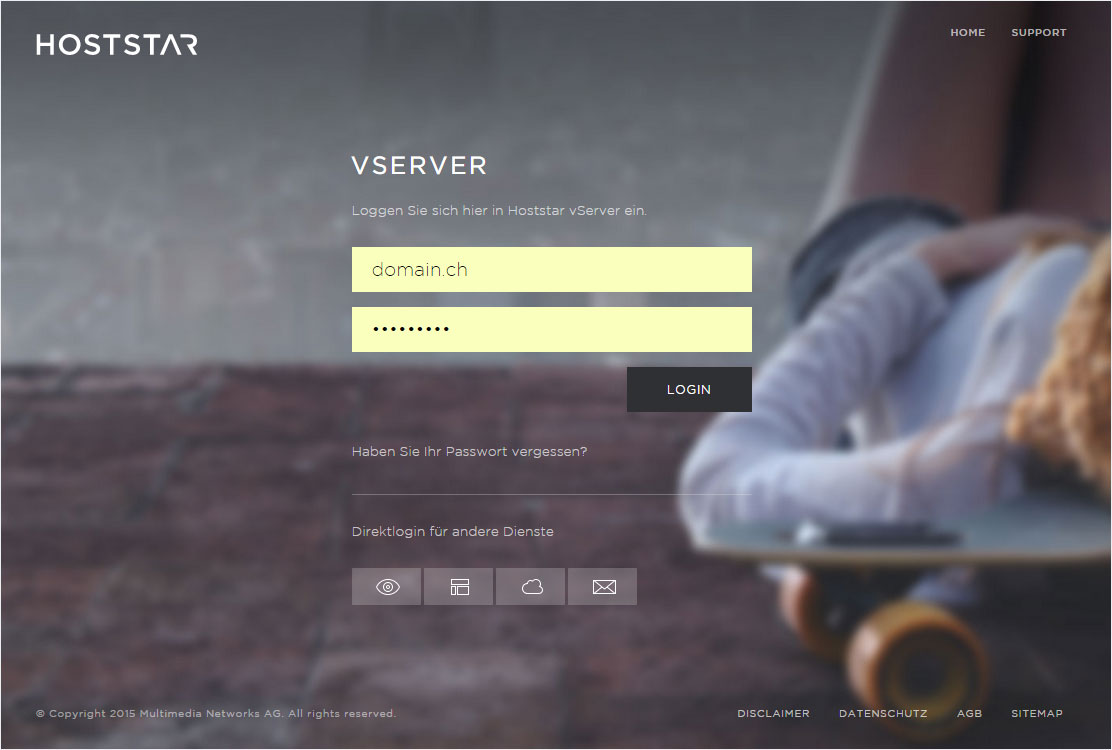
Log into the vServer Panel, which is the dashboard for your vServer. The required login details are found in the email explaining the installation procedure for your vServer.
To log in, go to https://vserver.hoststar.ch.

2. Administration in the vServer Panel
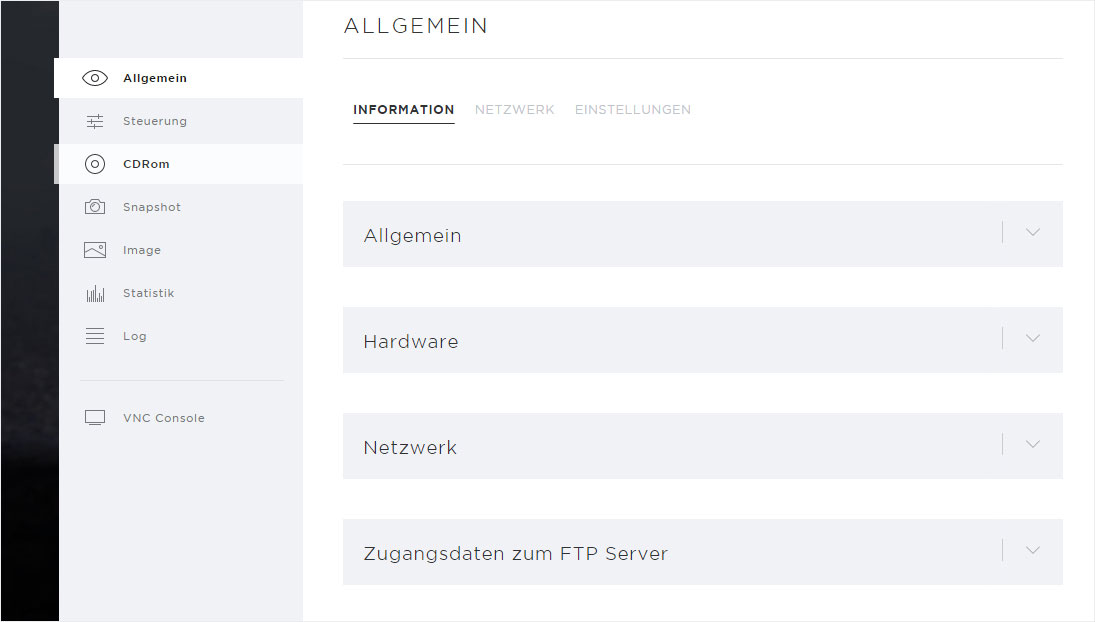
You will see a variety of settings in the dashboard of your vServer.
The following settings are relevant at the beginning:
- network settings under «General» → «Network»
- Autostart, boot priority and VNC keyboard layout under «General» → «Settings»
- CD-ROM/image administration under «CD-ROM» → «Official CD-ROMs»/«Your CD-ROMs» or «Image» → «Official images»/«Your images»
Detailed descriptions can be found under «vServer configuration».

3. SSH access to the vServer for the first time
The login details are included in the email explaining the installation procedure for your vServer.
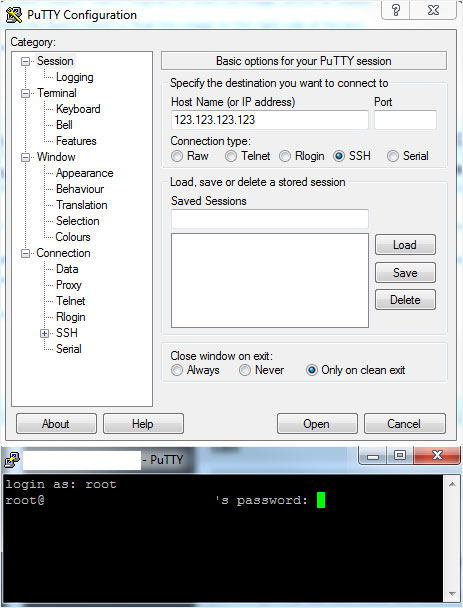
For SSH access on Windows systems, we recommend «PuTTY», a freeware SSH client.
The picture shows an example of the details found in the email. Enter these in «PuTTY».
To use SSH access on Mac or Linux systems, you can use the integrated terminal.
