SSH
The Hosting menu item comprises the following sub-pages: Overview, Settings, Databases, FTP, SSH, Cronjobs, Backup, ModSecurity, SSL certificates, Software, Statistics, and Monitoring.
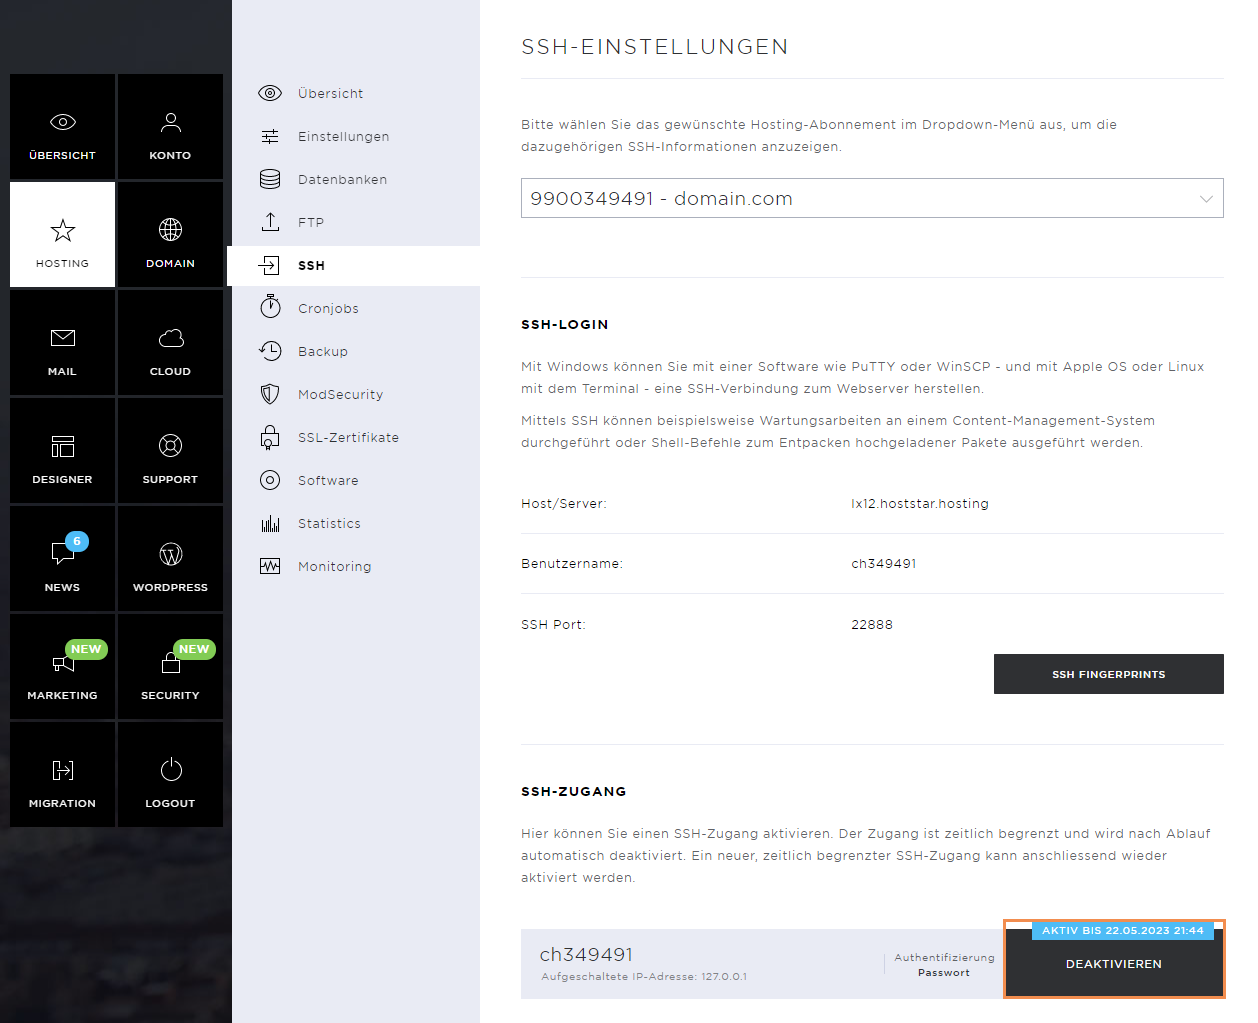
Under SSH you have the option to enable a Secure Shell connection, with which you can connect to your server directly via a terminal.
SSH overview
Here, you can enable and manage your SSH access.
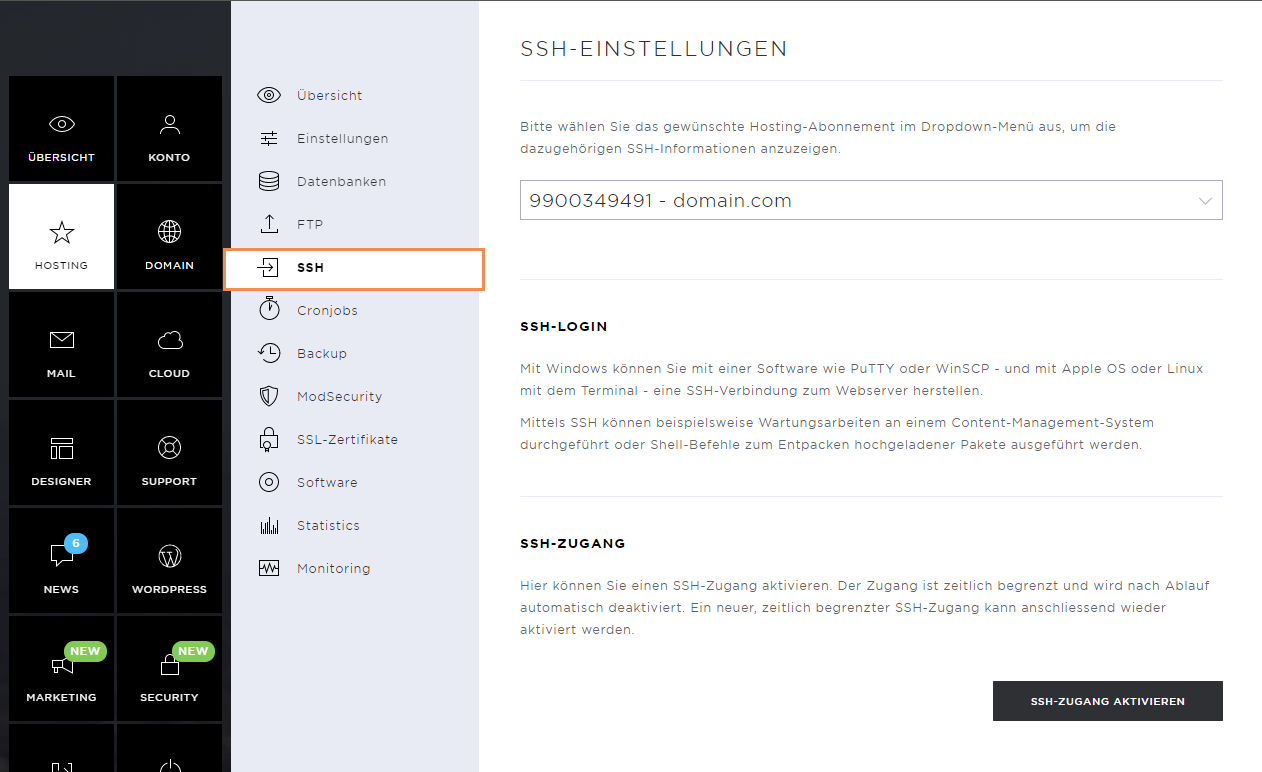
Enable SSH access
To enable SSH access, click the Enable SSH Access button.
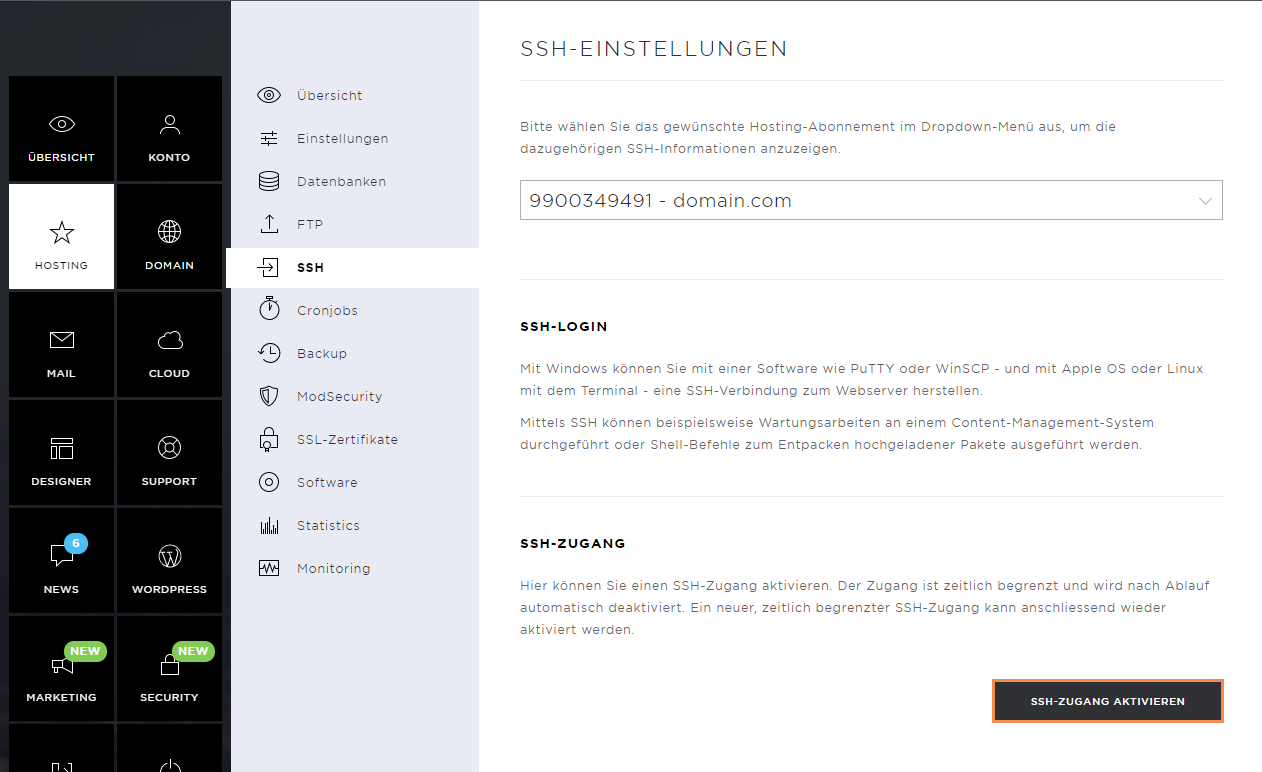
For security reasons, SSH access is limited in time and can only be used via the IP address entered.
First enter the desired activation period and then the IP address concerned. The form automatically enters the IP address of the device used; if you prefer a different one, you can edit it manually.
Then select the authentication method. If you do not have a personal SSH key, select Authentication by password and click on Enable.
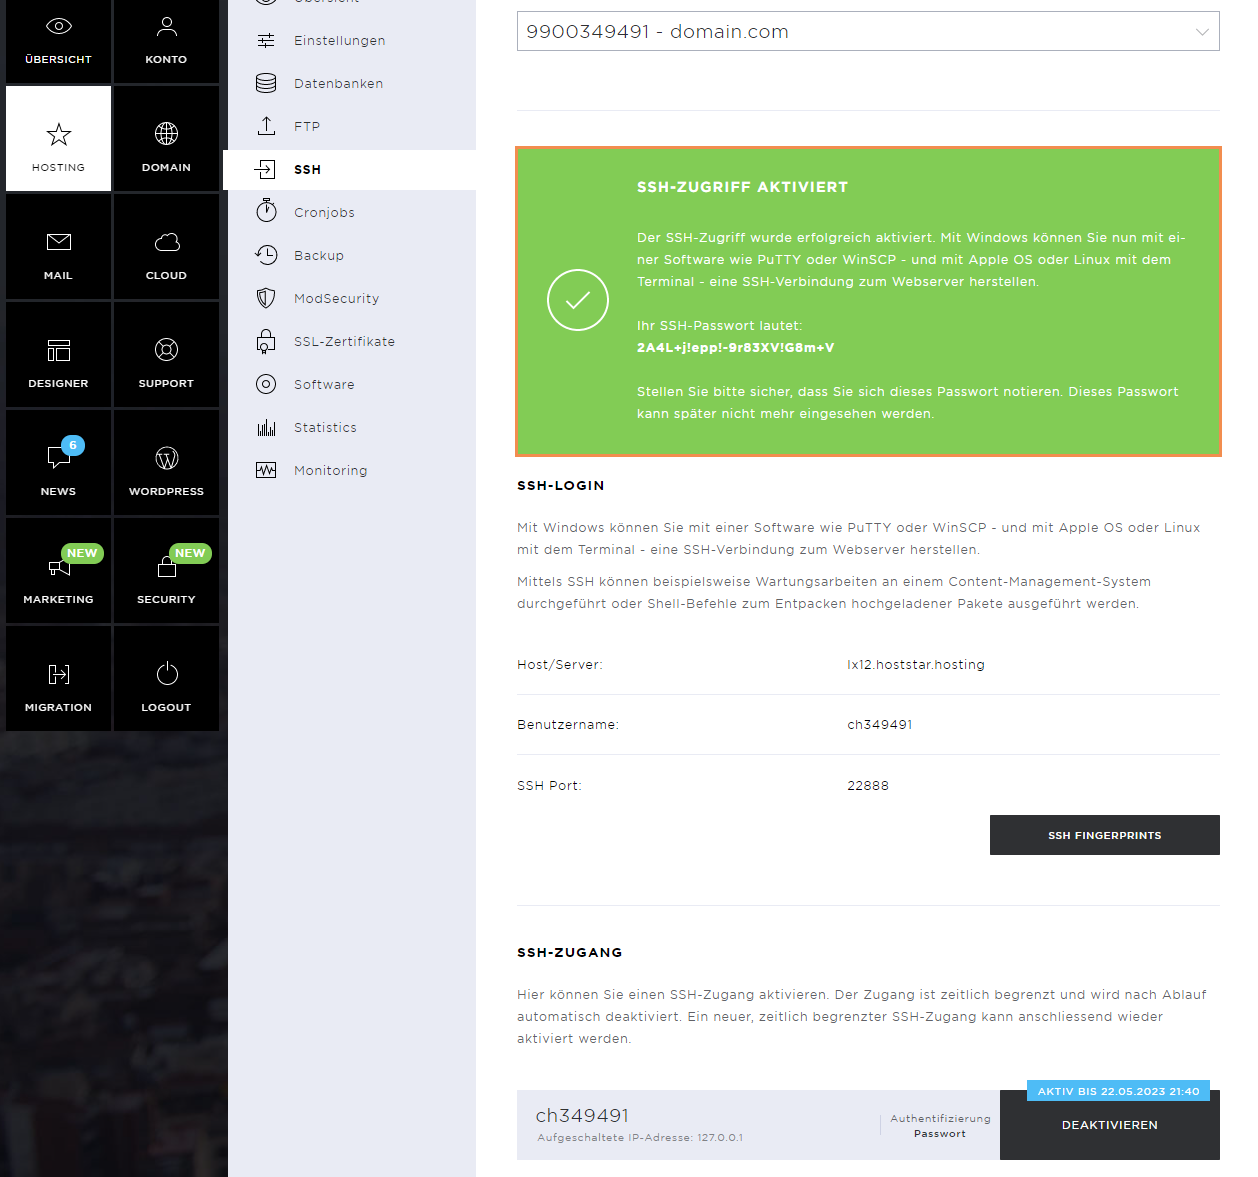
As soon as the SSH access is enabled, a success message appears.
Attention: The password is only displayed within the success message and only once. Copy and save this password.
You can also find the other connection information that you need for your SSH connection settings:
- Host / Server
- User name
- SSH Port
Use SSH access
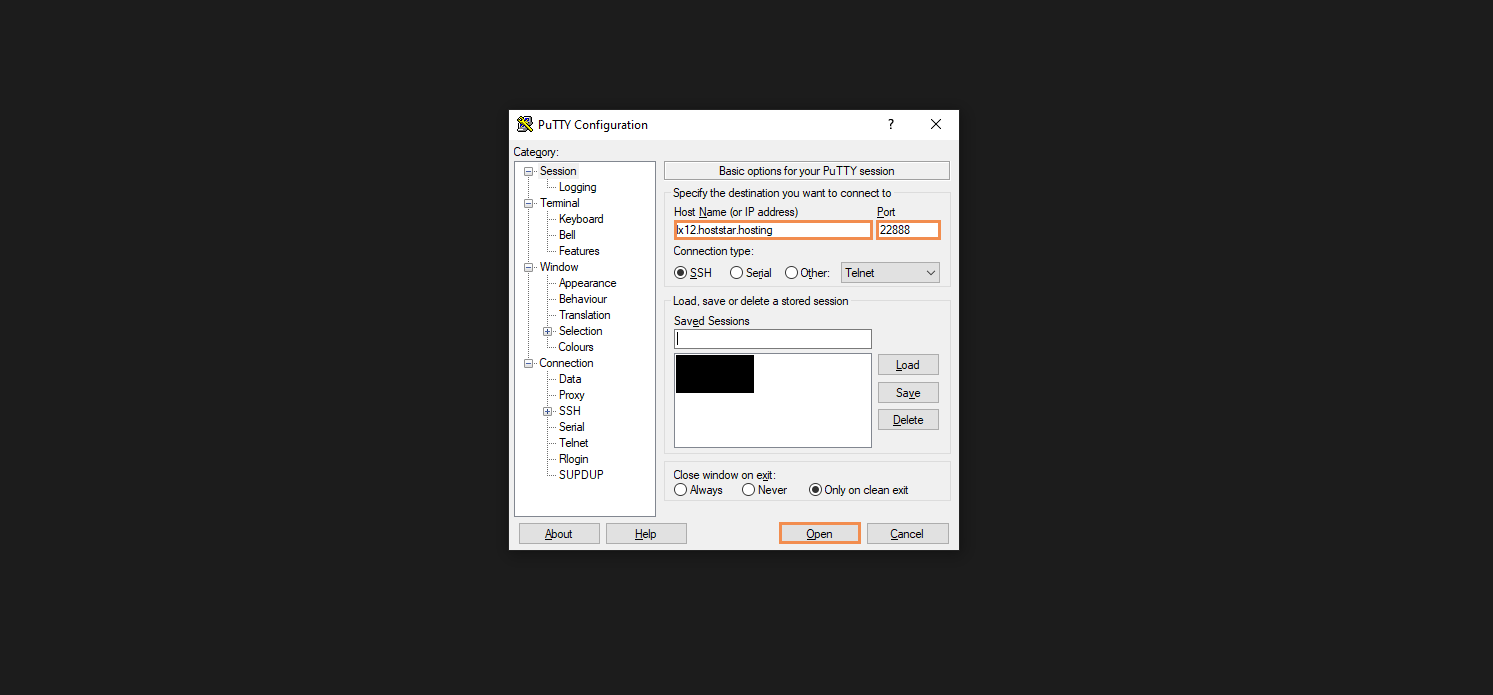
With Windows, you can establish an SSH connection to the server using software such as PuTTY or WinSCP.
Enter the host / server and the correct port and then click Open.
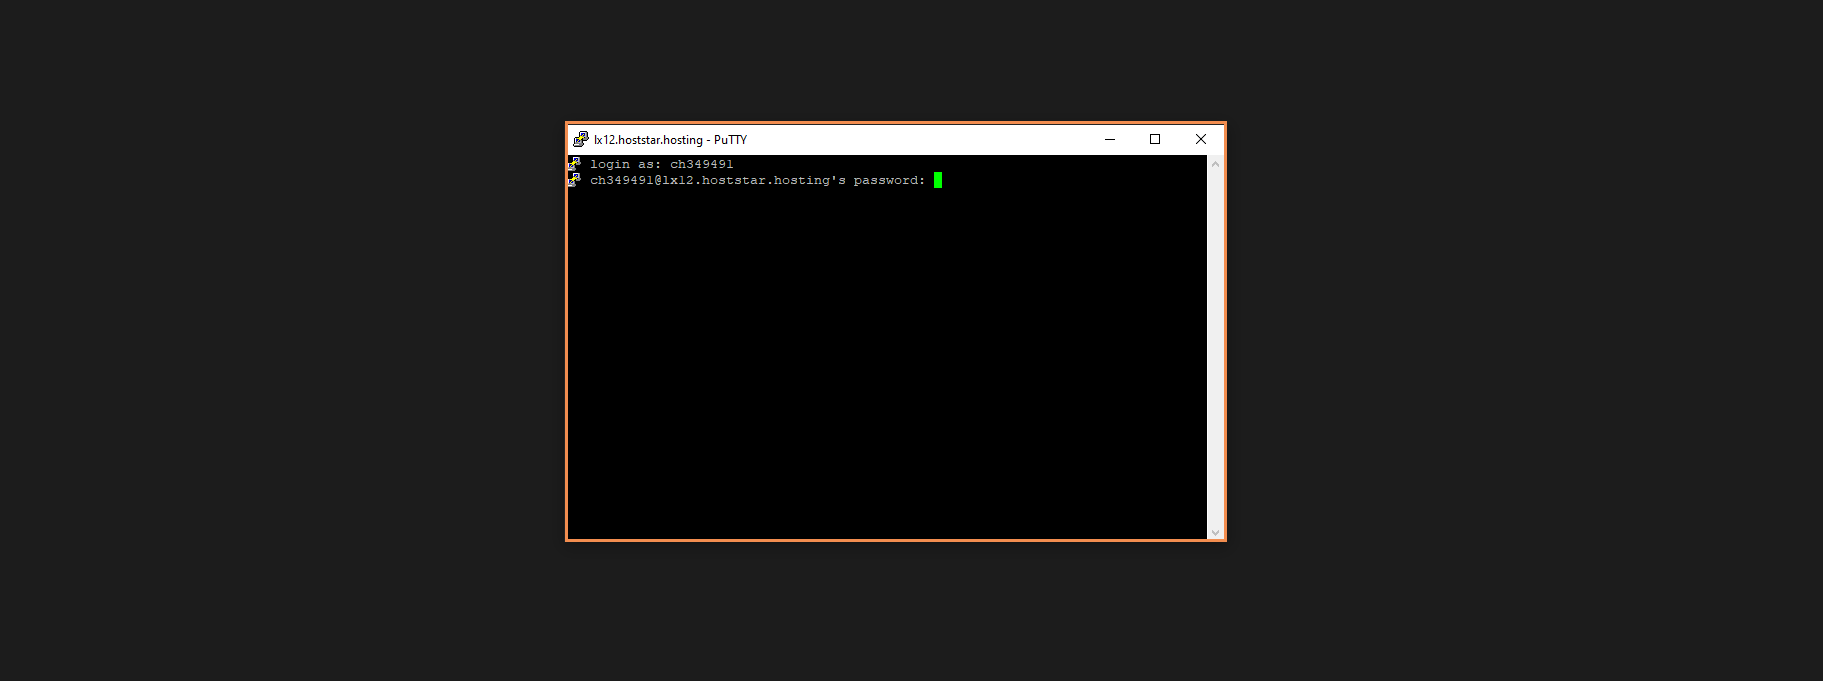
Once the connection to the server has been established, enter the correct user name and press the Enter key on your keyboard.

Next, enter the password that was displayed in the success message and press the Enter key again.
For security reasons, the password is not displayed when you enter it.
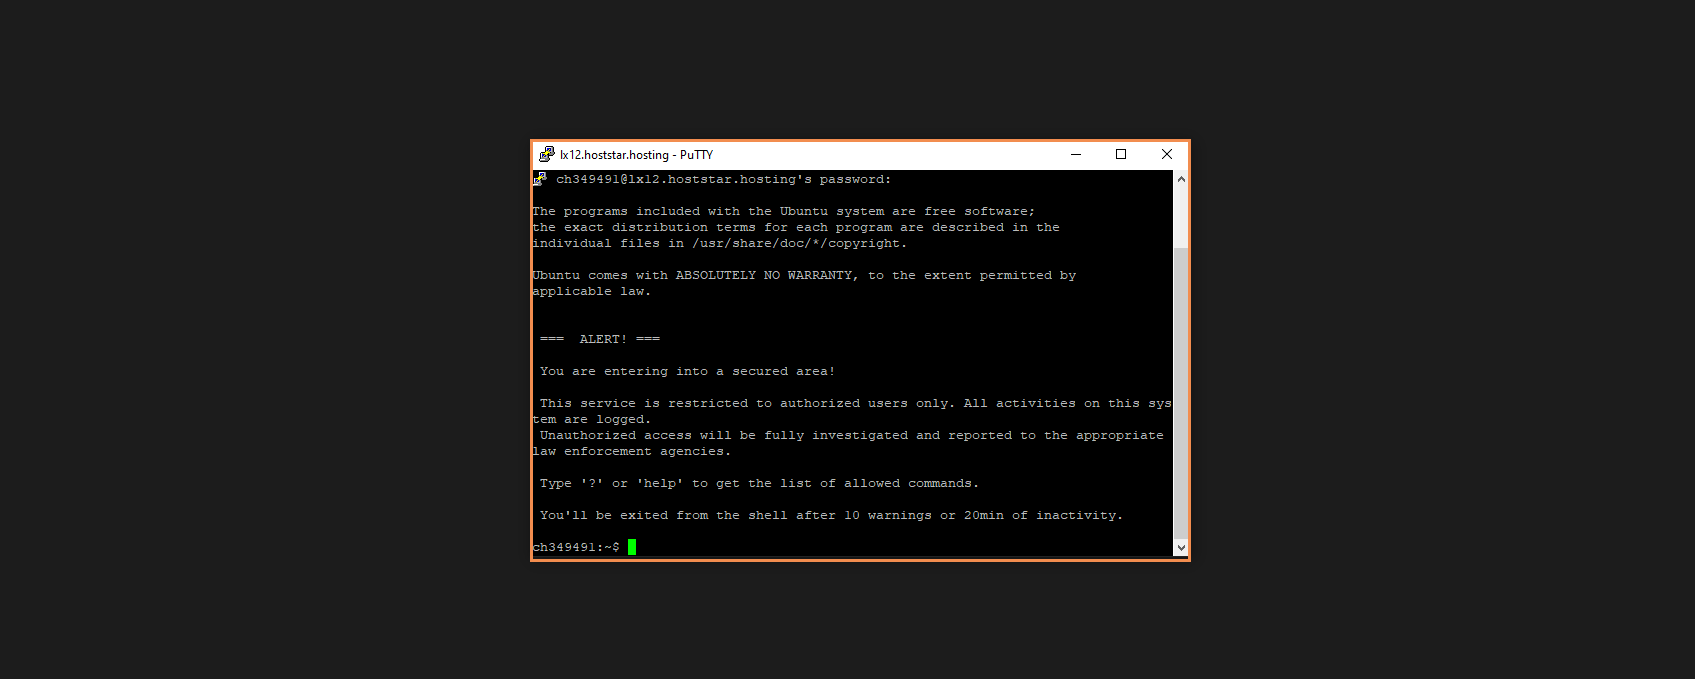
If the login data has been entered correctly, the connection is established.
Disable SSH access
If you no longer need access, you can disable and remove it using the Disable button.
In the pop-up window, confirm the removal again by clicking on Disable.
