Android – Set up & synchronisation
To get the most out of MailPro push emails, calendar, contacts and tasks synchronisation on your Android device, you can configure them as described below. Please note that the screenshots on the left-hand side, the order of fields and the individual steps for settings may vary from your view depending on device manufacturer and Android version.
1. Start
In your Android device, go to «Settings». You can normally find a link in the main menu.
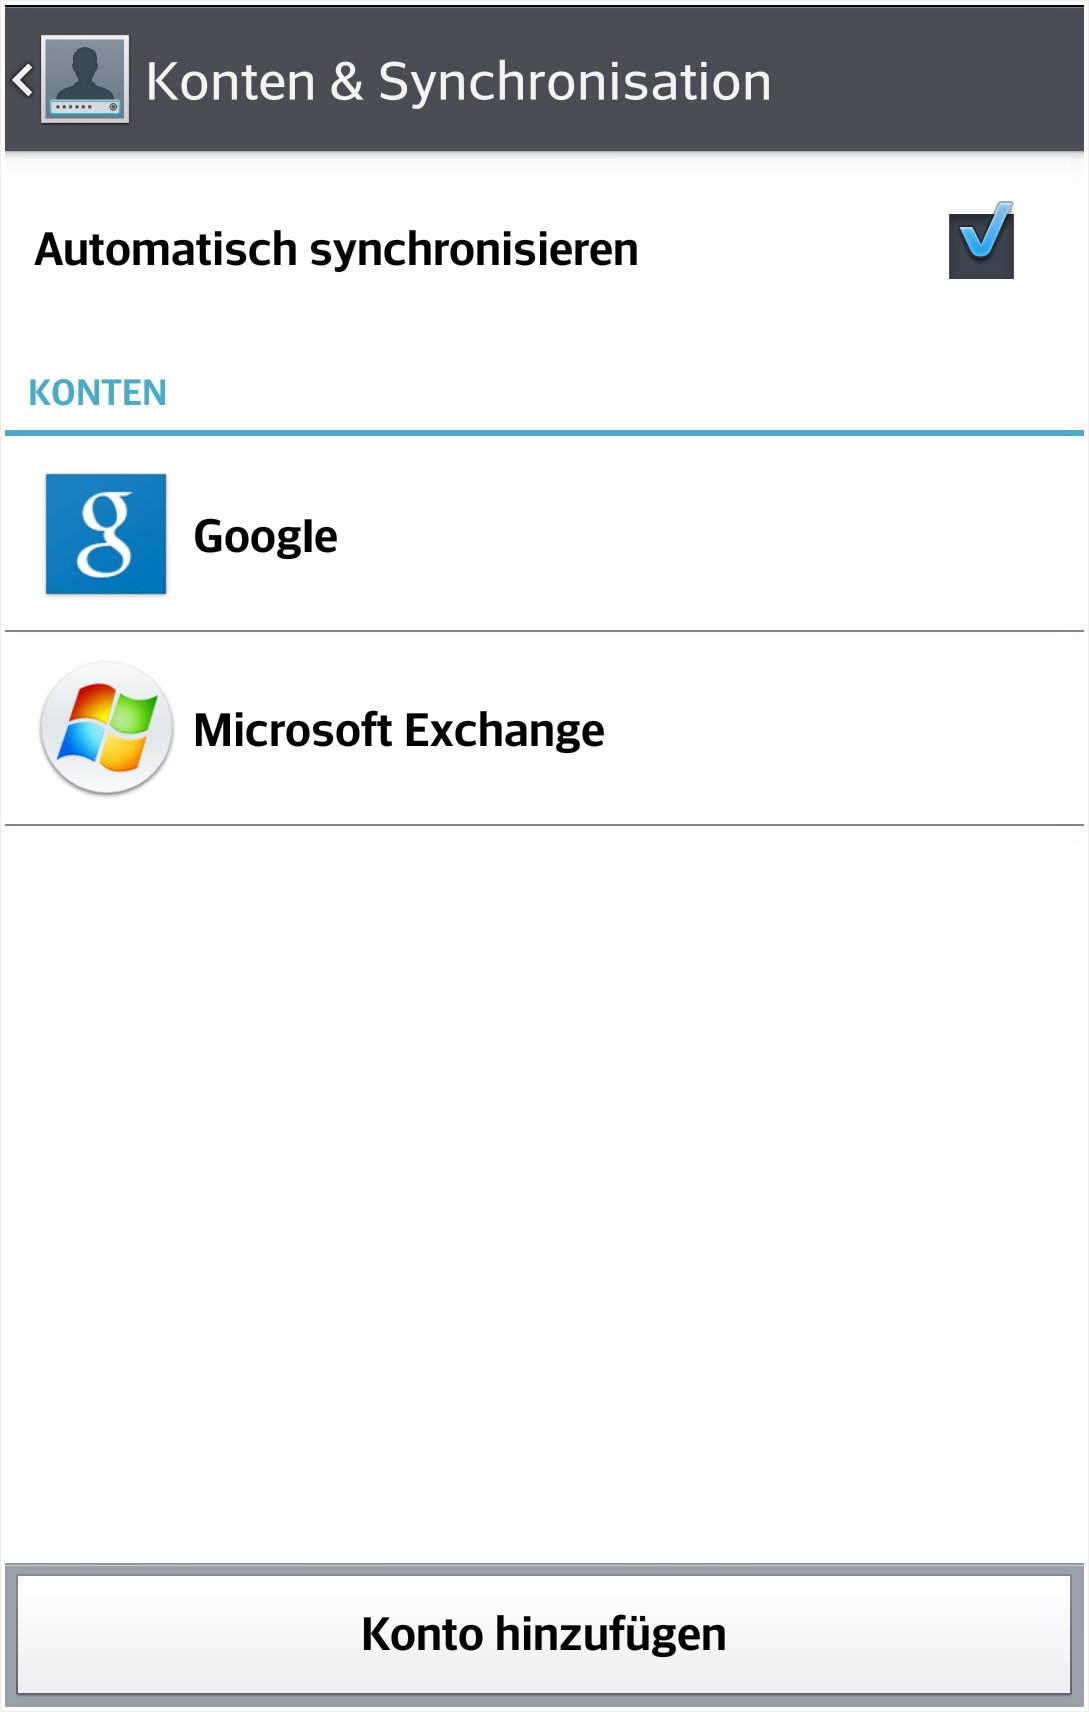
Select the «Accounts & Synchronisation» menu item. The exact wording can vary depending on device manufacturer and Android version.
Select the account type «Microsoft Exchange».
2. Add the account
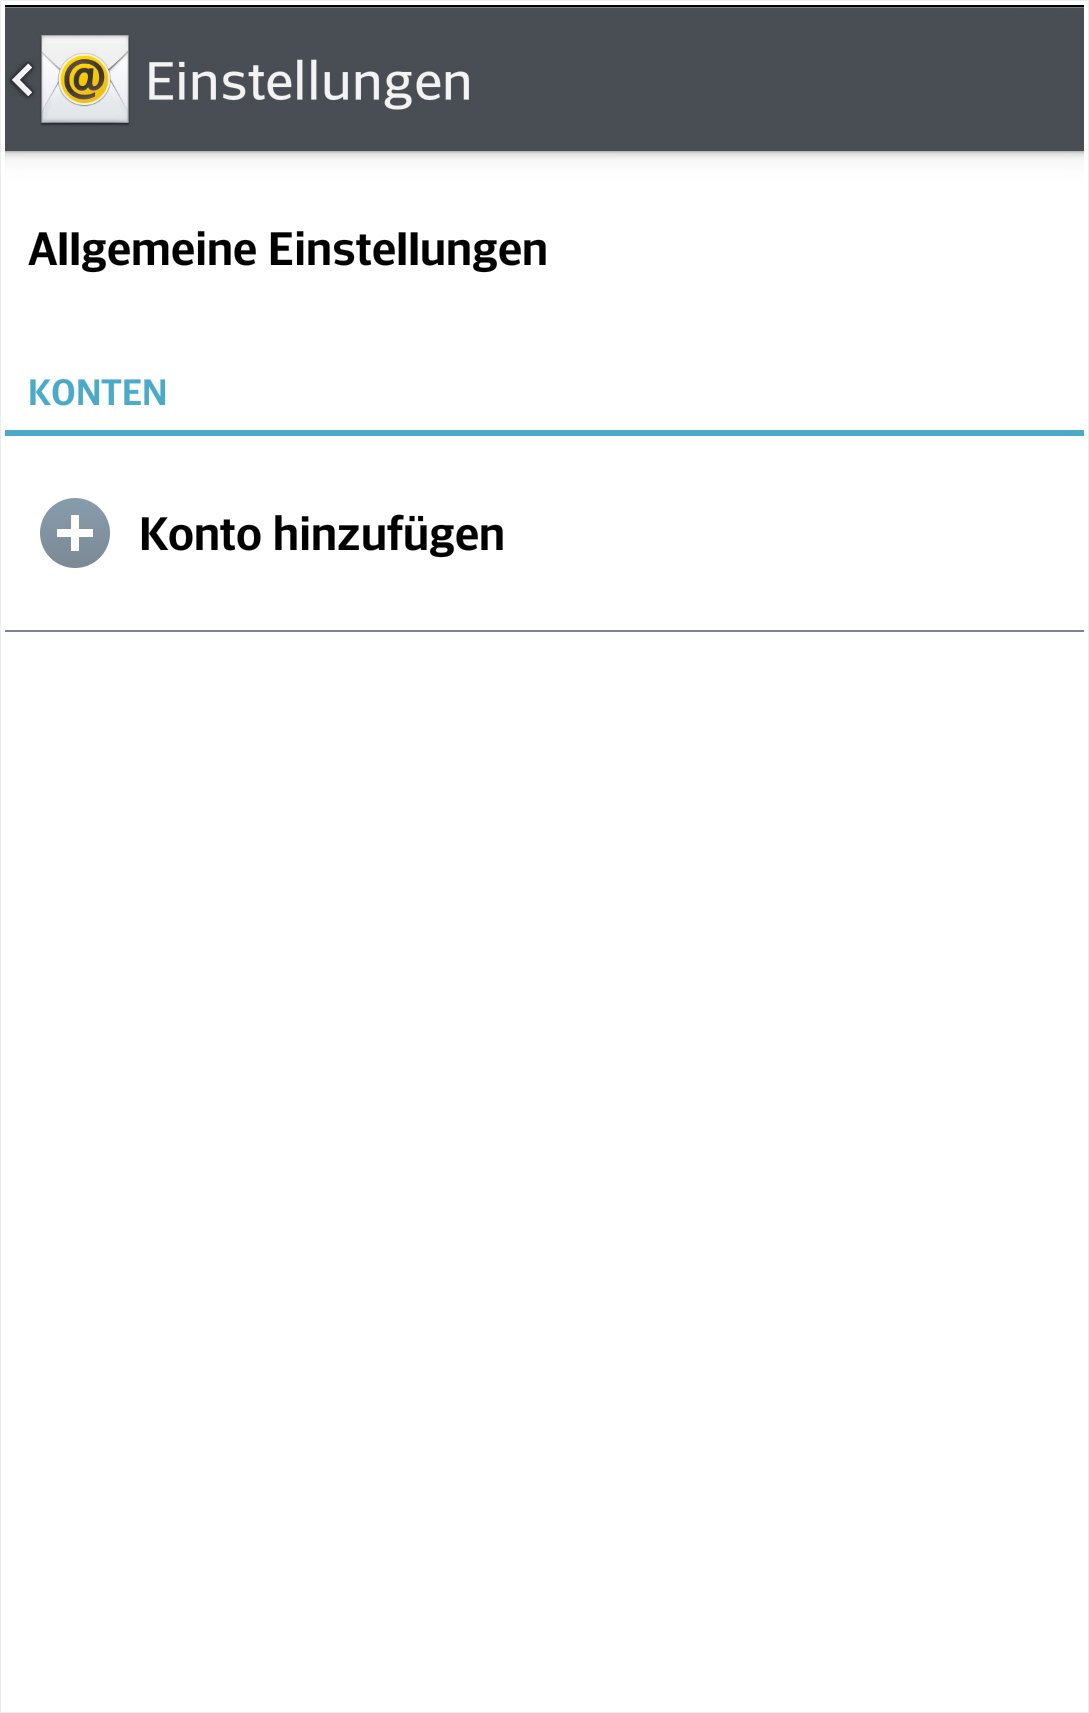
Depending on the device manufacturer and Android version, you will now be redirected to your device’s mail app.
Here, you have the option of adding an account. Select this option.
3. Account type «Microsoft Exchange»
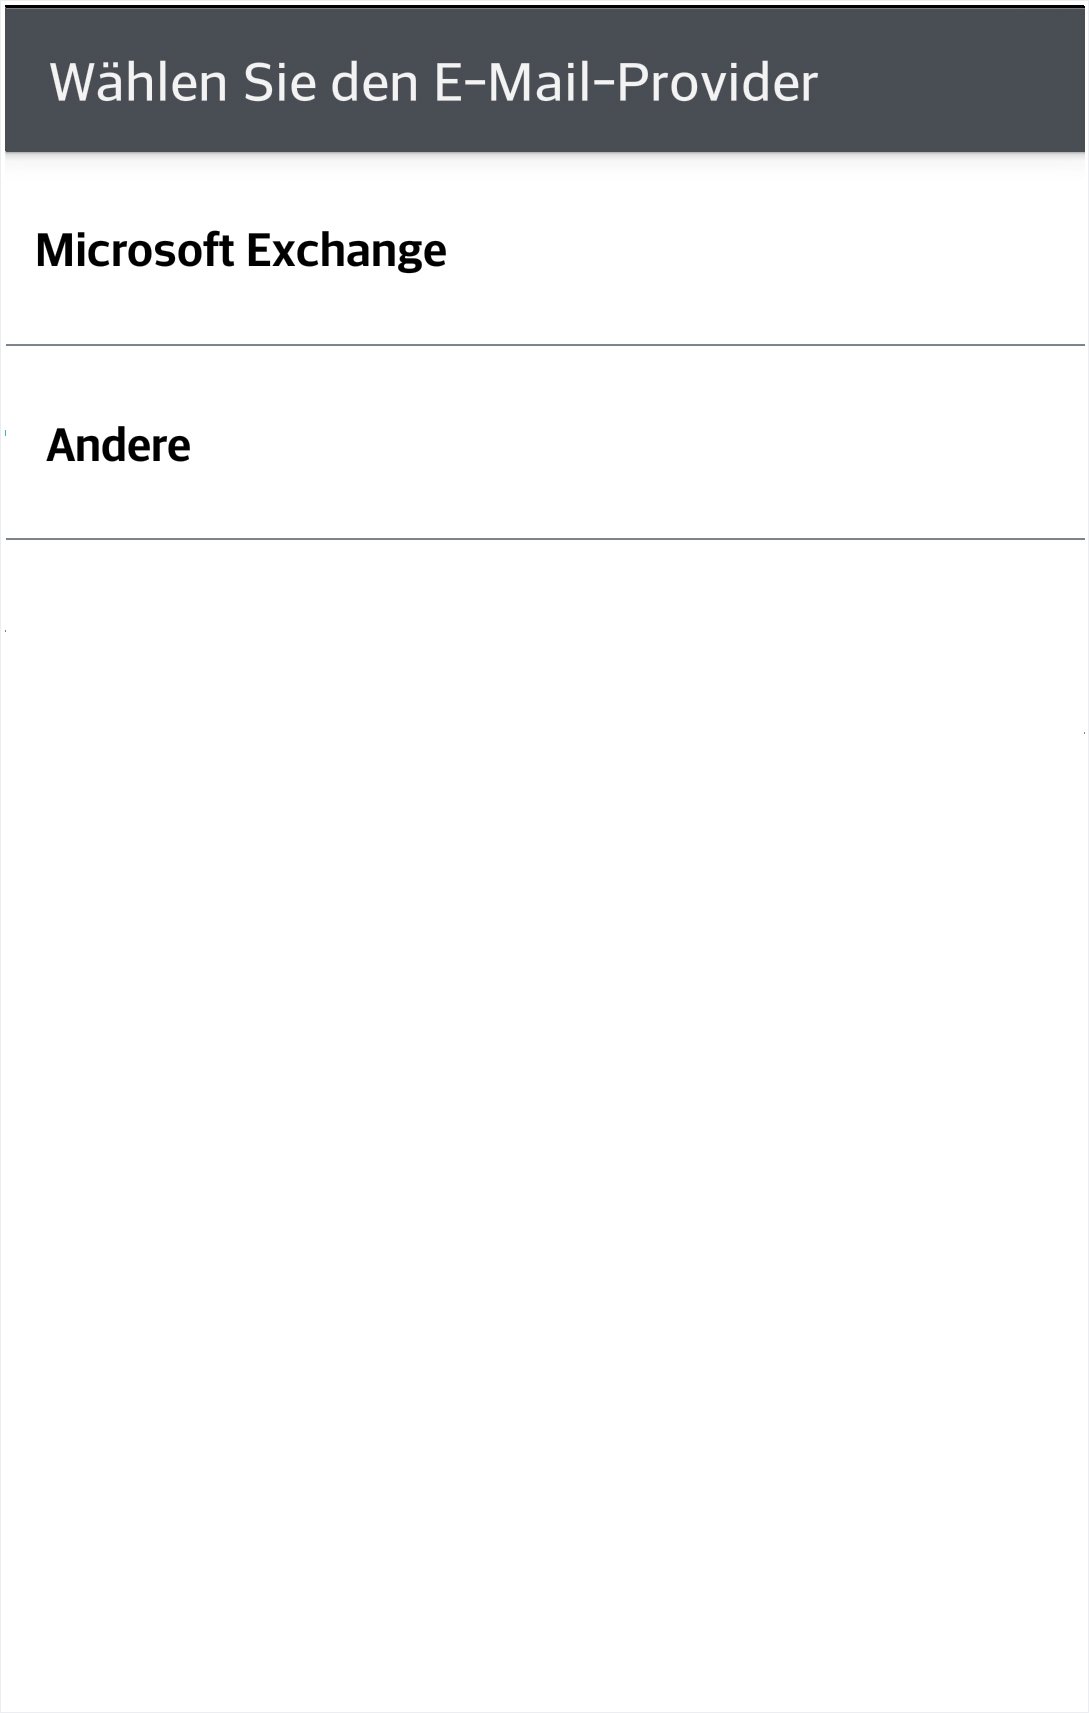
Depending on the device manufacturer and Android version, you may now be asked which account type or provider you use.
Select «Microsoft Exchange».
4. Enter login details
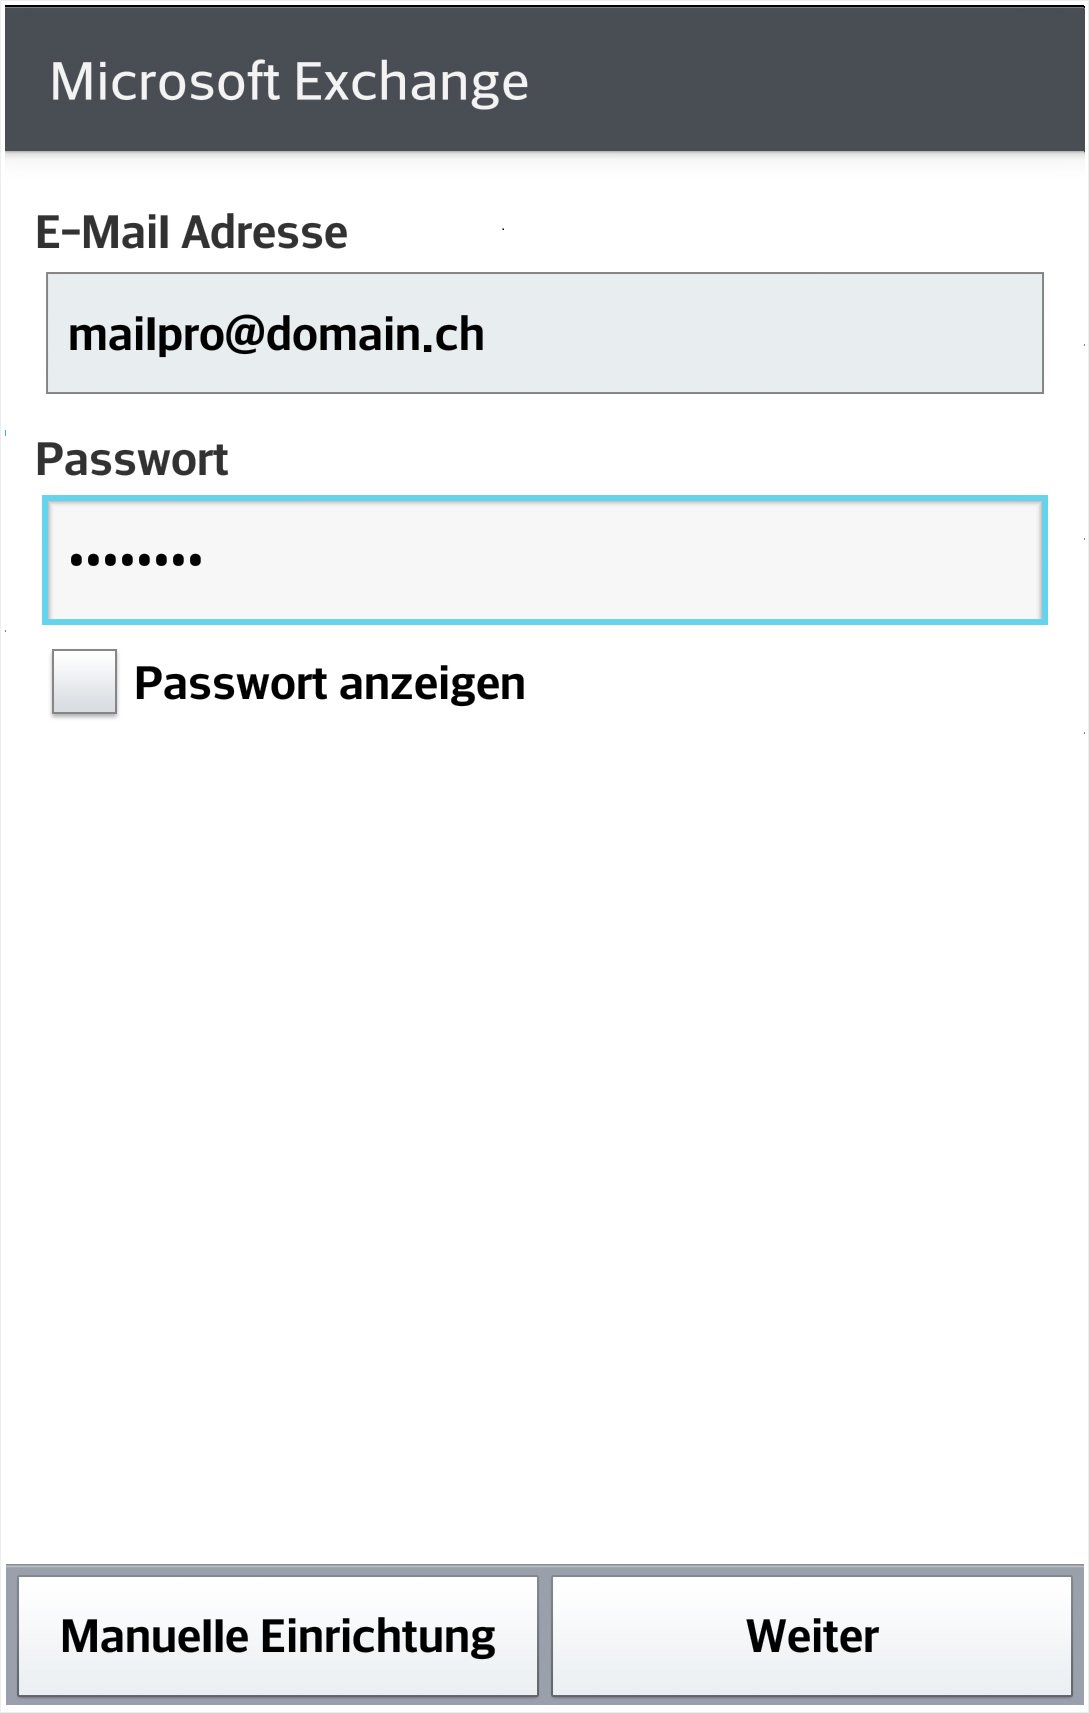
Enter the required values.
Email: Enter the MailPro email address you want to configure. If you are unsure whether the address has already been set up on the server, refer to the MailPro configuration in My Panel.
Password: The password you selected for the MailPro email address in My Panel. If you do not know the password, refer to the instructions for changing/deleting address.
Select «Manual set-up» to enter all the necessary settings for MailPro.
5. Enter MailPro server settings
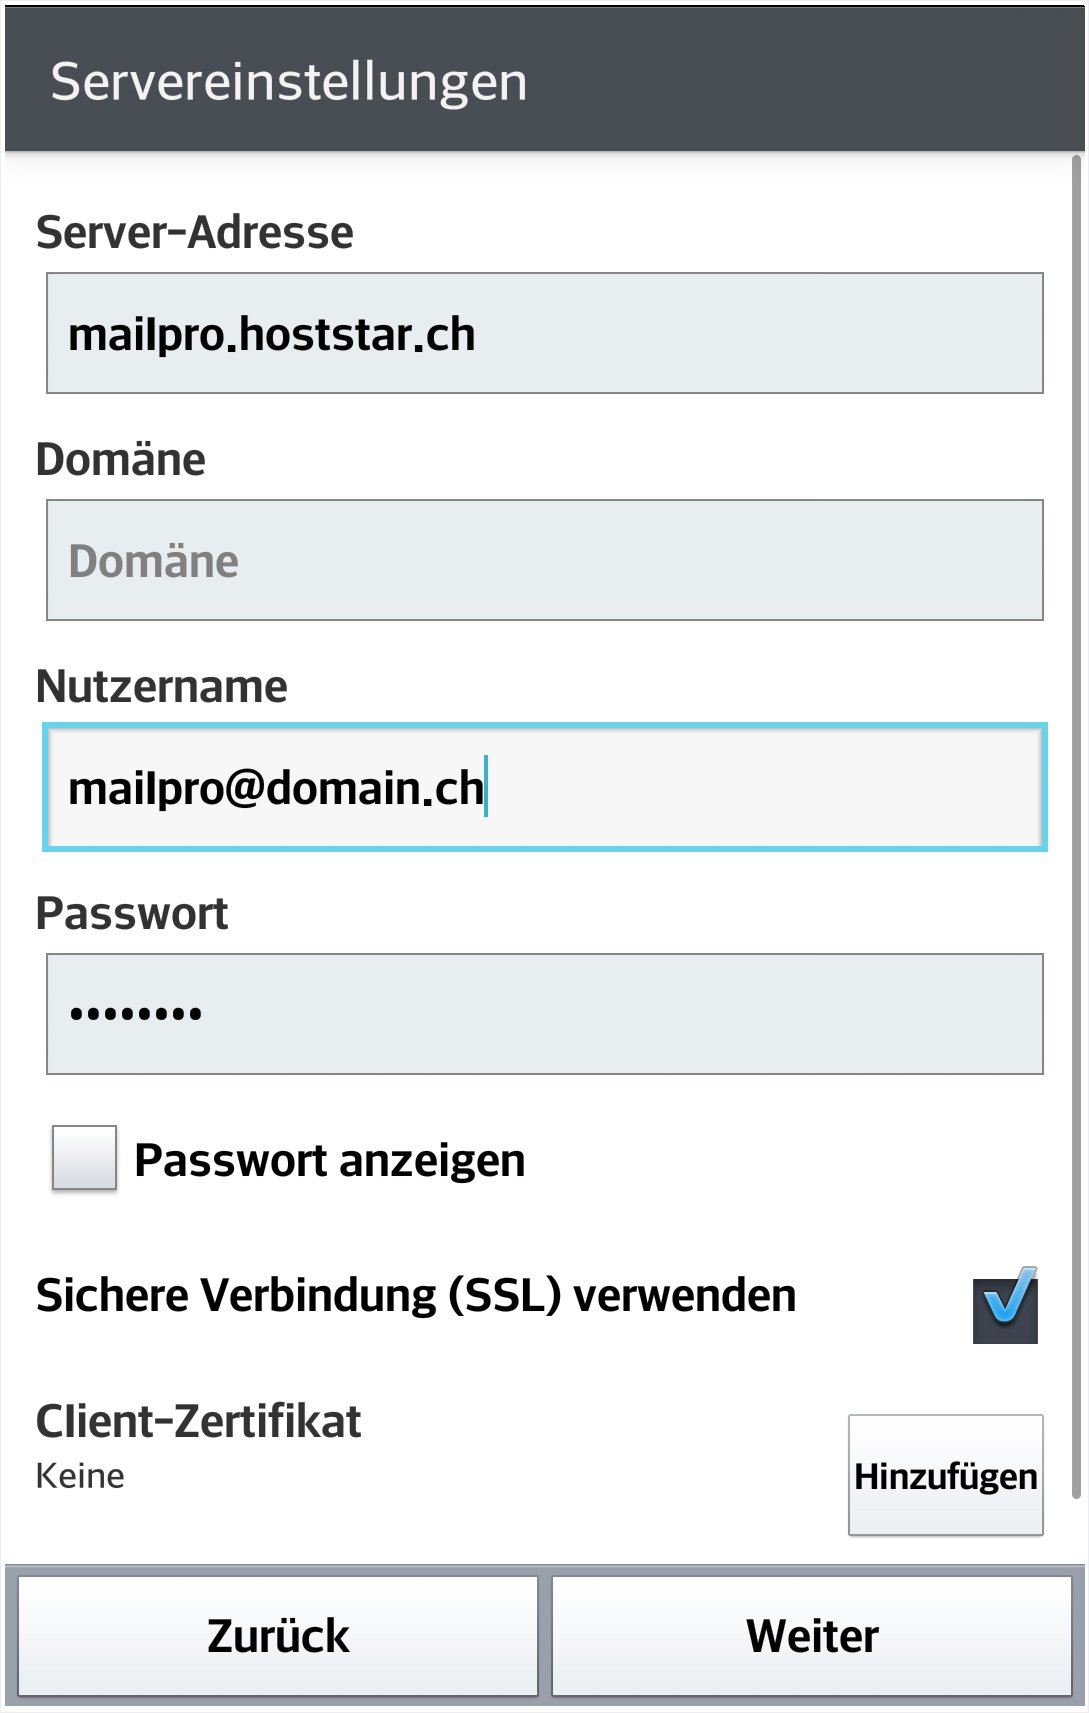
You now have the option of entering the settings in order to establish a connection with the MailPro server.
Enter the following values:
Server address: mailpro.hoststar.ch
Domain: Leave blank.
User name: Your MailPro email address.
Password: The password you selected for the MailPro email address in My Panel. If you do not know the password, refer to the instructions for changing/deleting address.
Use SSL: Activate to ensure communication between device and server is encrypted.
Client certificate: None
6. Test settings
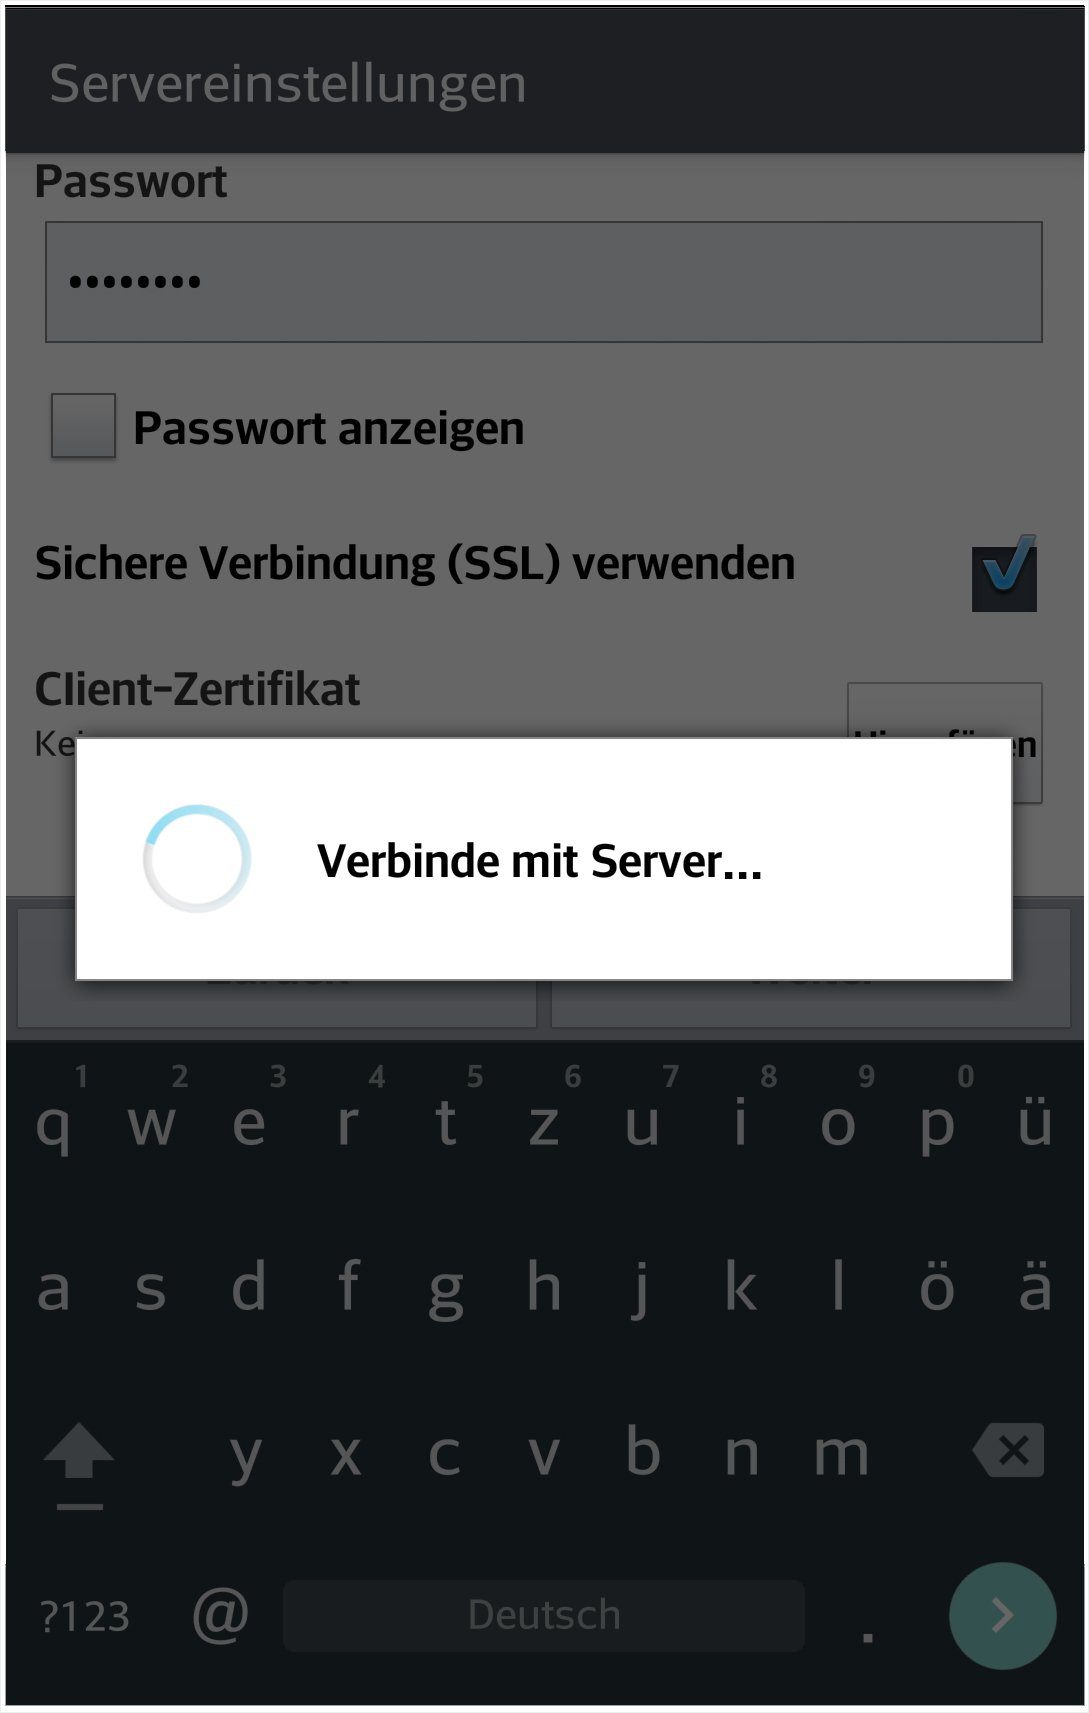
Click on «Next» to test the configured settings on the MailPro server.
7. Select elements to synchronise
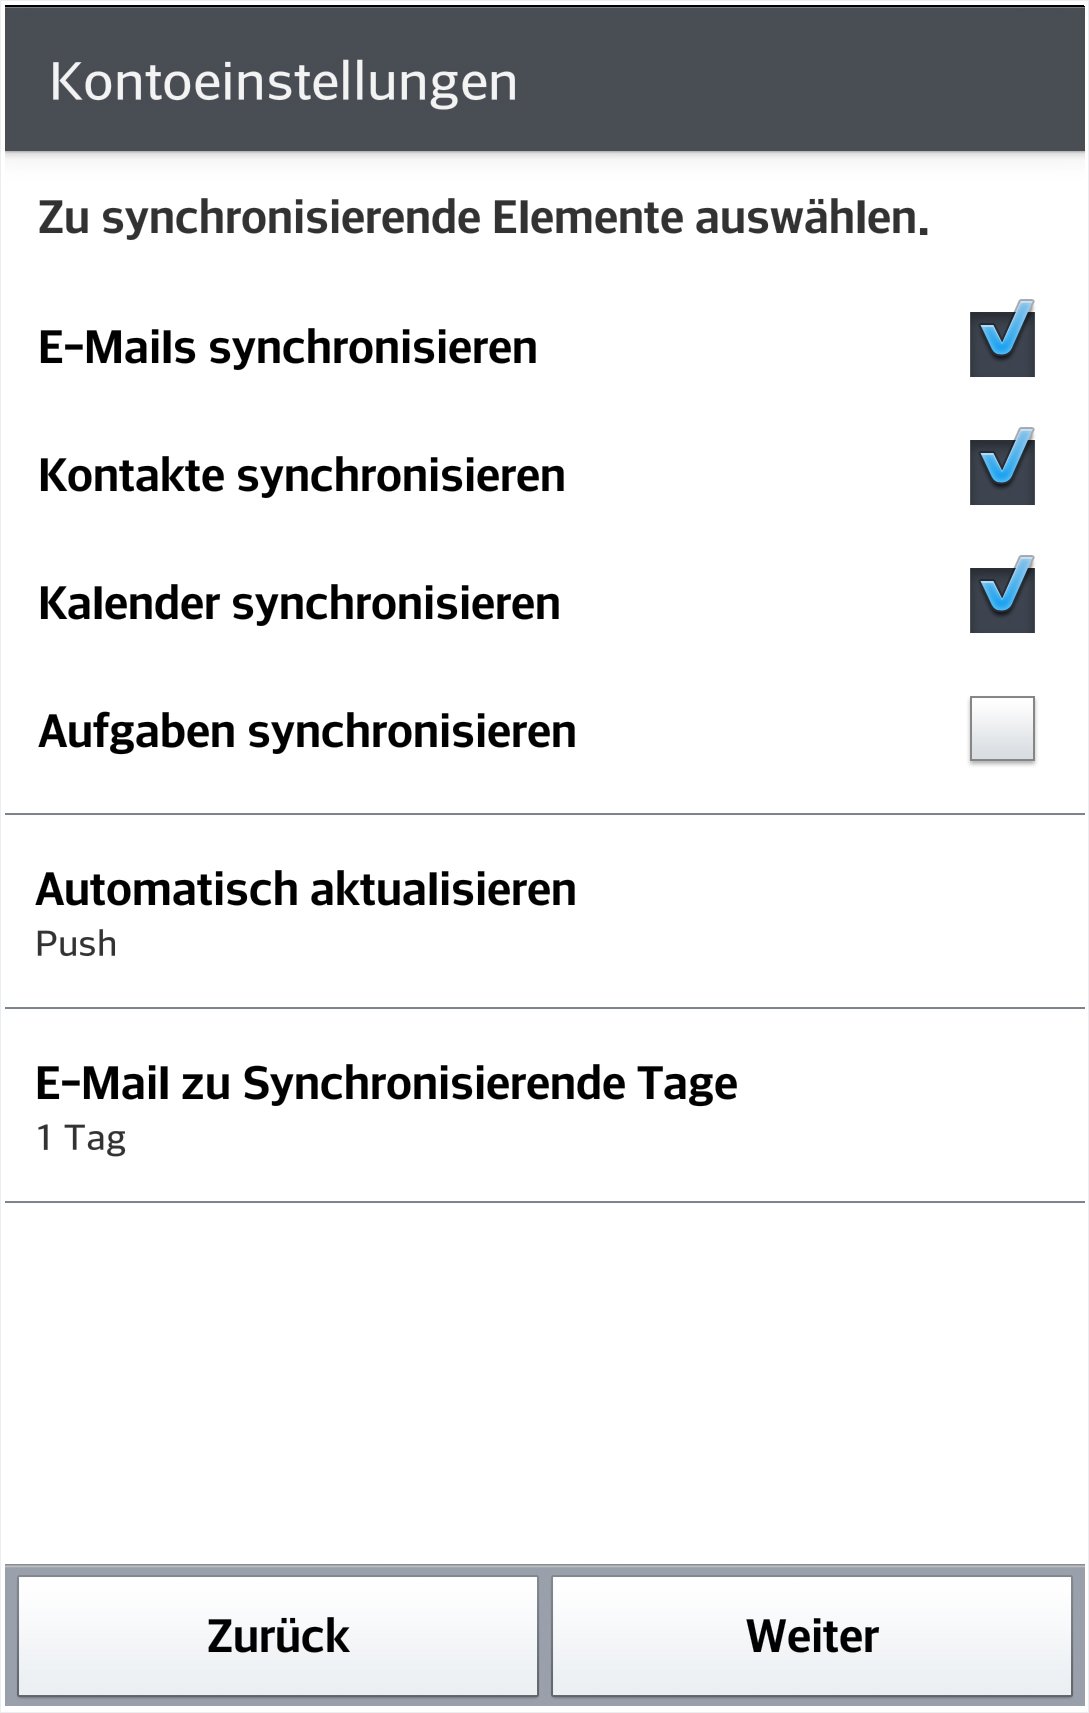
Select elements that you do not wish to be synchronised with MailPro.
With MailPro, emails, contacts and calendar are synchronised as standard.
Define the frequency of synchronisation. It is a good idea to enter «Push» for the frequency. This means that you receive new emails immediately on your Android device.
Define how many days’ worth of emails should be downloaded onto your Android device from the MailPro server.
Select «Next», to complete set-up of your MailPro email address on your Android device.
8. Complete settings
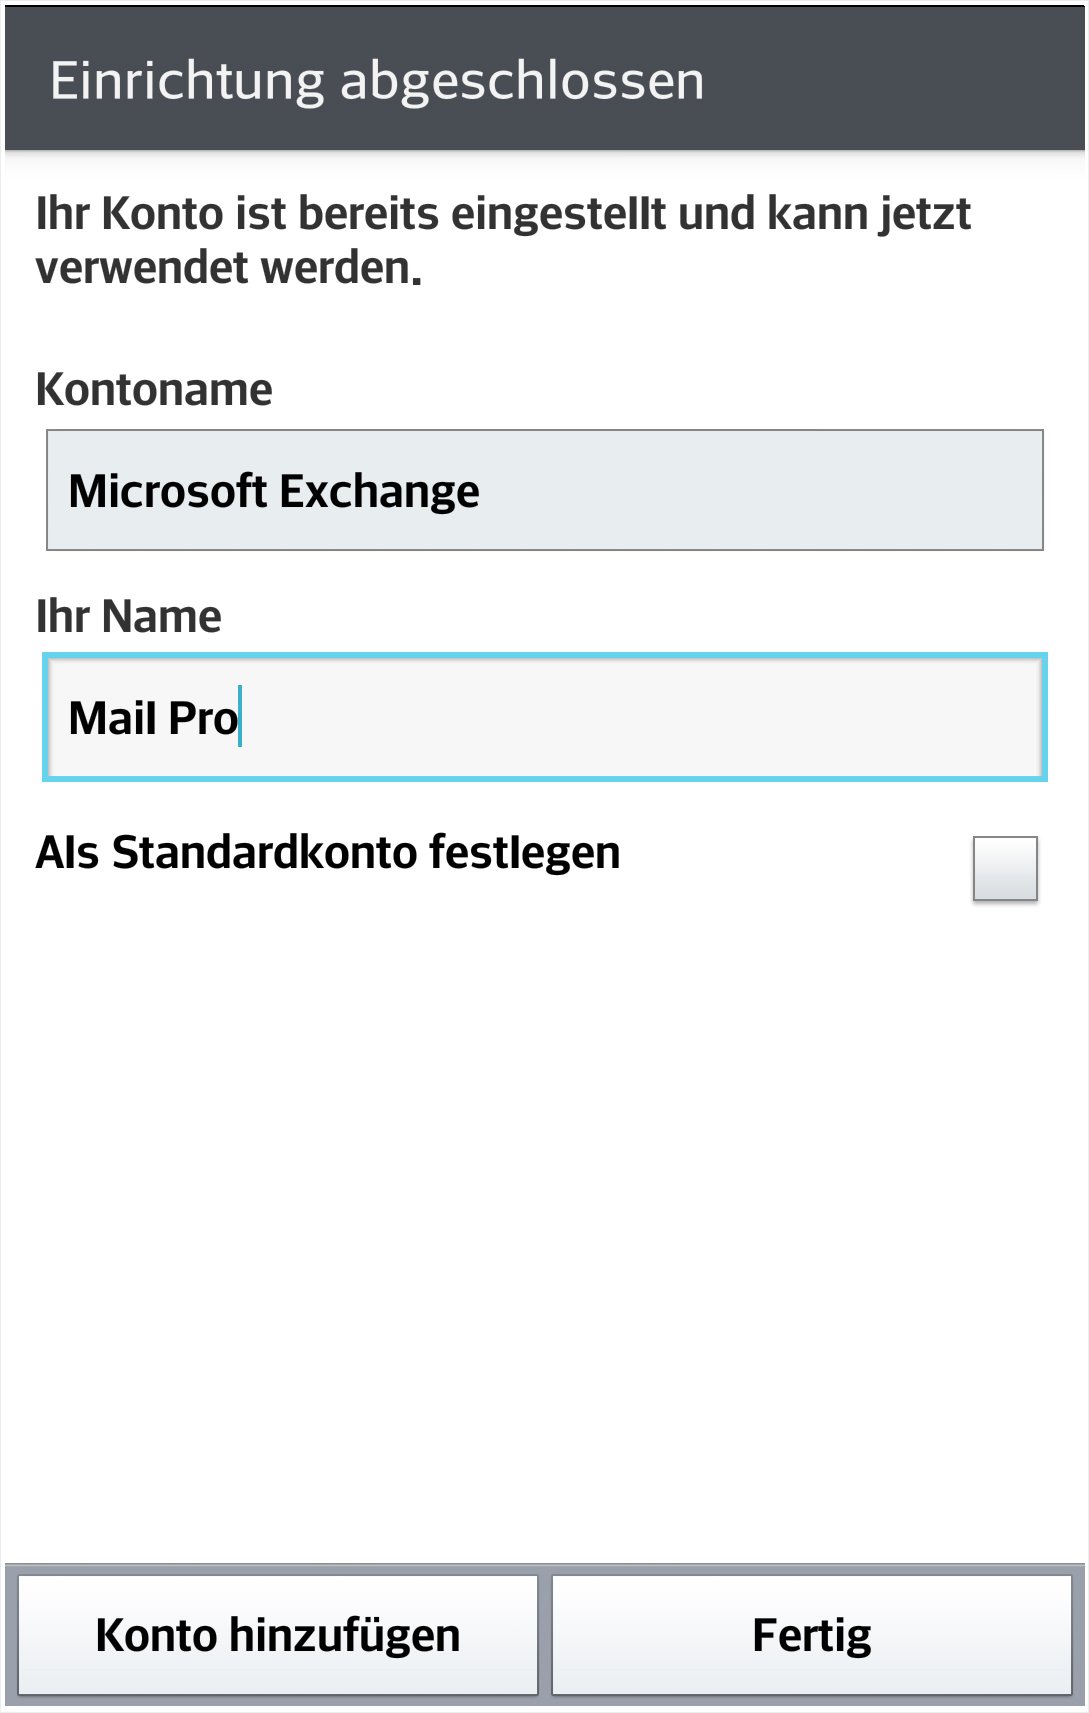
Define an account name of your own choosing as a unique identifier for your account on your Android device.
Enter your name. This entry is used to fill in the sender name for emails you send. Normally, this would be your first and last name, and/or your company name.
Define whether you wish to use the account you have just set up as your standard account. When you write a new email, it will be sent from this account as standard.
The configuration of your MailPro account on your Android device is now complete.
