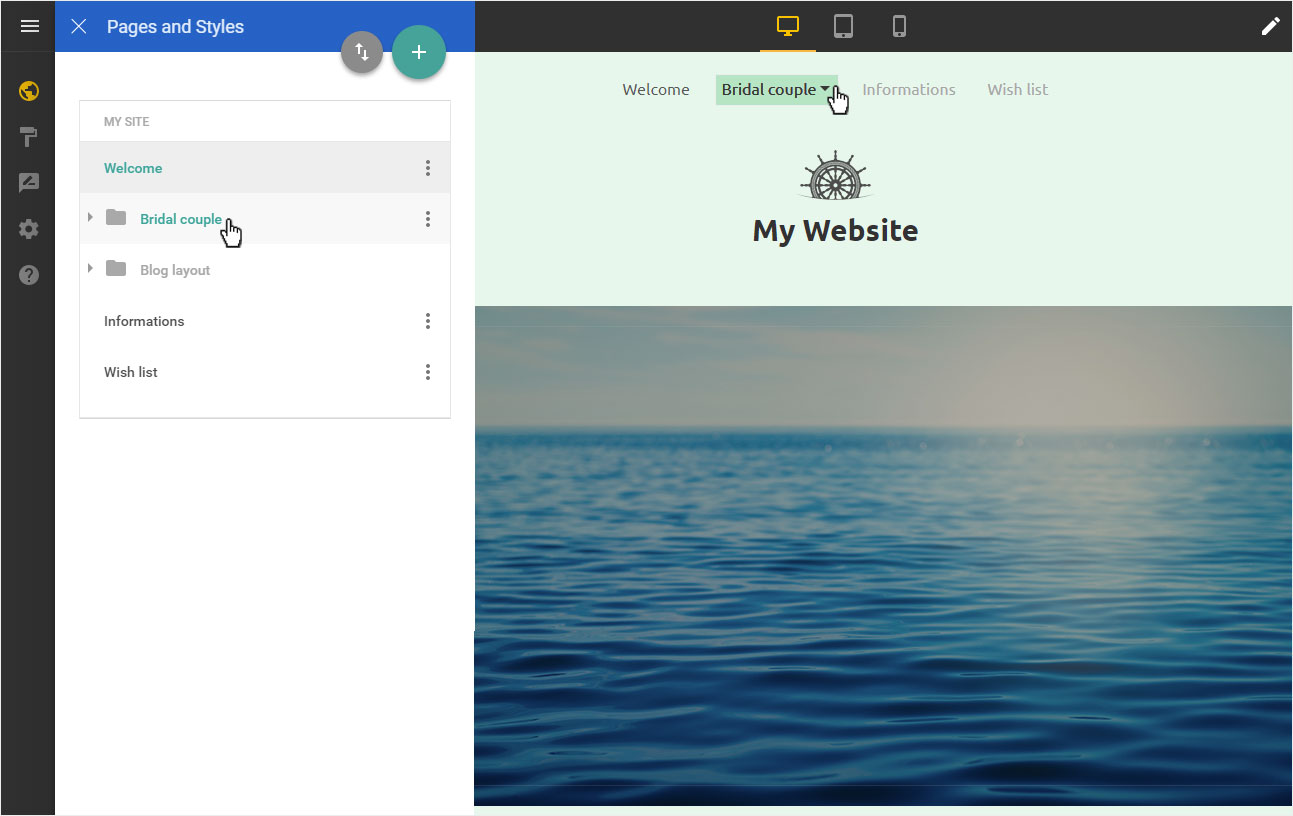
Edit / sort menu items
You can Sort menu items of the individual pages or Edit menu.
After logging into Designer, follow these steps:
Navigation
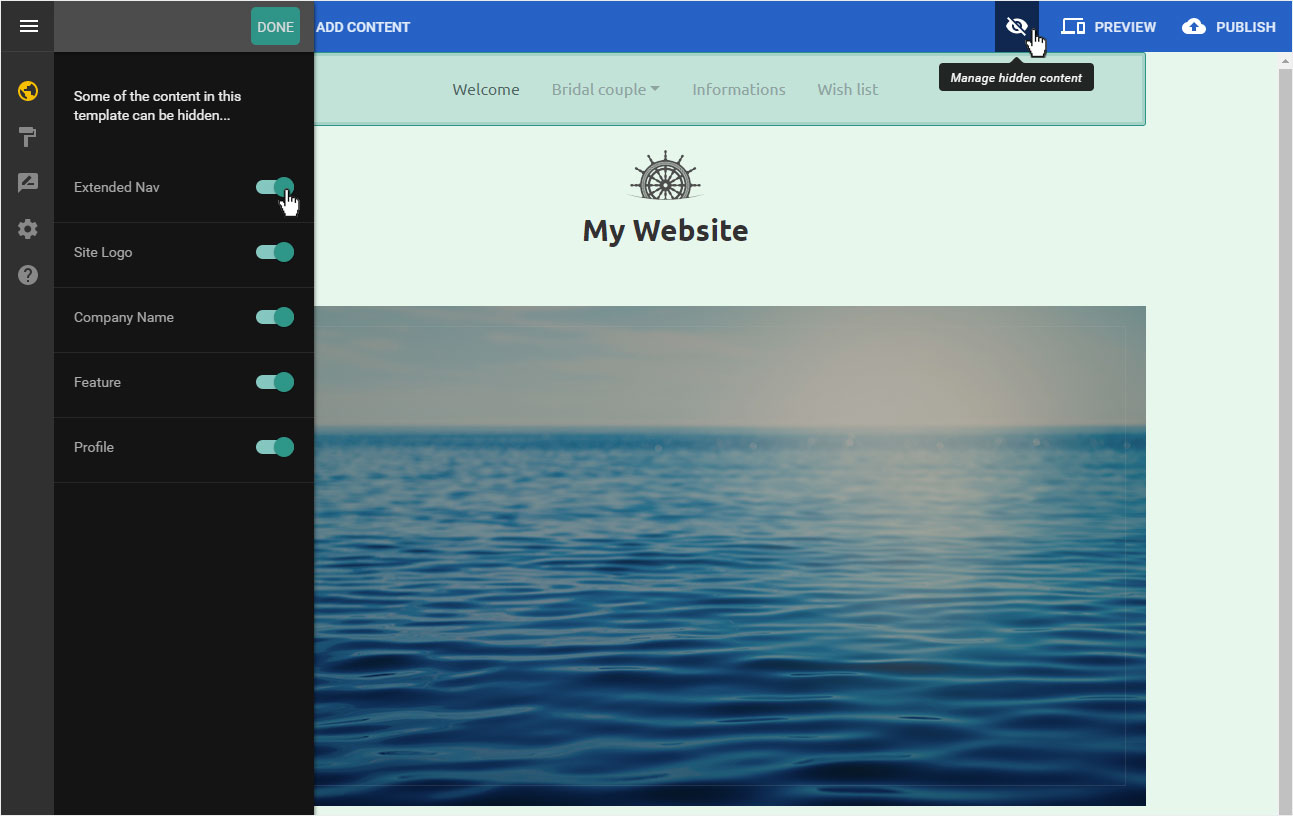
You begin on the home page of Designer's editor and are thus in the Site editor view. The edit view displays the Welcome page. Click on the navigation bar.
If the navigation is not visible, click on the crossed out eye icon in the upper right corner of the menu. The details of the Manage hidden content menu are displayed on the left. Check that Extended Nav is activated.
Click on Done.
Edit
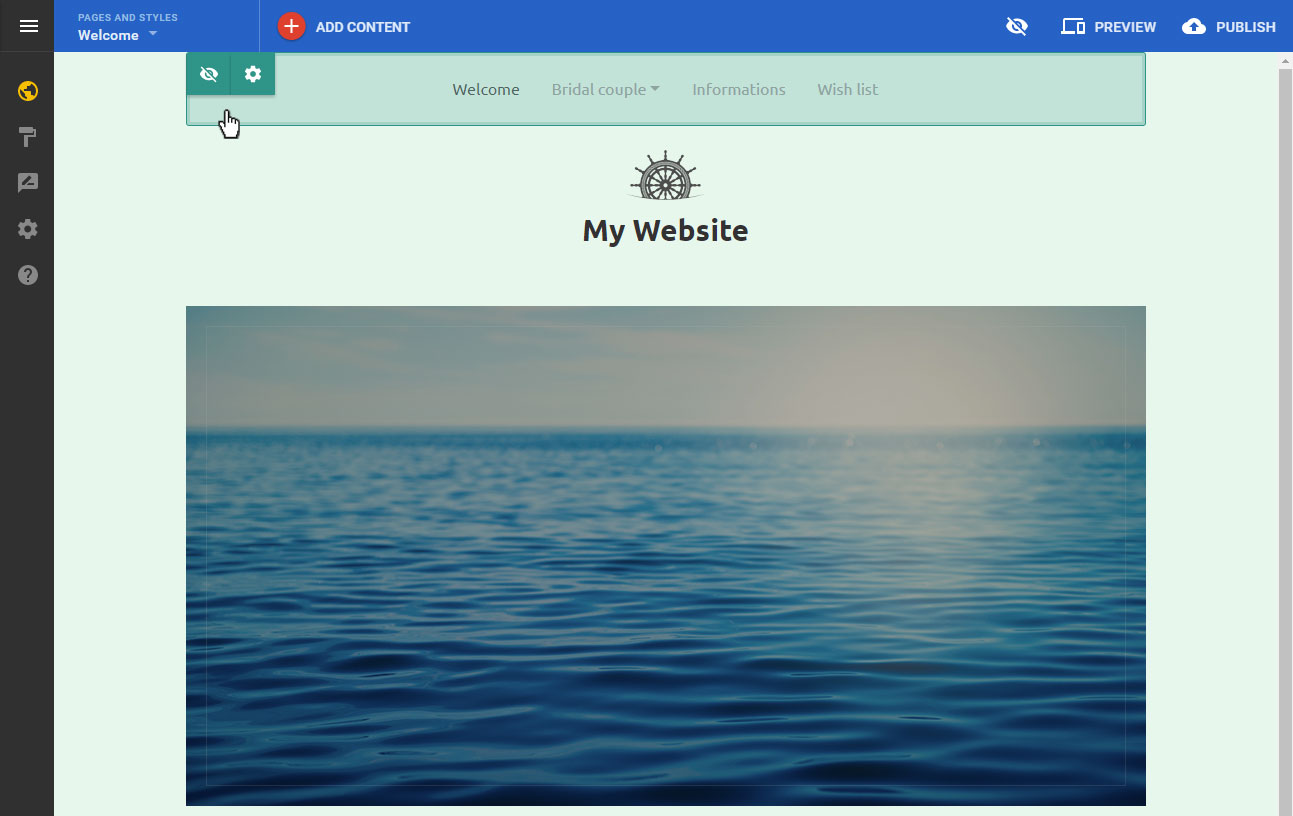
In edit mode, two icons appear when you click on the navigation bar:
- Eye symbol: Show or hide the navigation.
- Gear icon: Set item settings.
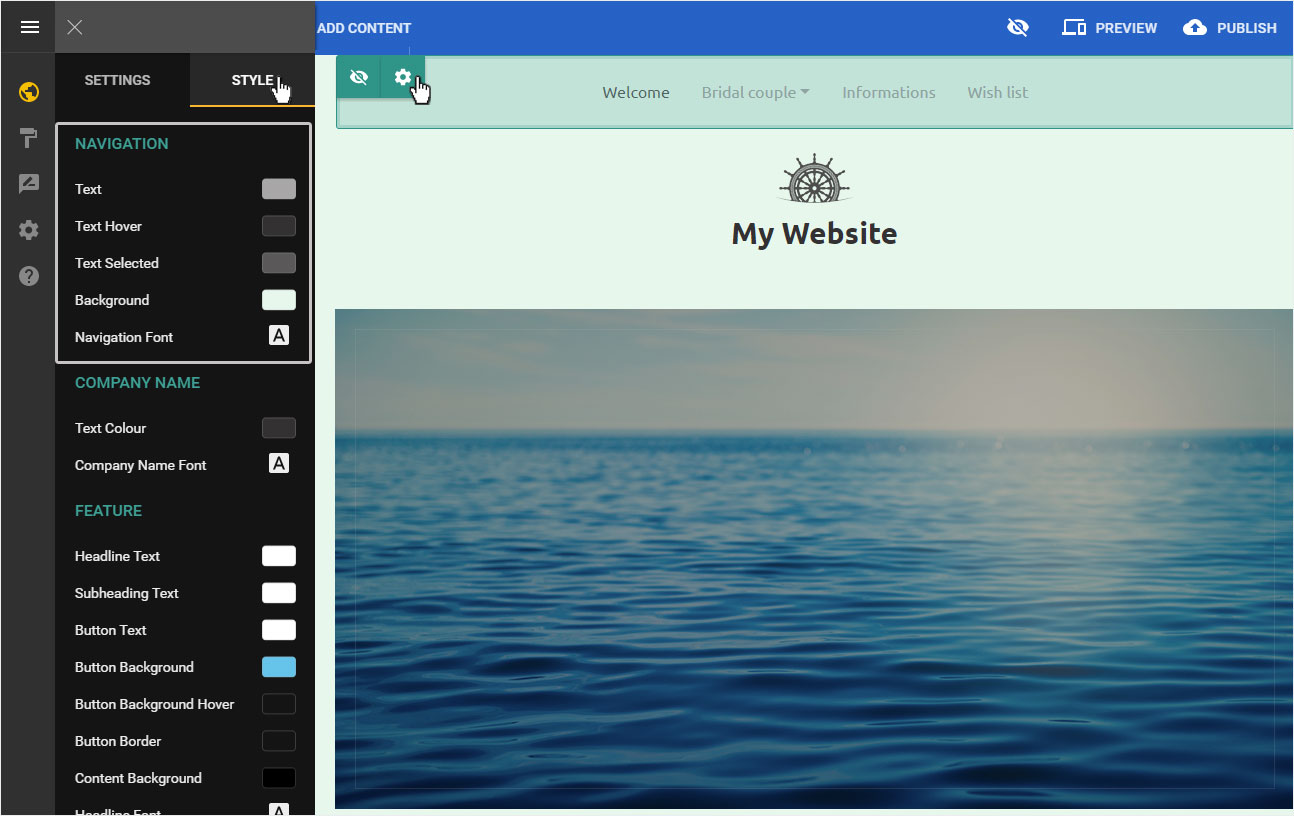
Click on the Gear symbol. The item settings details open on the left. There are two settings areas available:
- Settings: Under Alignment, you can display the navigation (main menu) left or right-aligned or centred.
- Style: If you want to change the presentation of the navigation (font, colour, etc.), you can customize it here in the Navigation area.
If the navigation settings are as desired, save the adjustments by clicking on Save or the X icon.
Sort
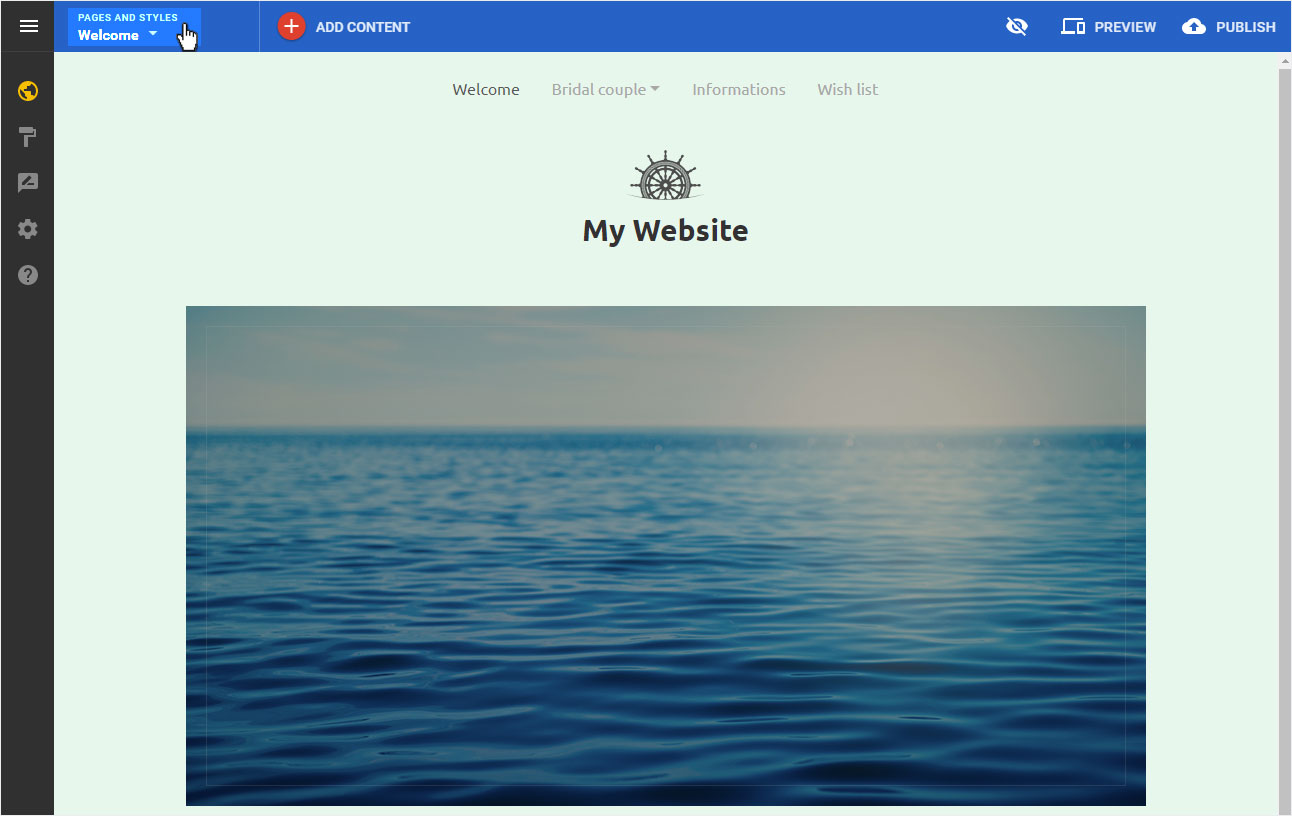
Click on Pages & Styles in the blue header bar.
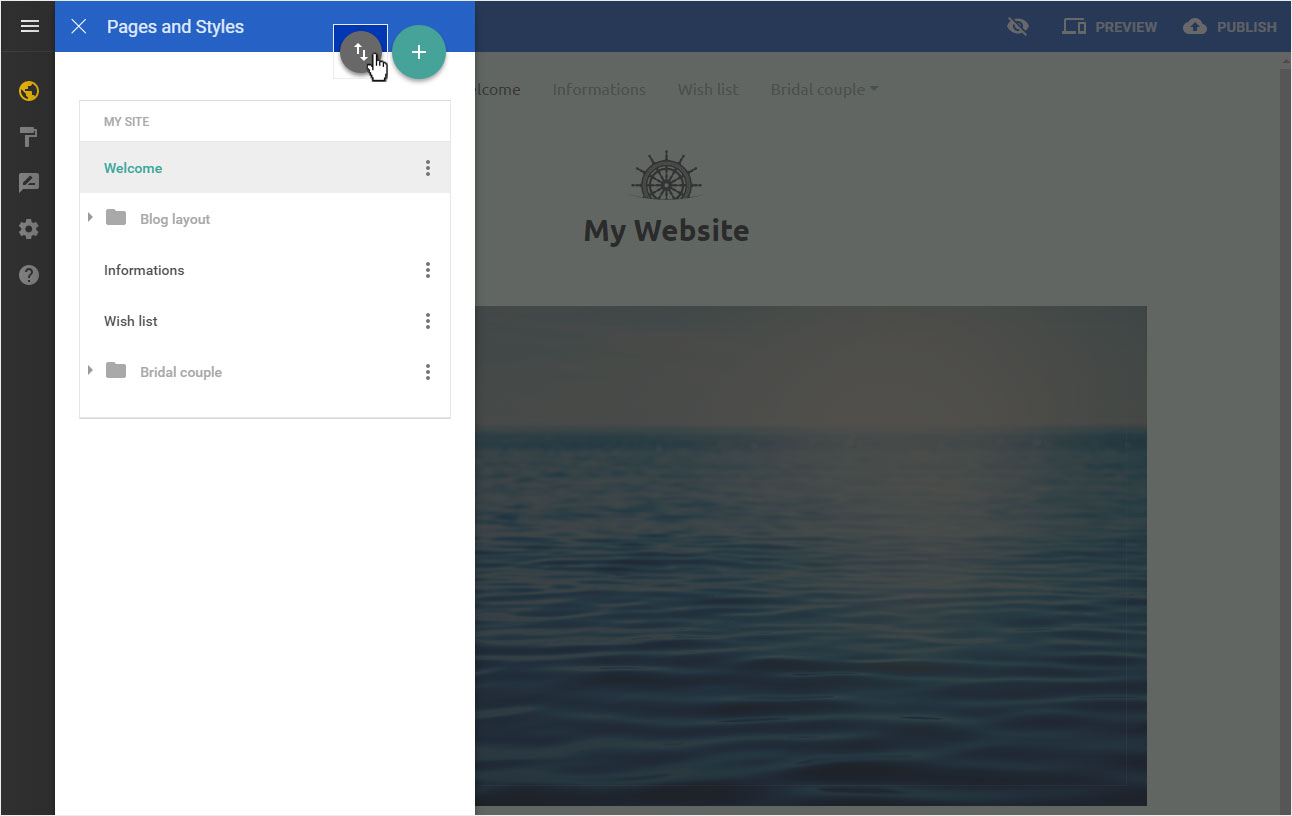
Select the icon Sort menu items.
In the area that now opens, you can move each page to the desired position by clicking and dragging.
If the new order matches, then click on Done to save your settings.
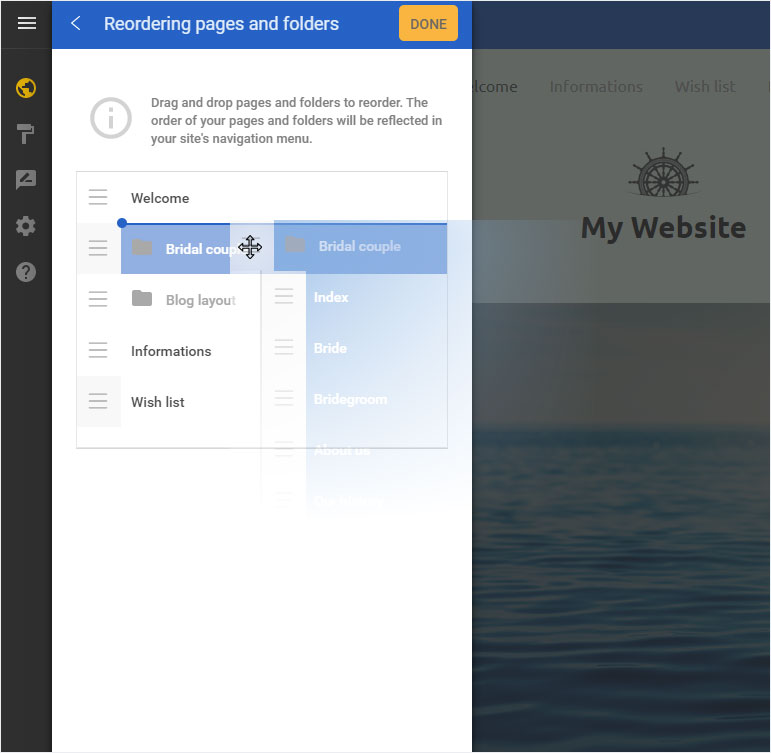
The new order is immediately adjusted in the navigation view of your website and in the page order on the left.
