Spam filter settings in My Panel
You can configure spam filter settings individually for each email account in My Panel. The spam filter settings apply to all email addresses belonging to the respective email account.
To customize the spam filter settings for a specific email account, follow these steps:
2. Navigate
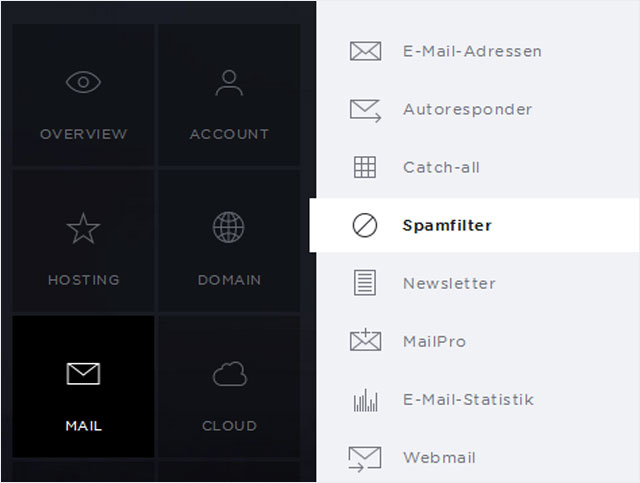
Click on «Mail» in the navigation and then «Spam filter».
Select the subscription with the spam filters settings you want to change.
3. Spam filter settings
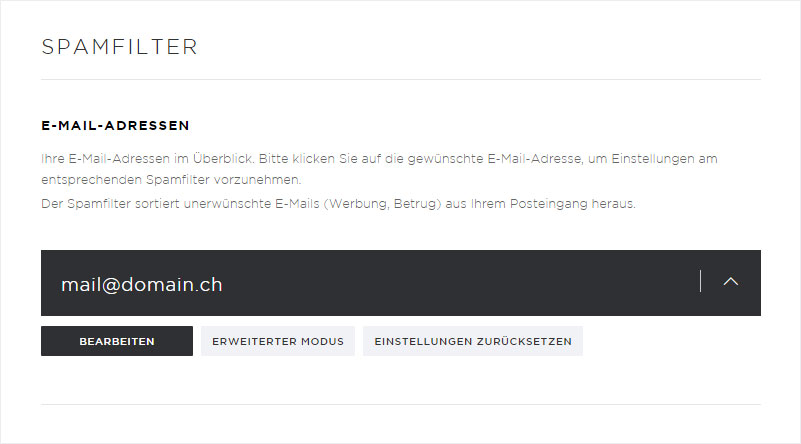
Click the arrow icon next to the desired email address.
You will now see the detail view for the selected email address along with several buttons.
Click «Edit».
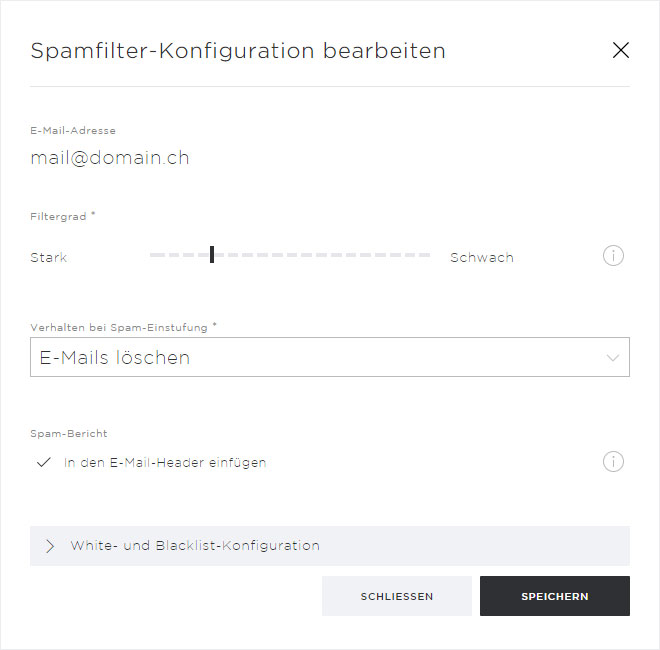
Change the spam filter configuration
Move the «Filter level» slider to set the strength (1–20 points) of the spam filter for incoming emails. A low value (strong filter level) will filter more emails while at the same time increasing the risk that regular emails will be incorrectly classified as spam. We do not recommend setting this value below «4».
Under «Response per spam classification», select how you would like emails that are classified as spam to be treated:
- Move to spam folder: The email will be moved to the «spam» folder. You can search this folder for incorrectly filtered emails in Webmail or in your email program if you have configured it for IMAP. The name of this folder cannot be changed.
- Delete emails: The email is immediately and permanently deleted.
- Move to inbox: The email will be moved to the inbox. The spam filter adds the identifier «****SPAM****» to the subject line of emails.
You can block individual email addresses or all email addresses of a domain or exclude them from the spam filter under «Configuring whitelists and blacklists». More information on whitelists and blacklists can be found here.
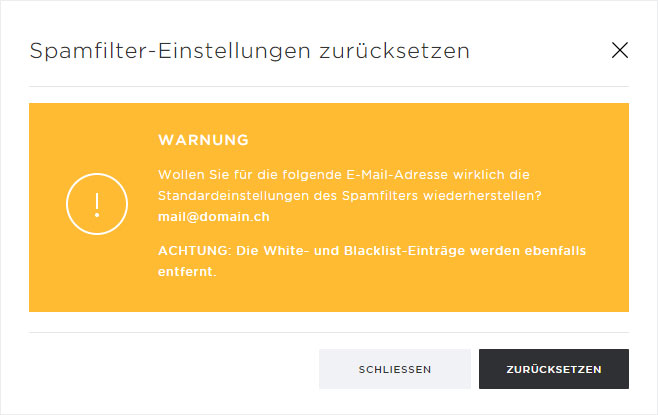
Restore spam filter settings
More information on resetting the spam filter settings can be found here.
