APPLE – iPhone – Automatic setup
Here you can automatically add your e-mail address as an IMAP account on your iPhone, iPad or Mac or delete a corresponding profile. Proceed as follows:
1. Open browser
Open the browser on your iPhone and enter the following URL: support.hoststar.ch/mail.
Click on the blue «Open» button at the bottem right.

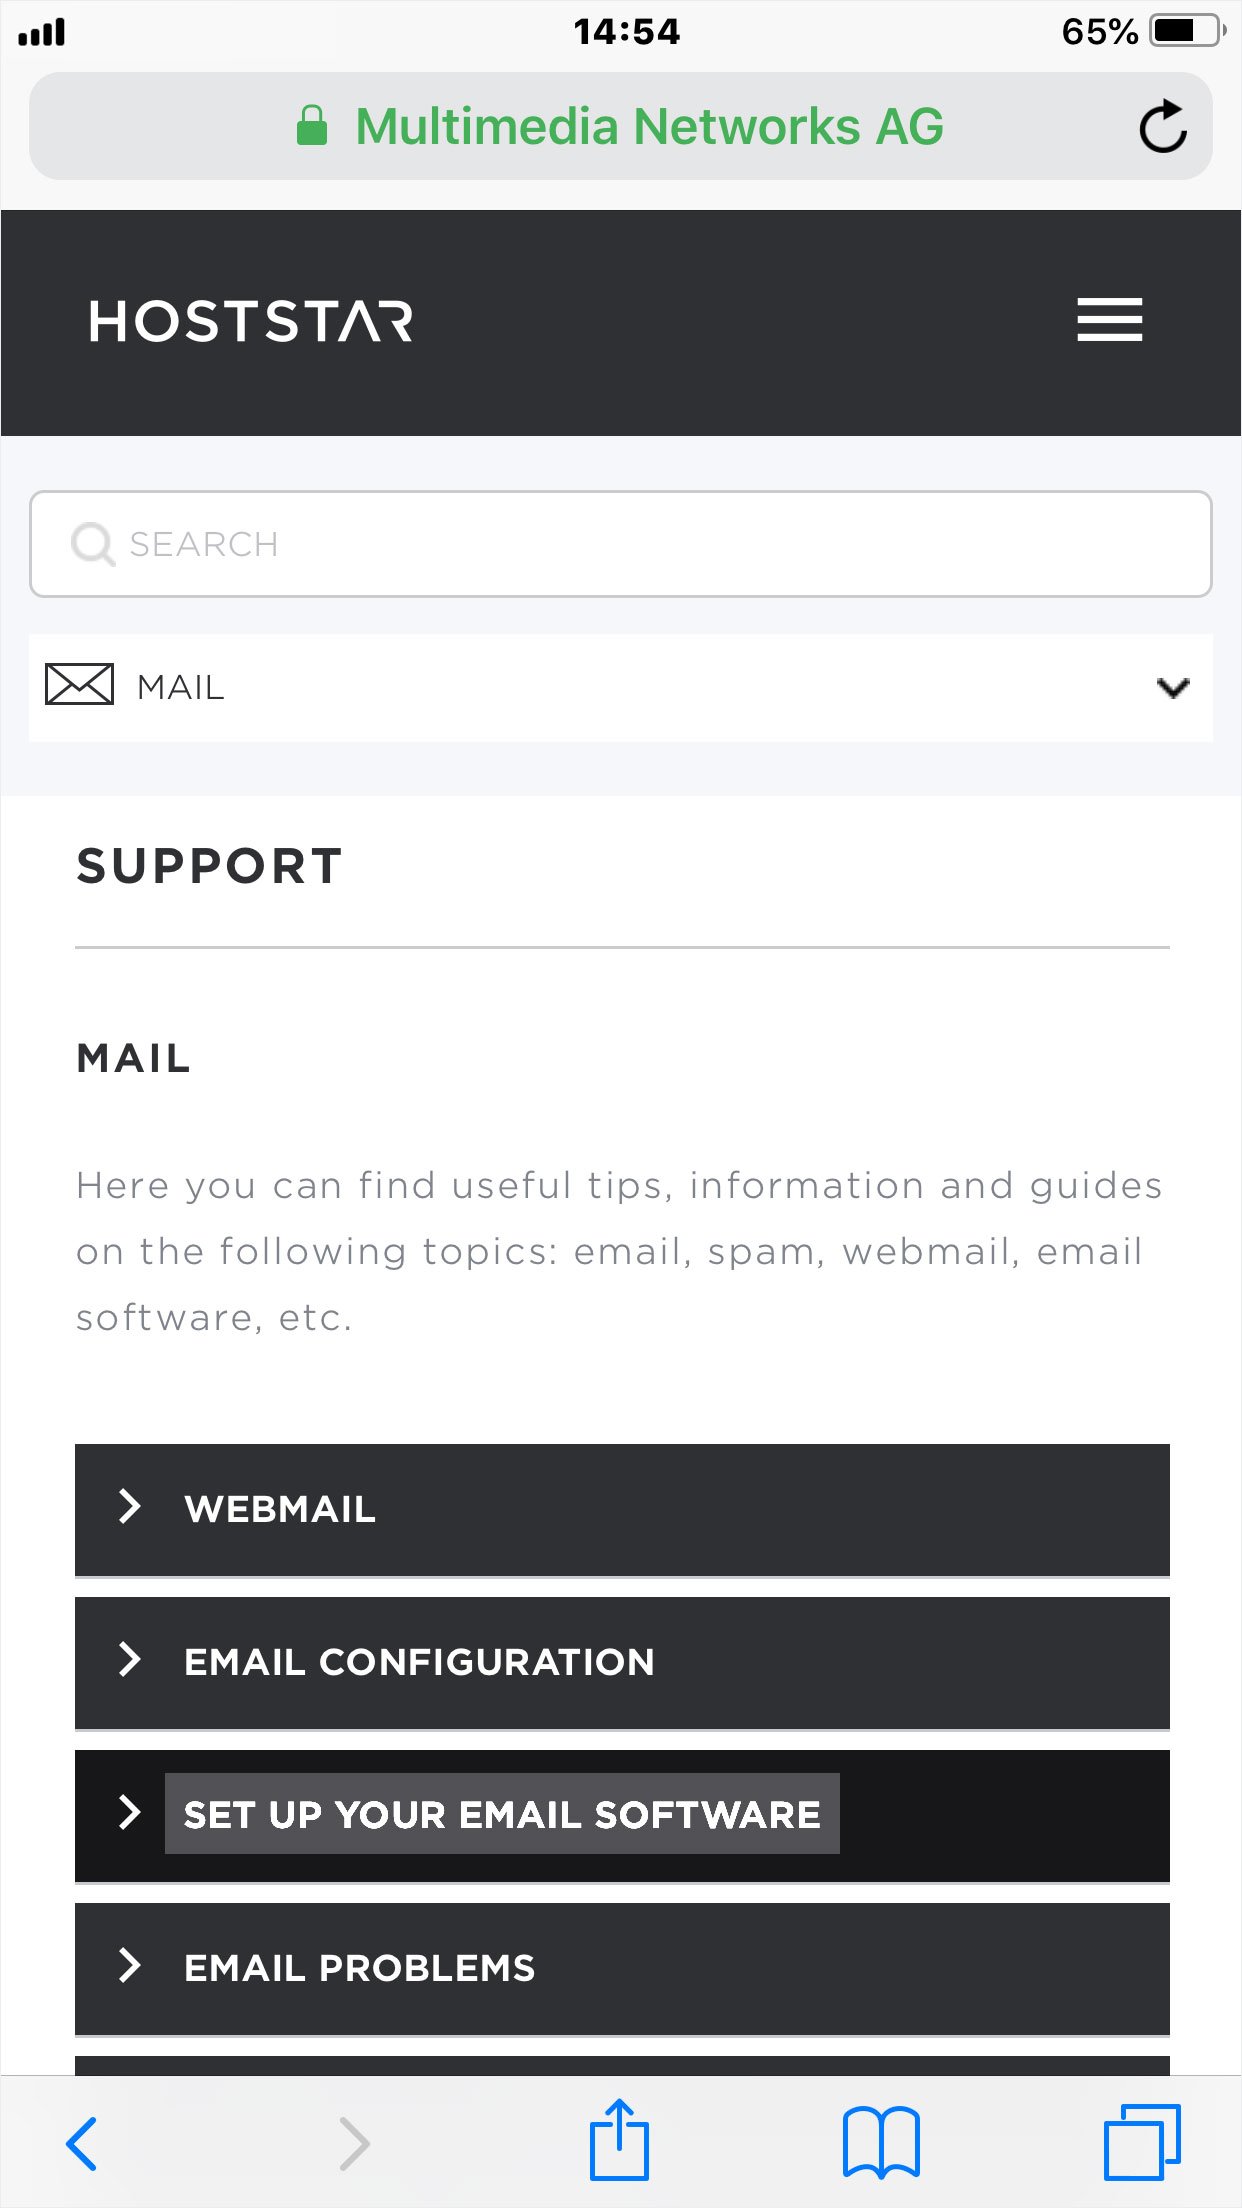
2. Open support area
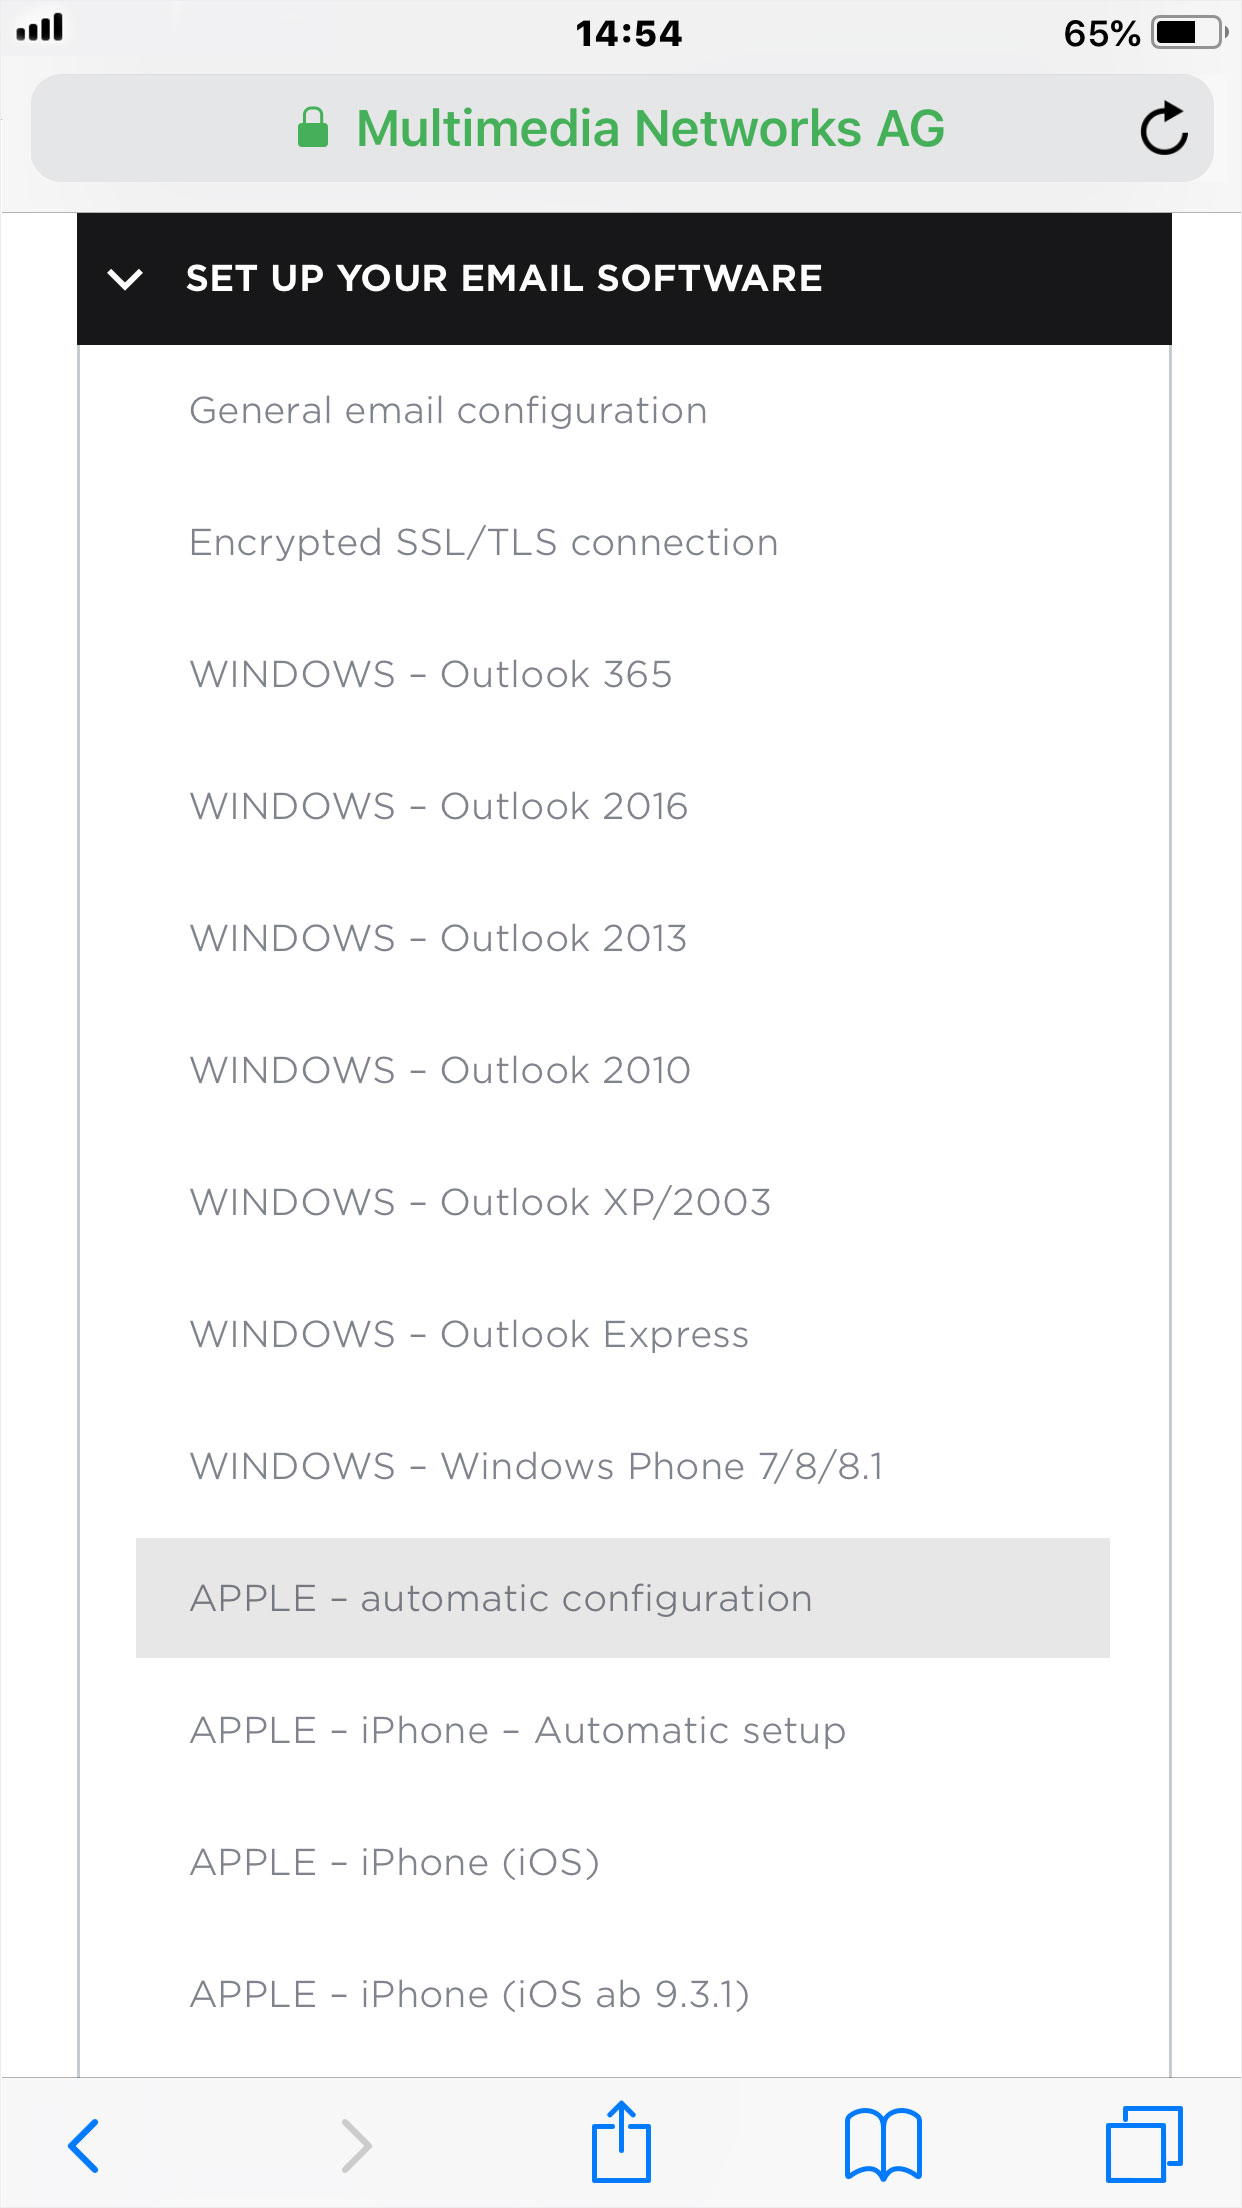
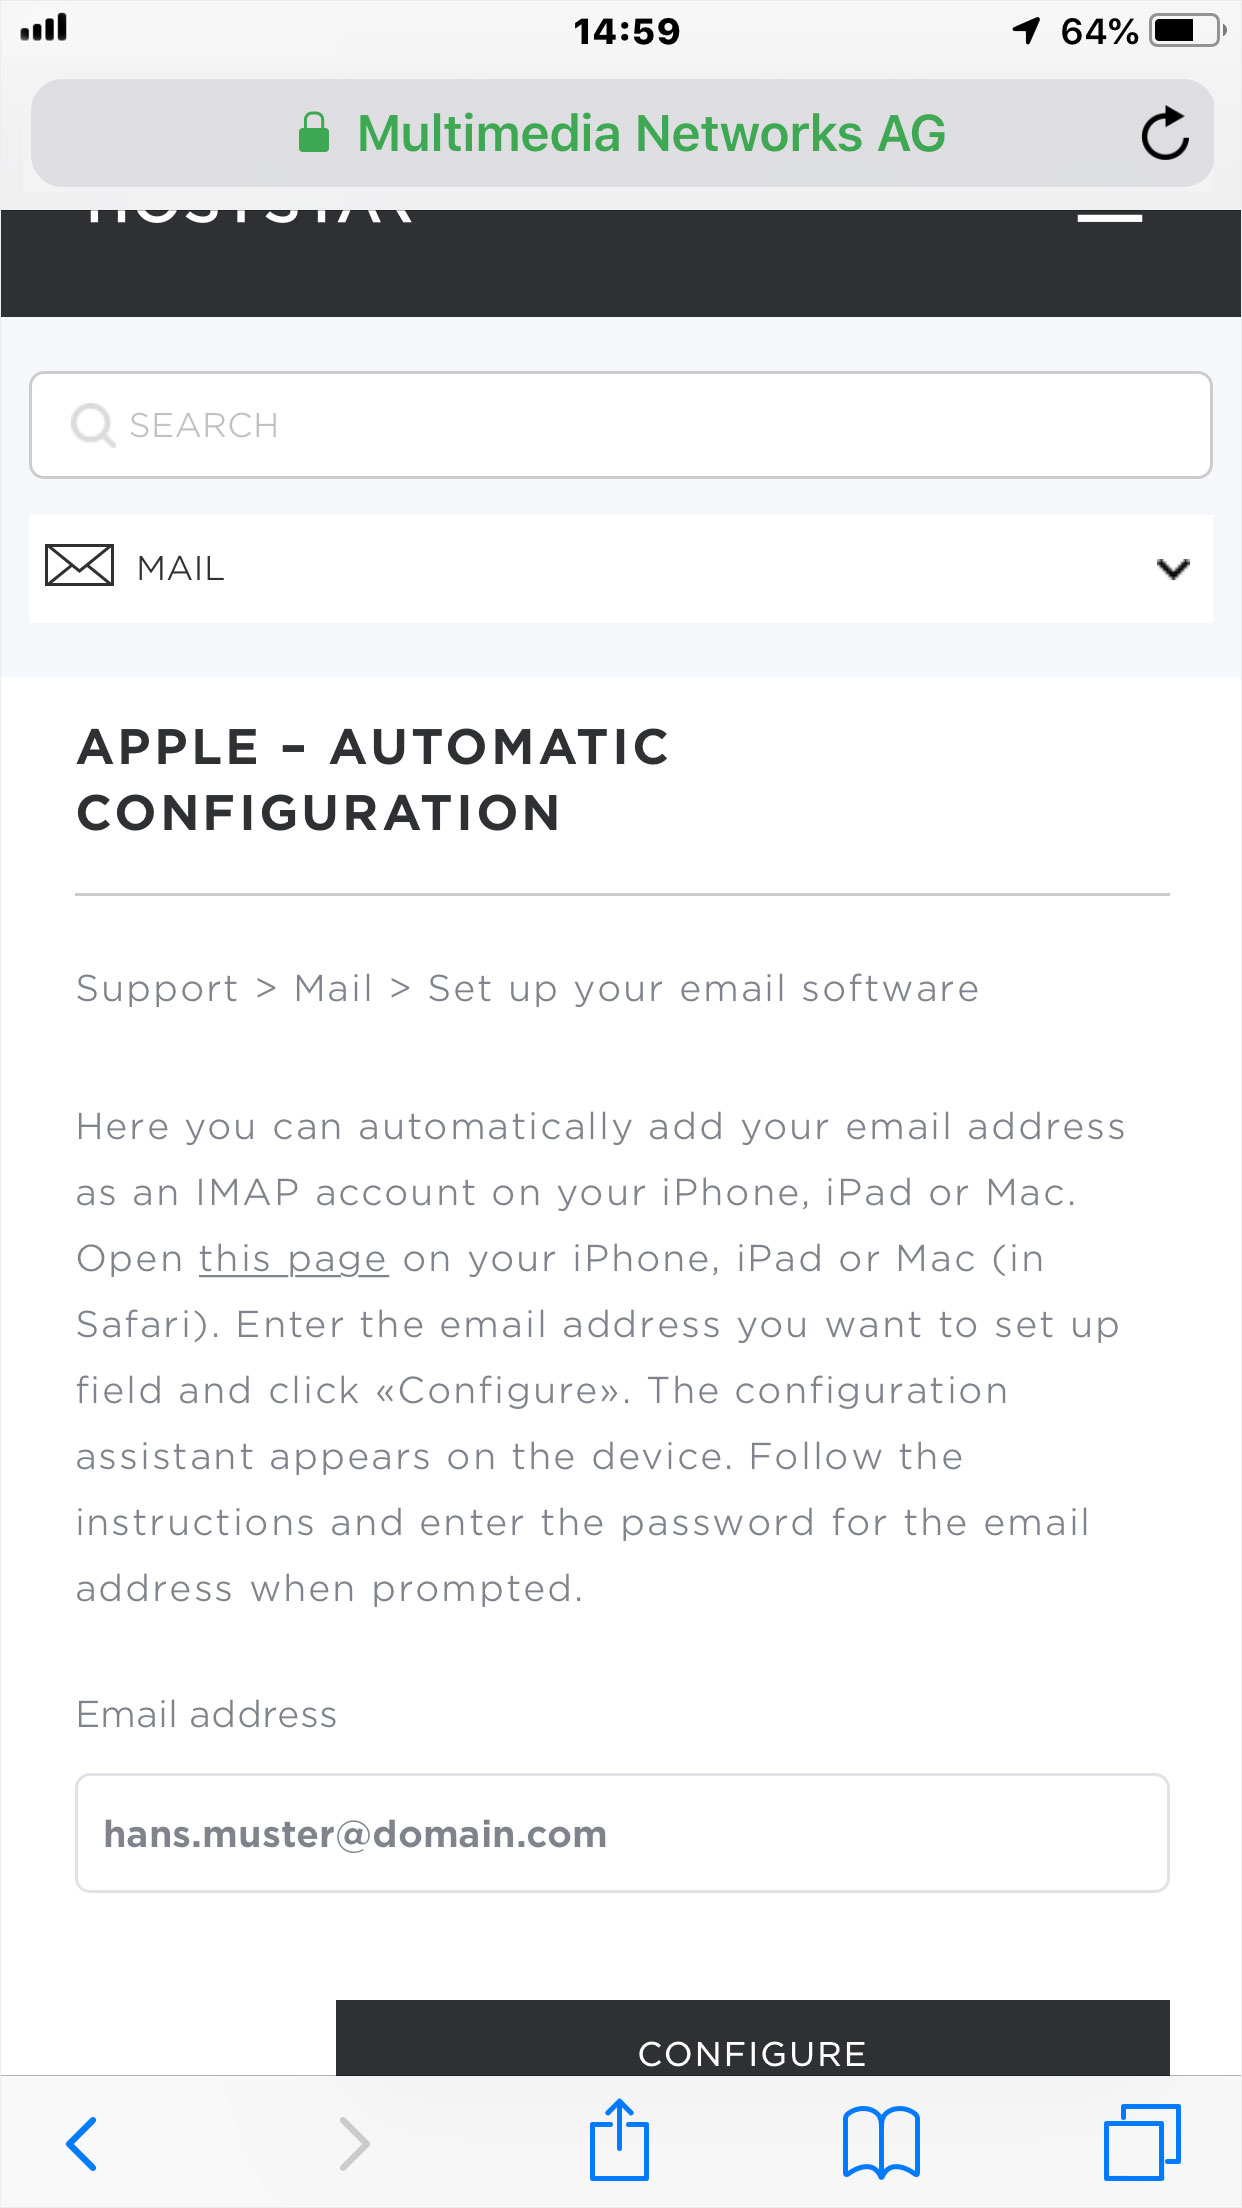
The «Mail» support area of Hoststar opens immediately. Select the «Set up your email software».
4. Add e-mail adress
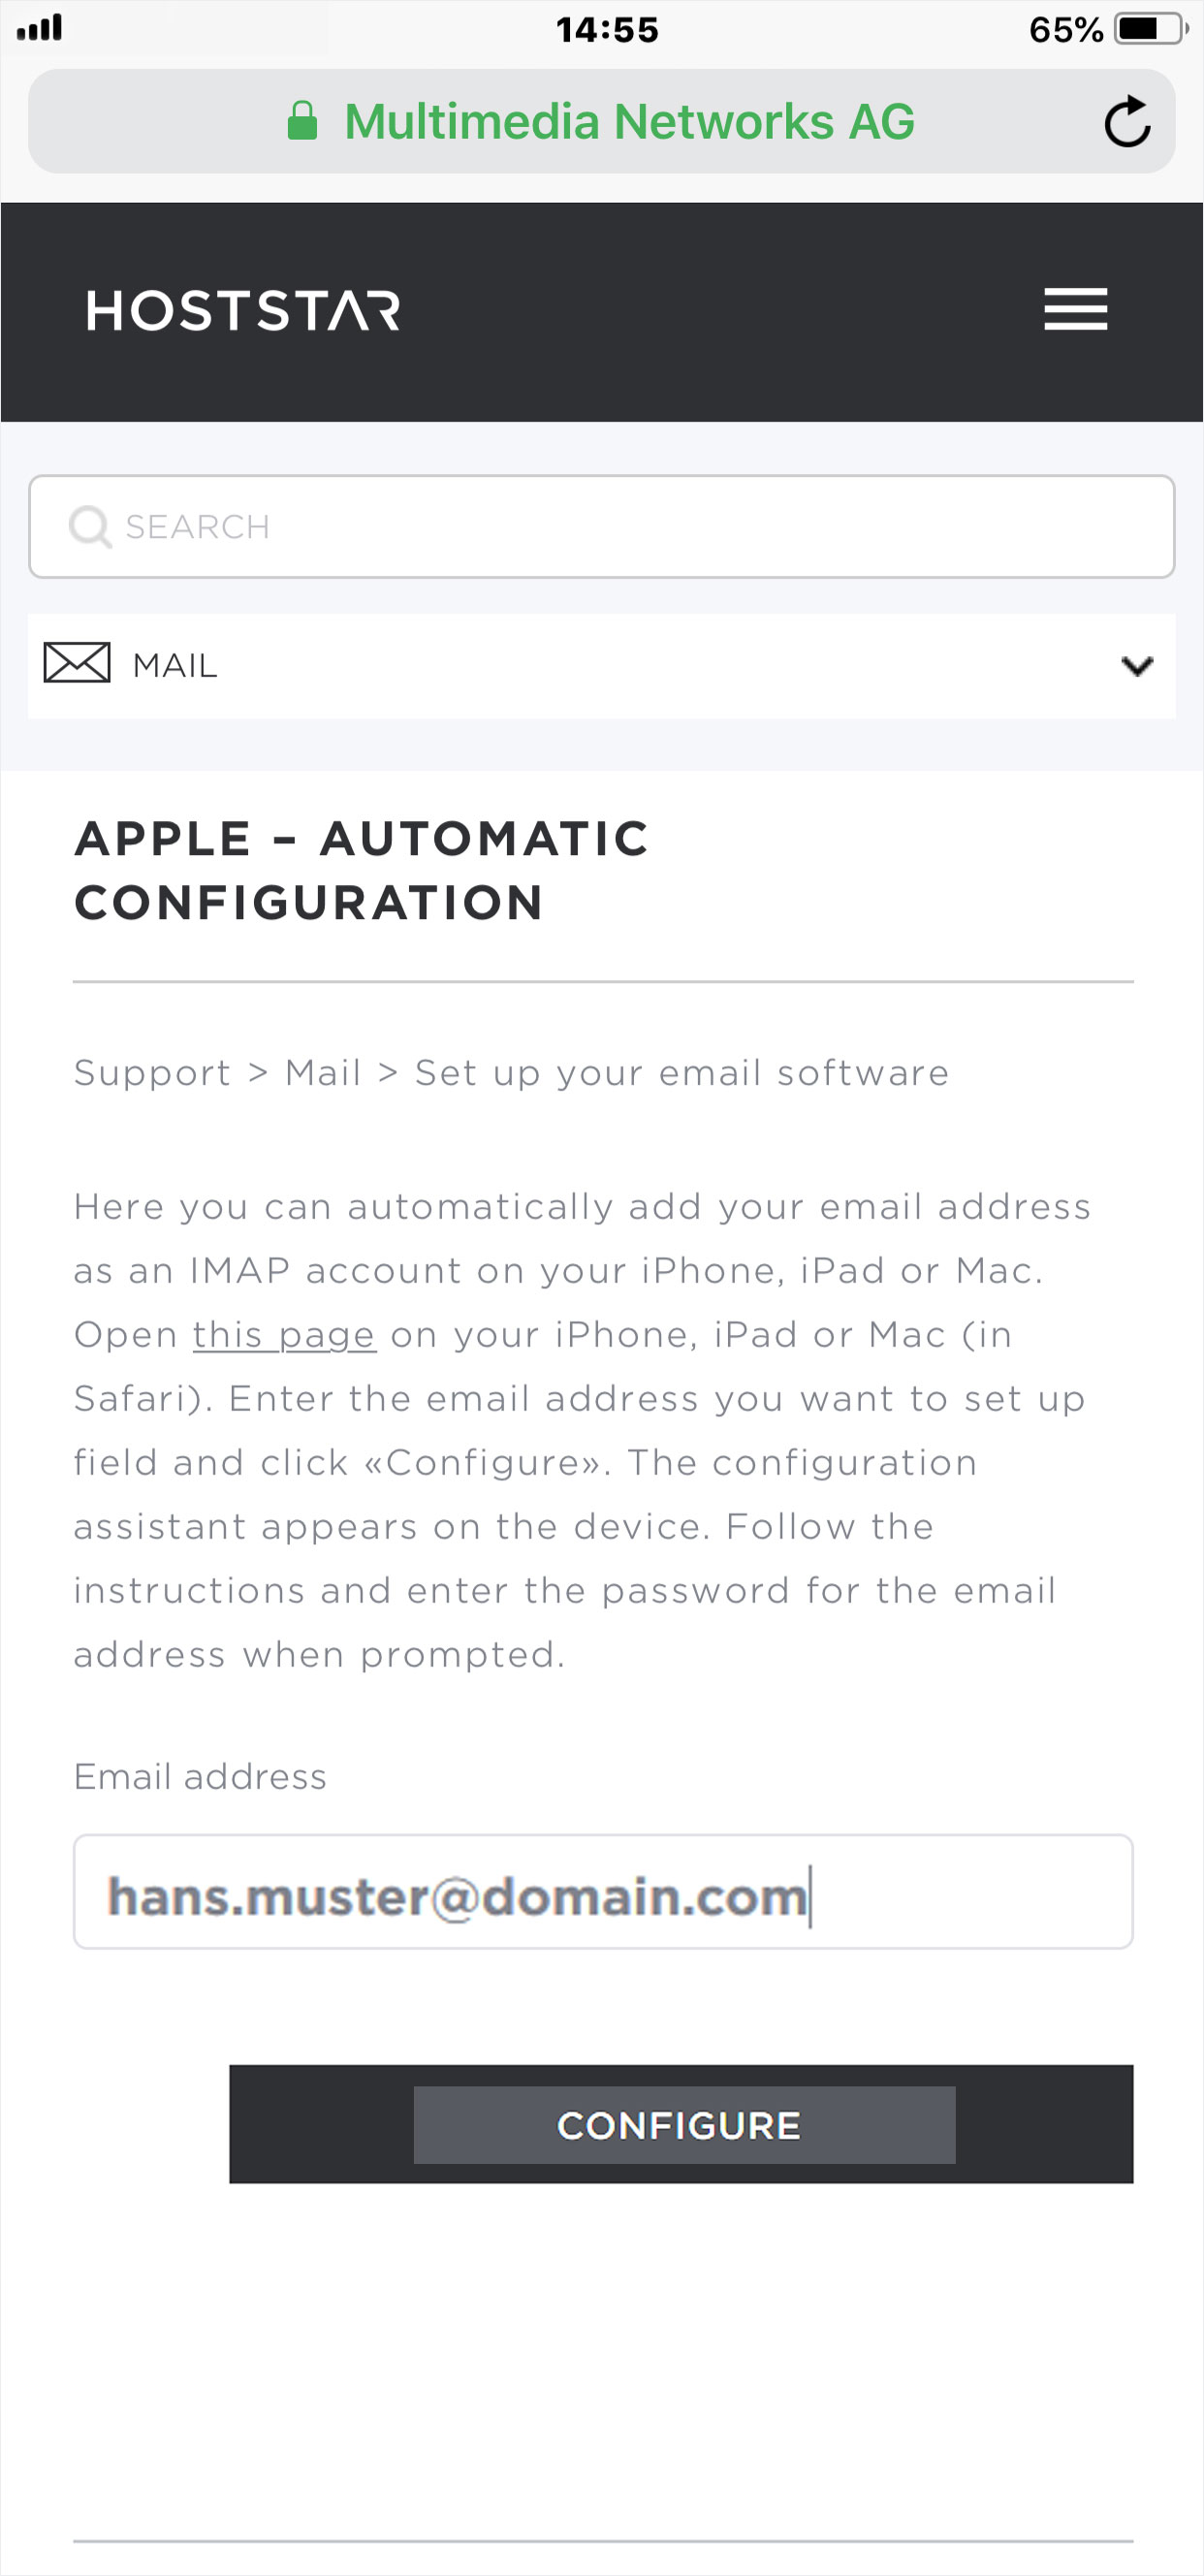
Now enter the desired e-mail address to be configured. Then click on the «Configure» button.
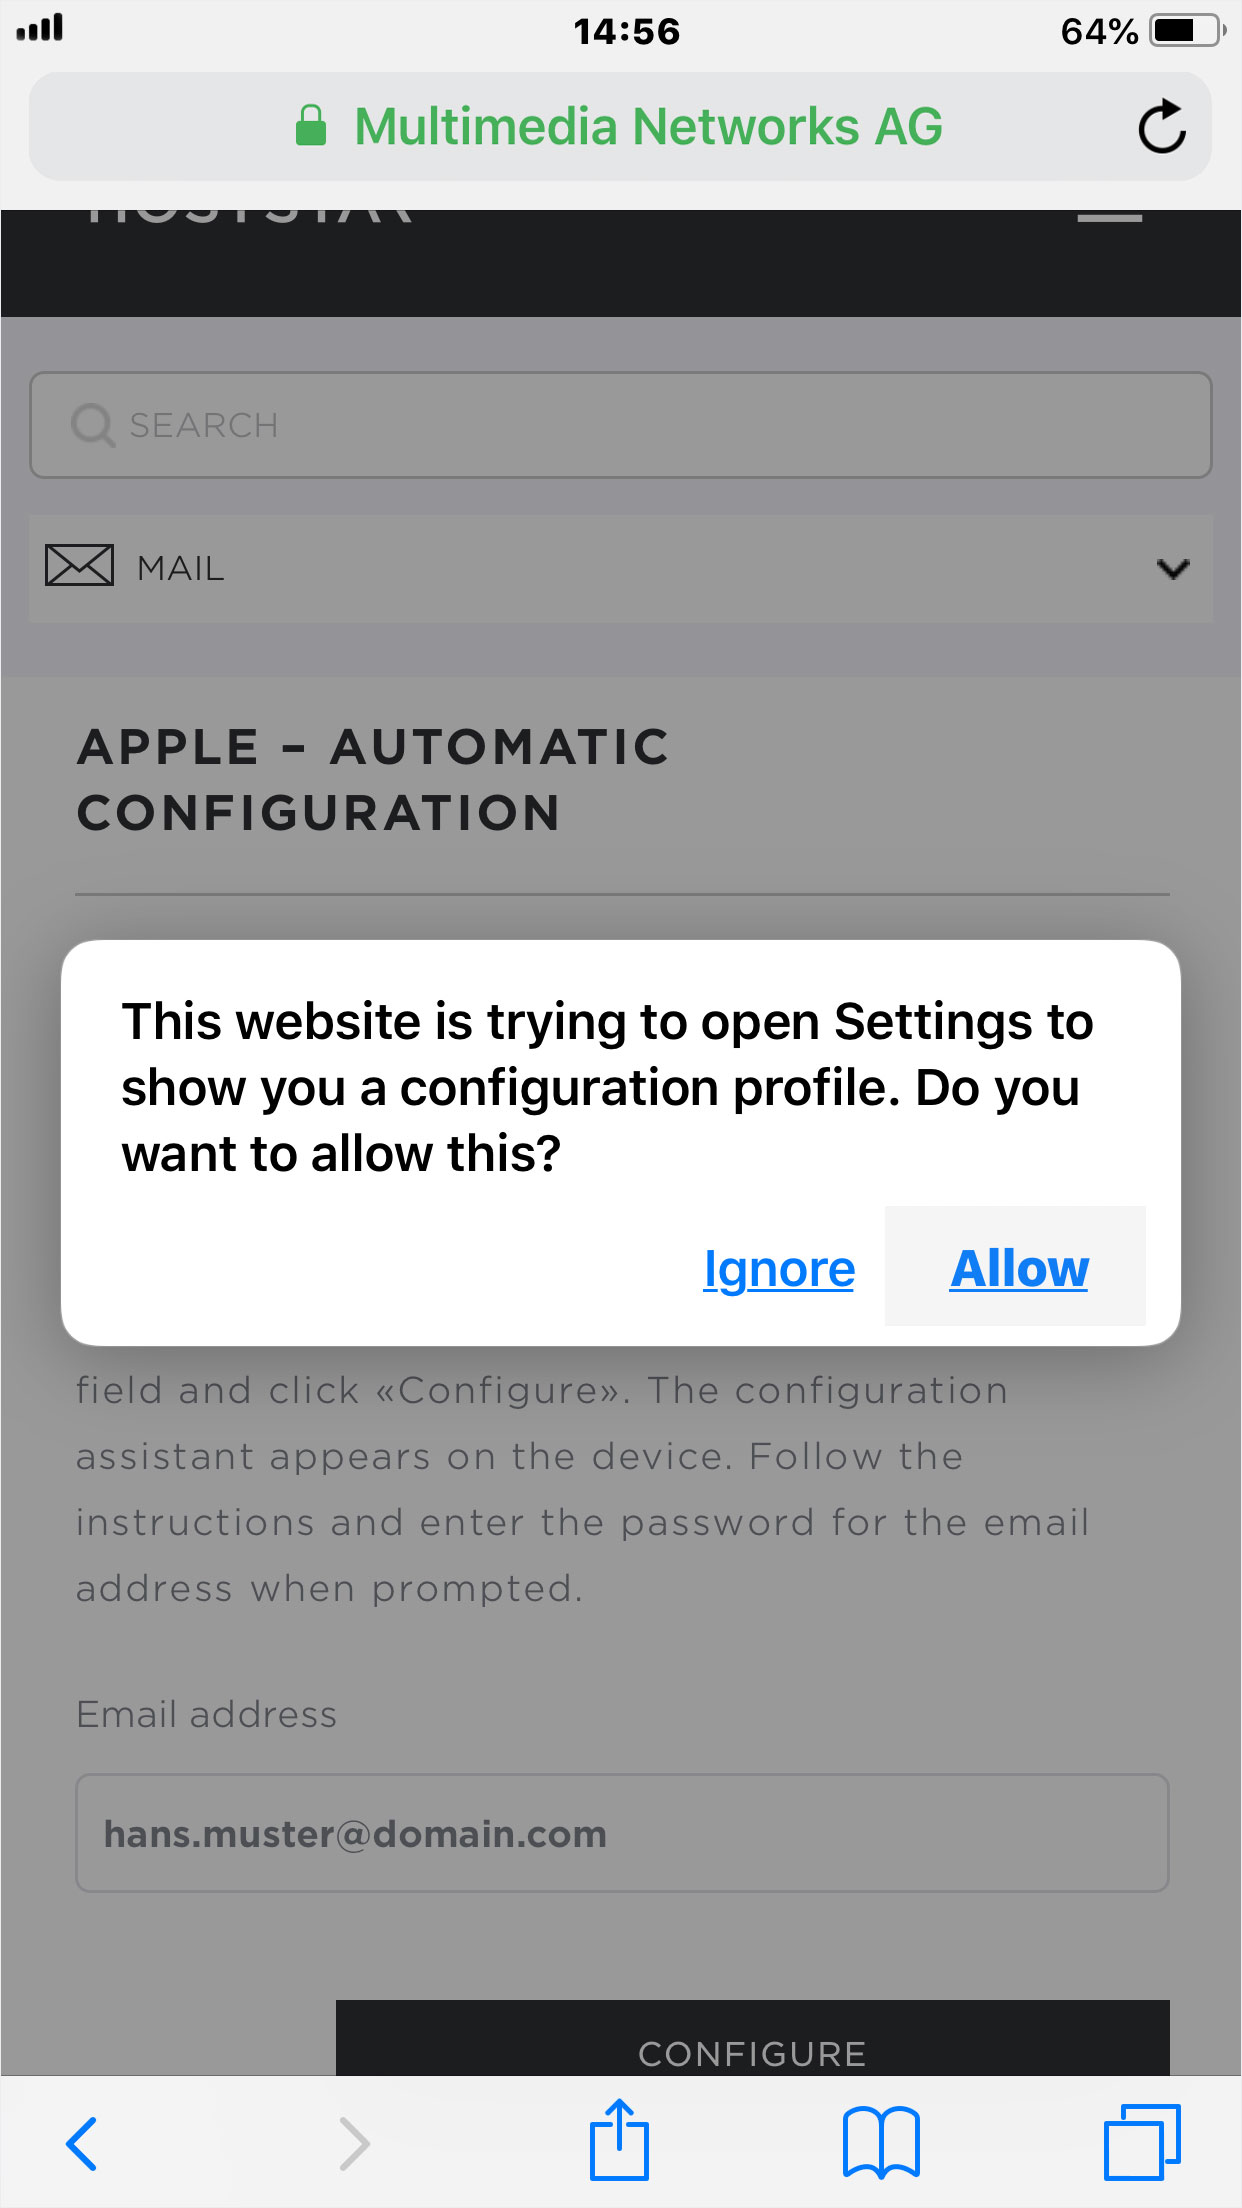
5. Confirm
A popup with a warning message opens. Click on «Allow», otherwise your e-mail will not be configured.
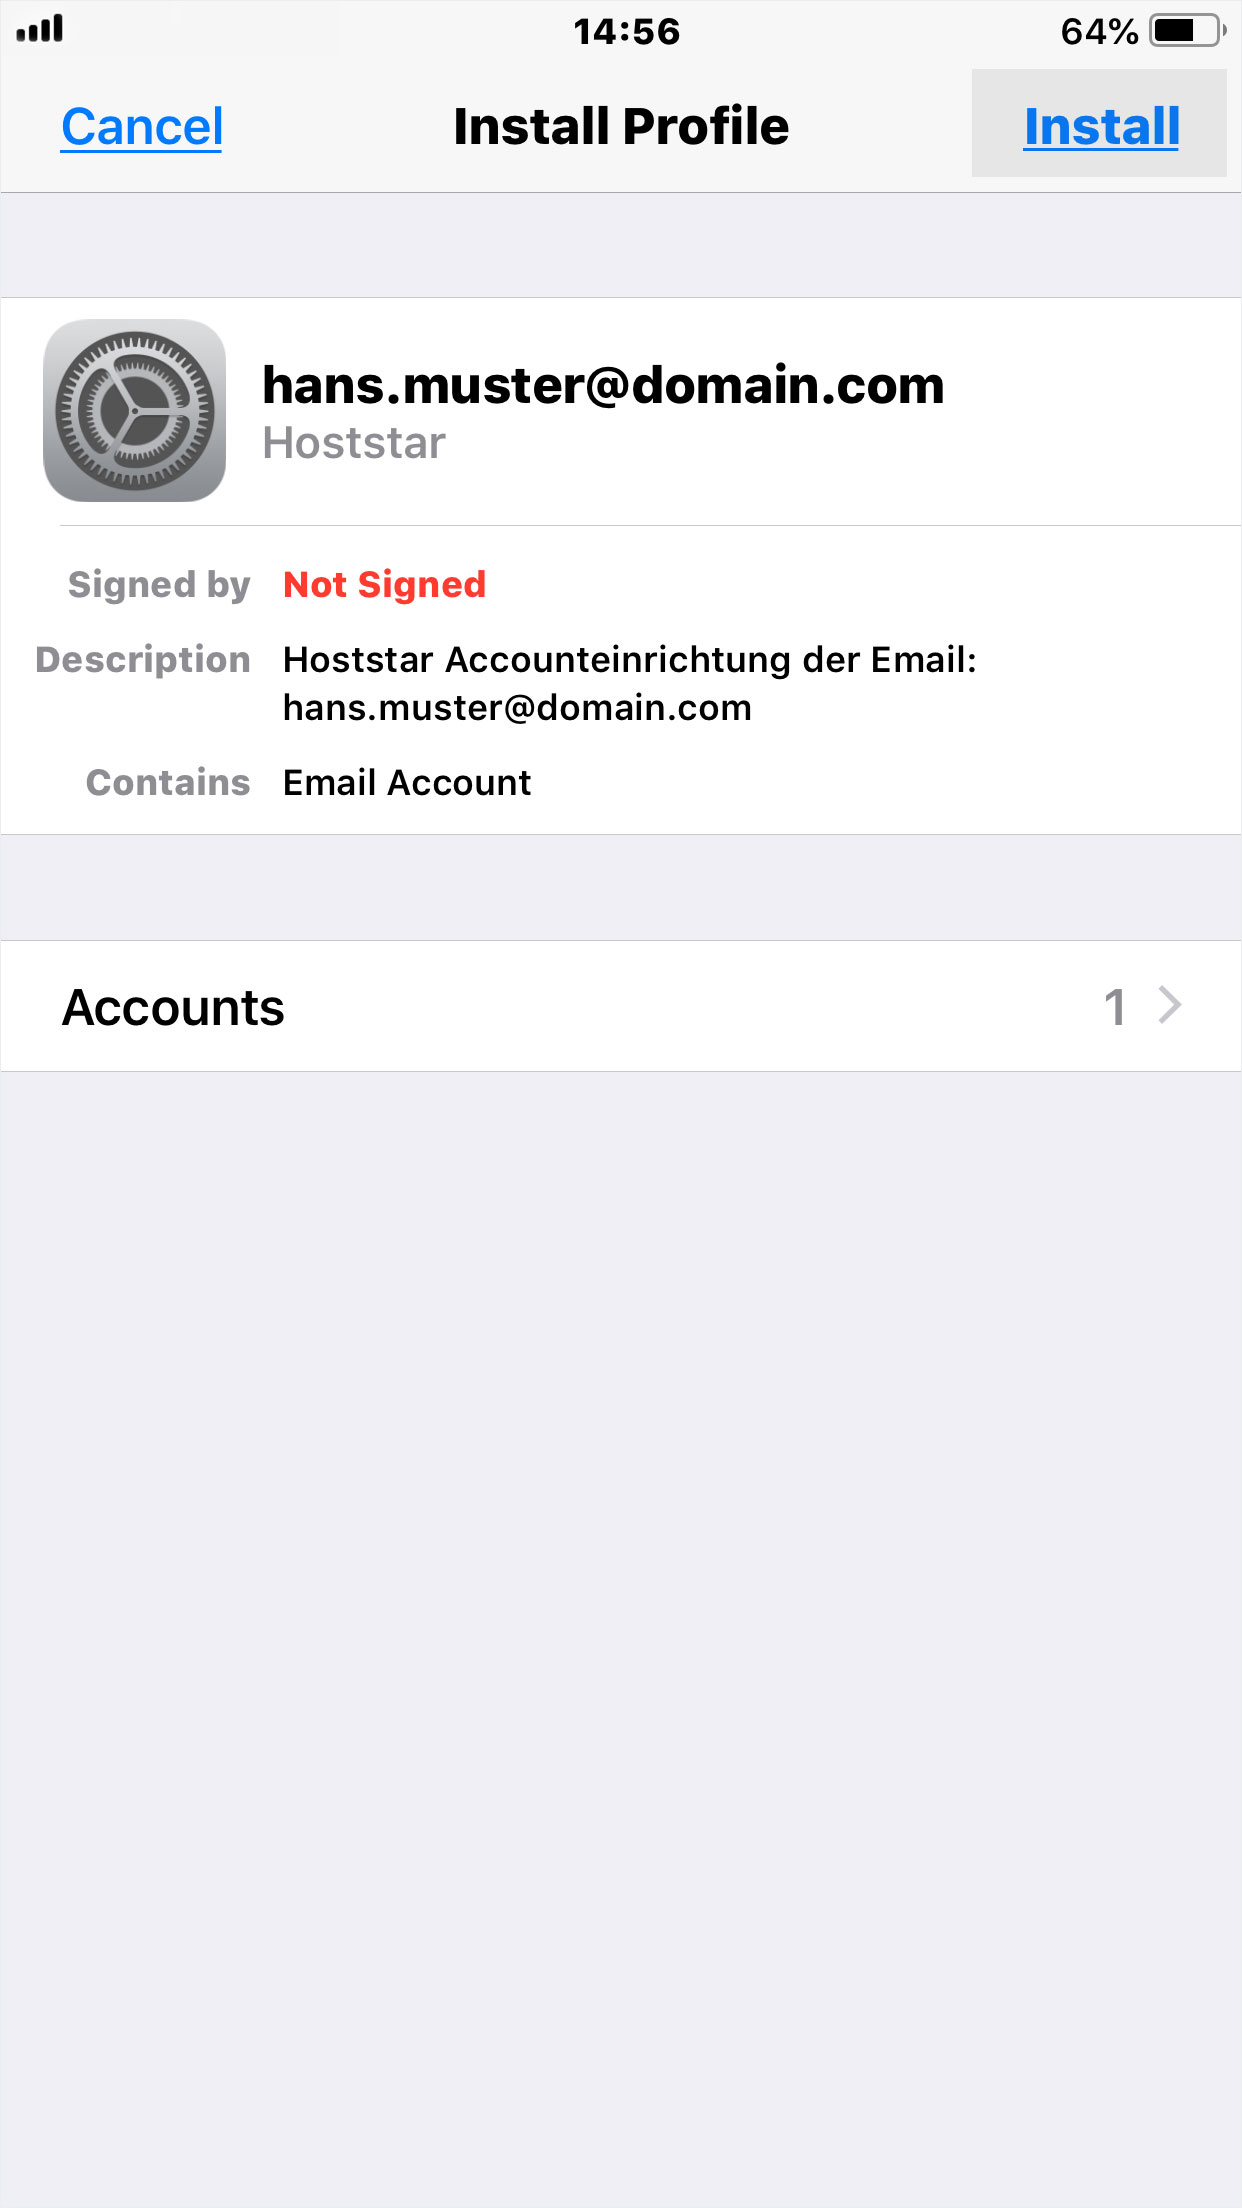
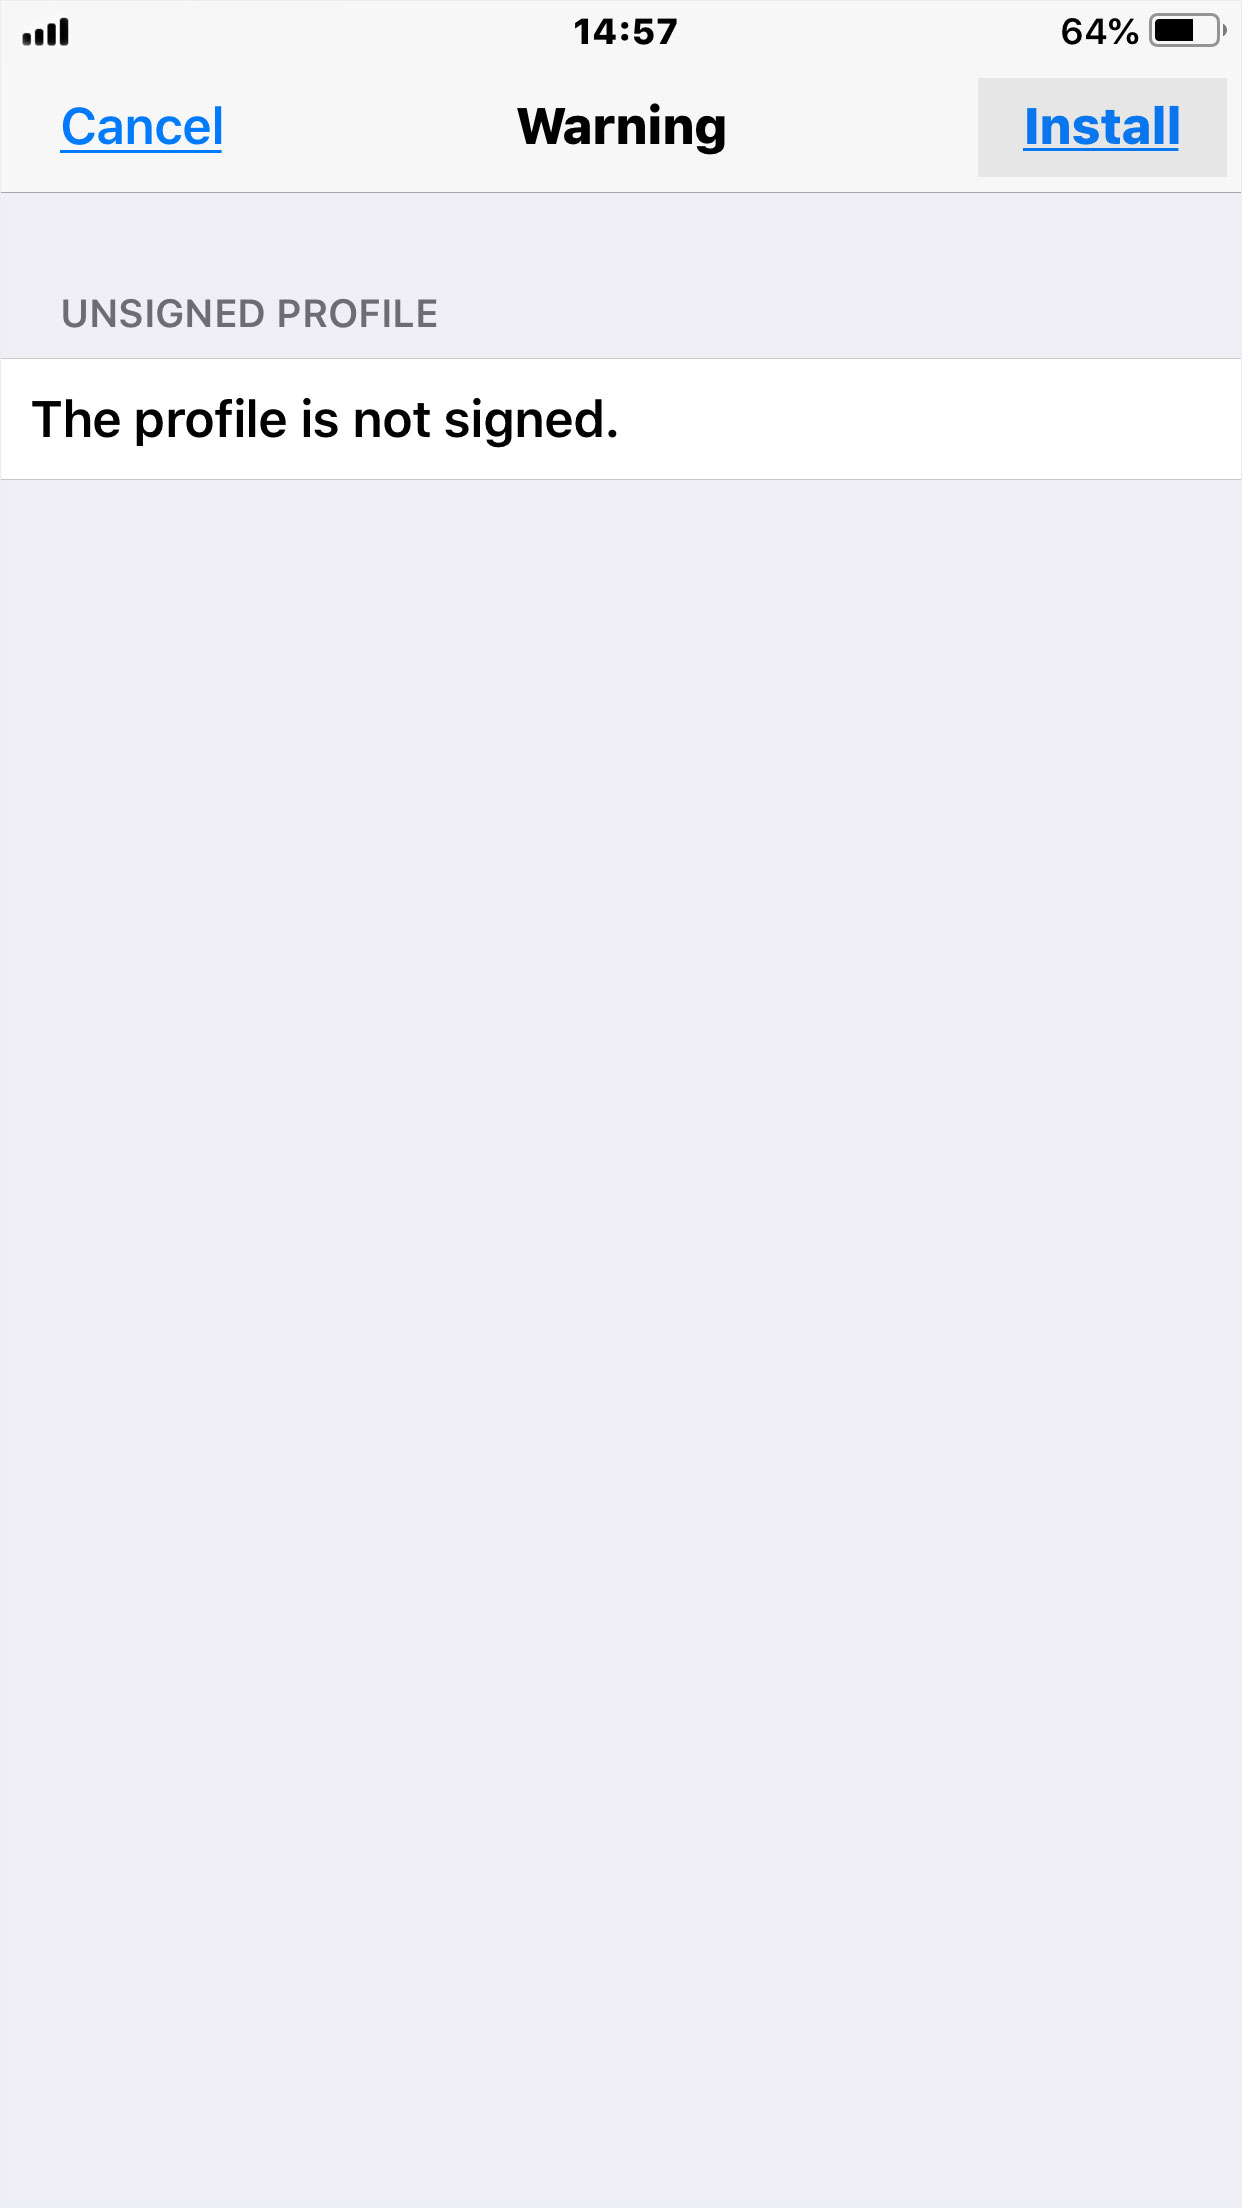
6. Install
The desired e-mail address will be displayed. Now click on «Install» in the upper right corner.
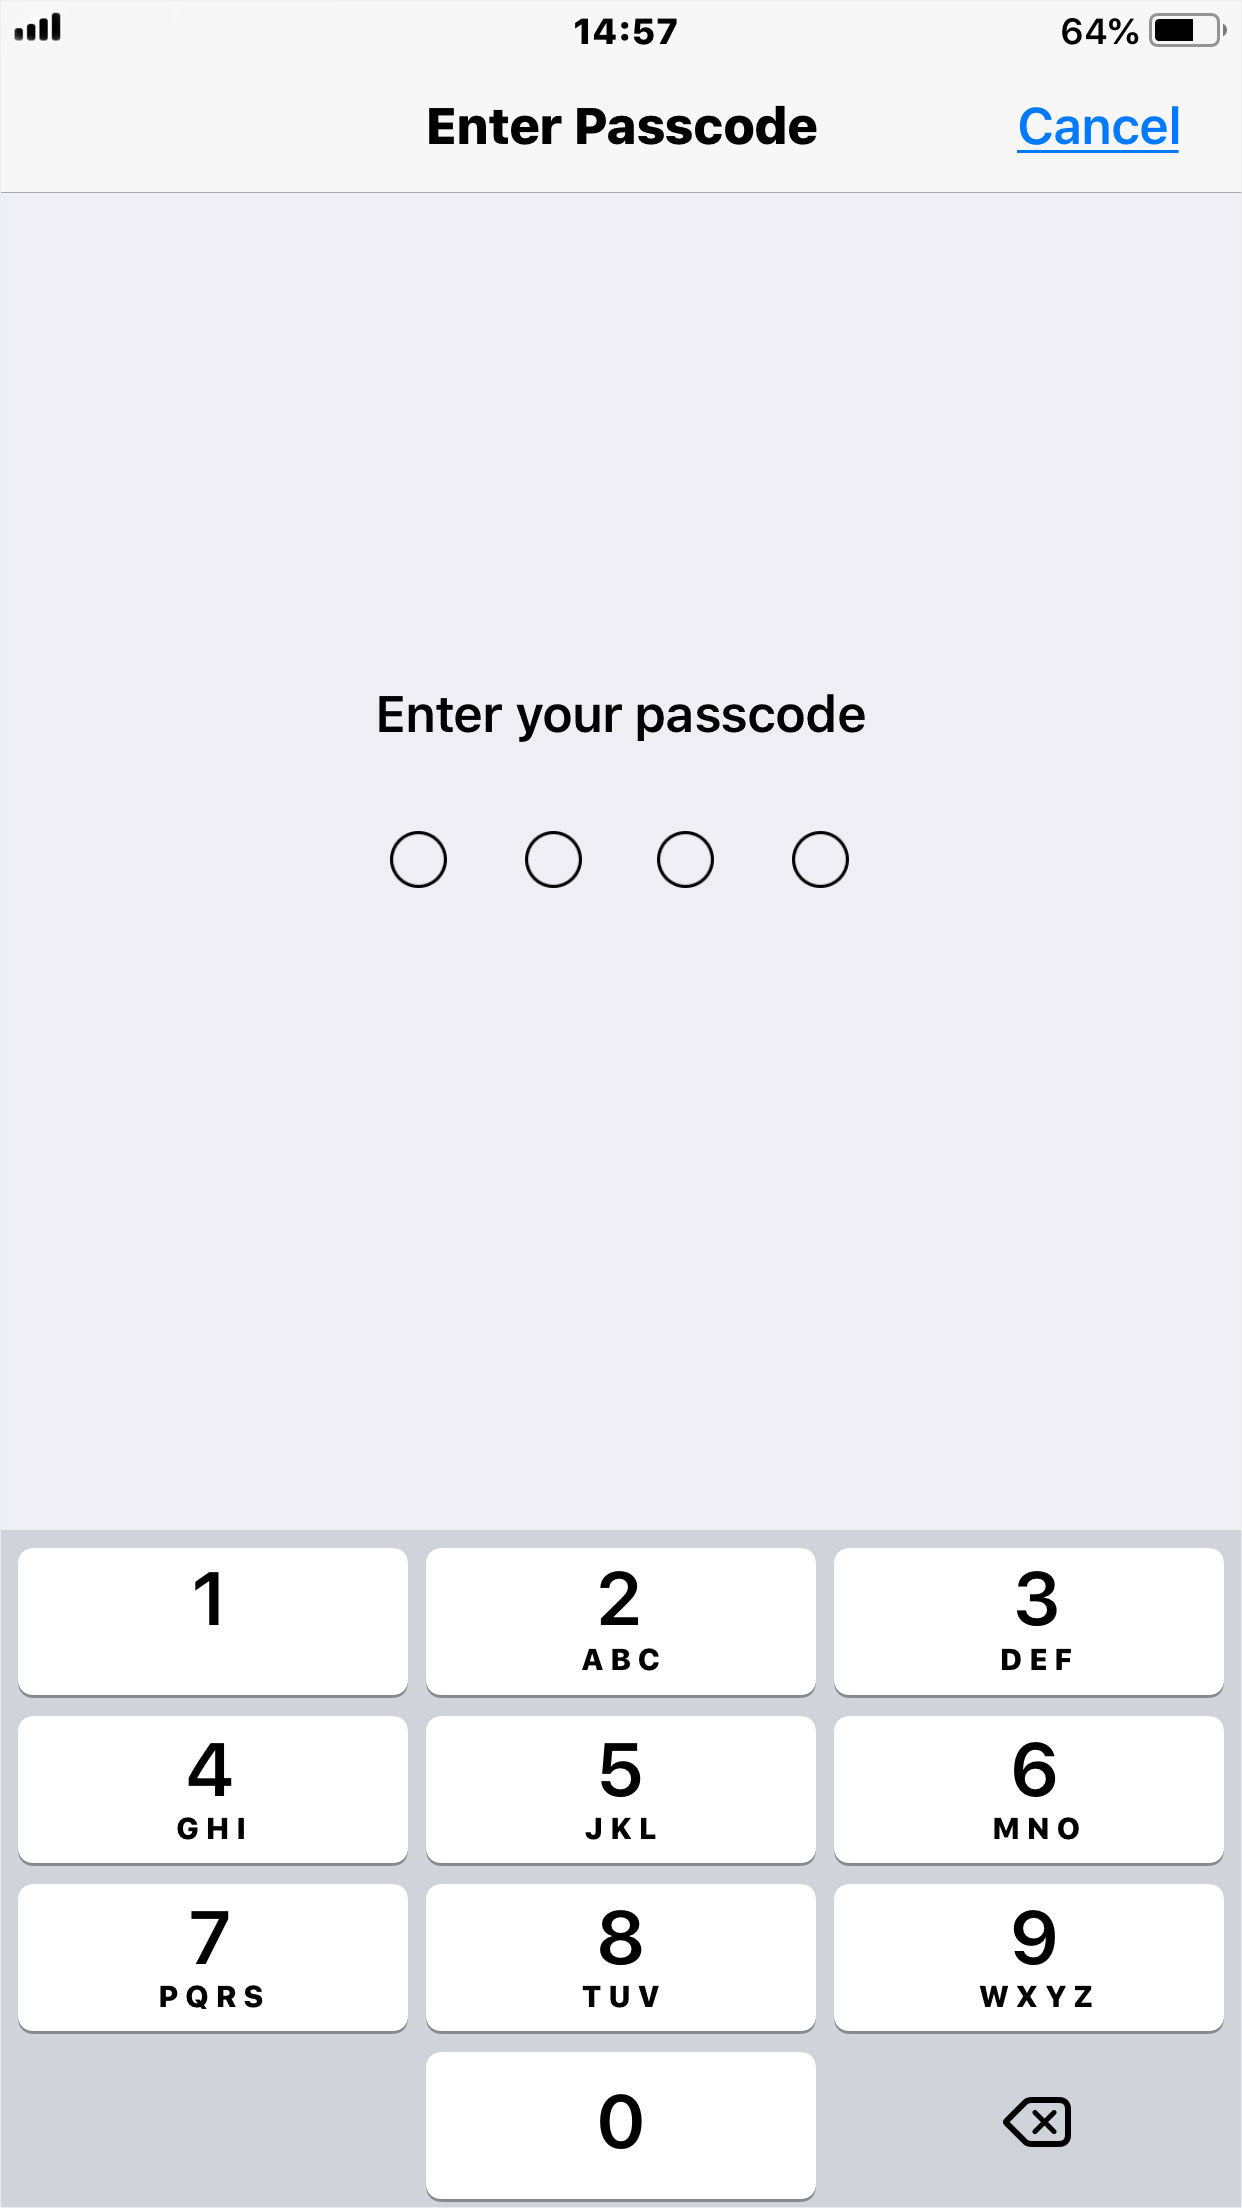
7. Enter lock code
You will now be asked to enter the «unlock code» for your iPhone, if you have one.
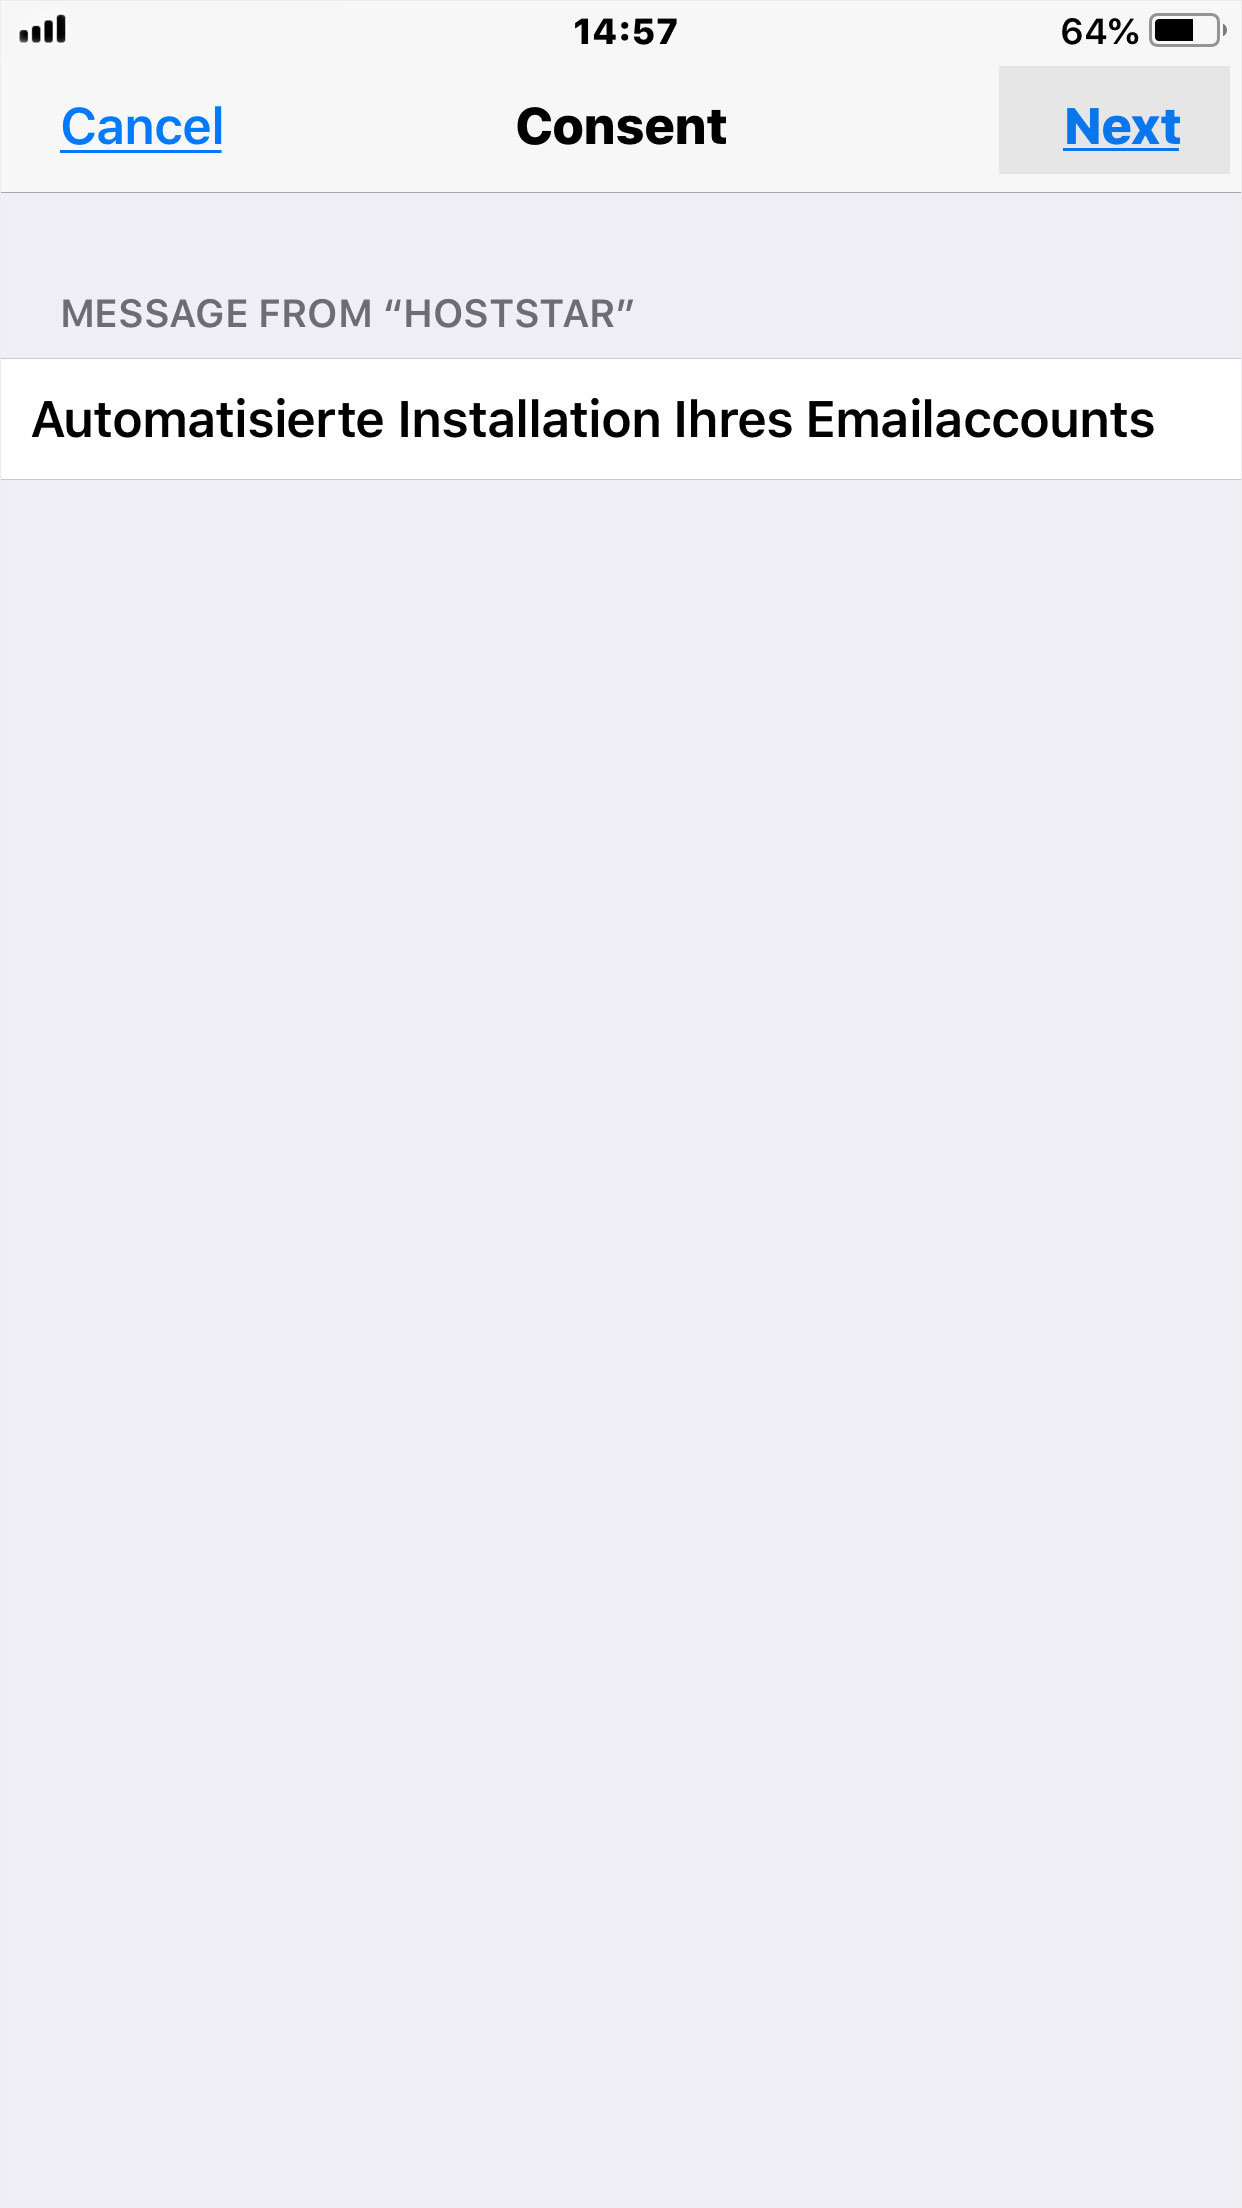
8. Start automatic installation
The next step will be displayed. Click «Next» here.
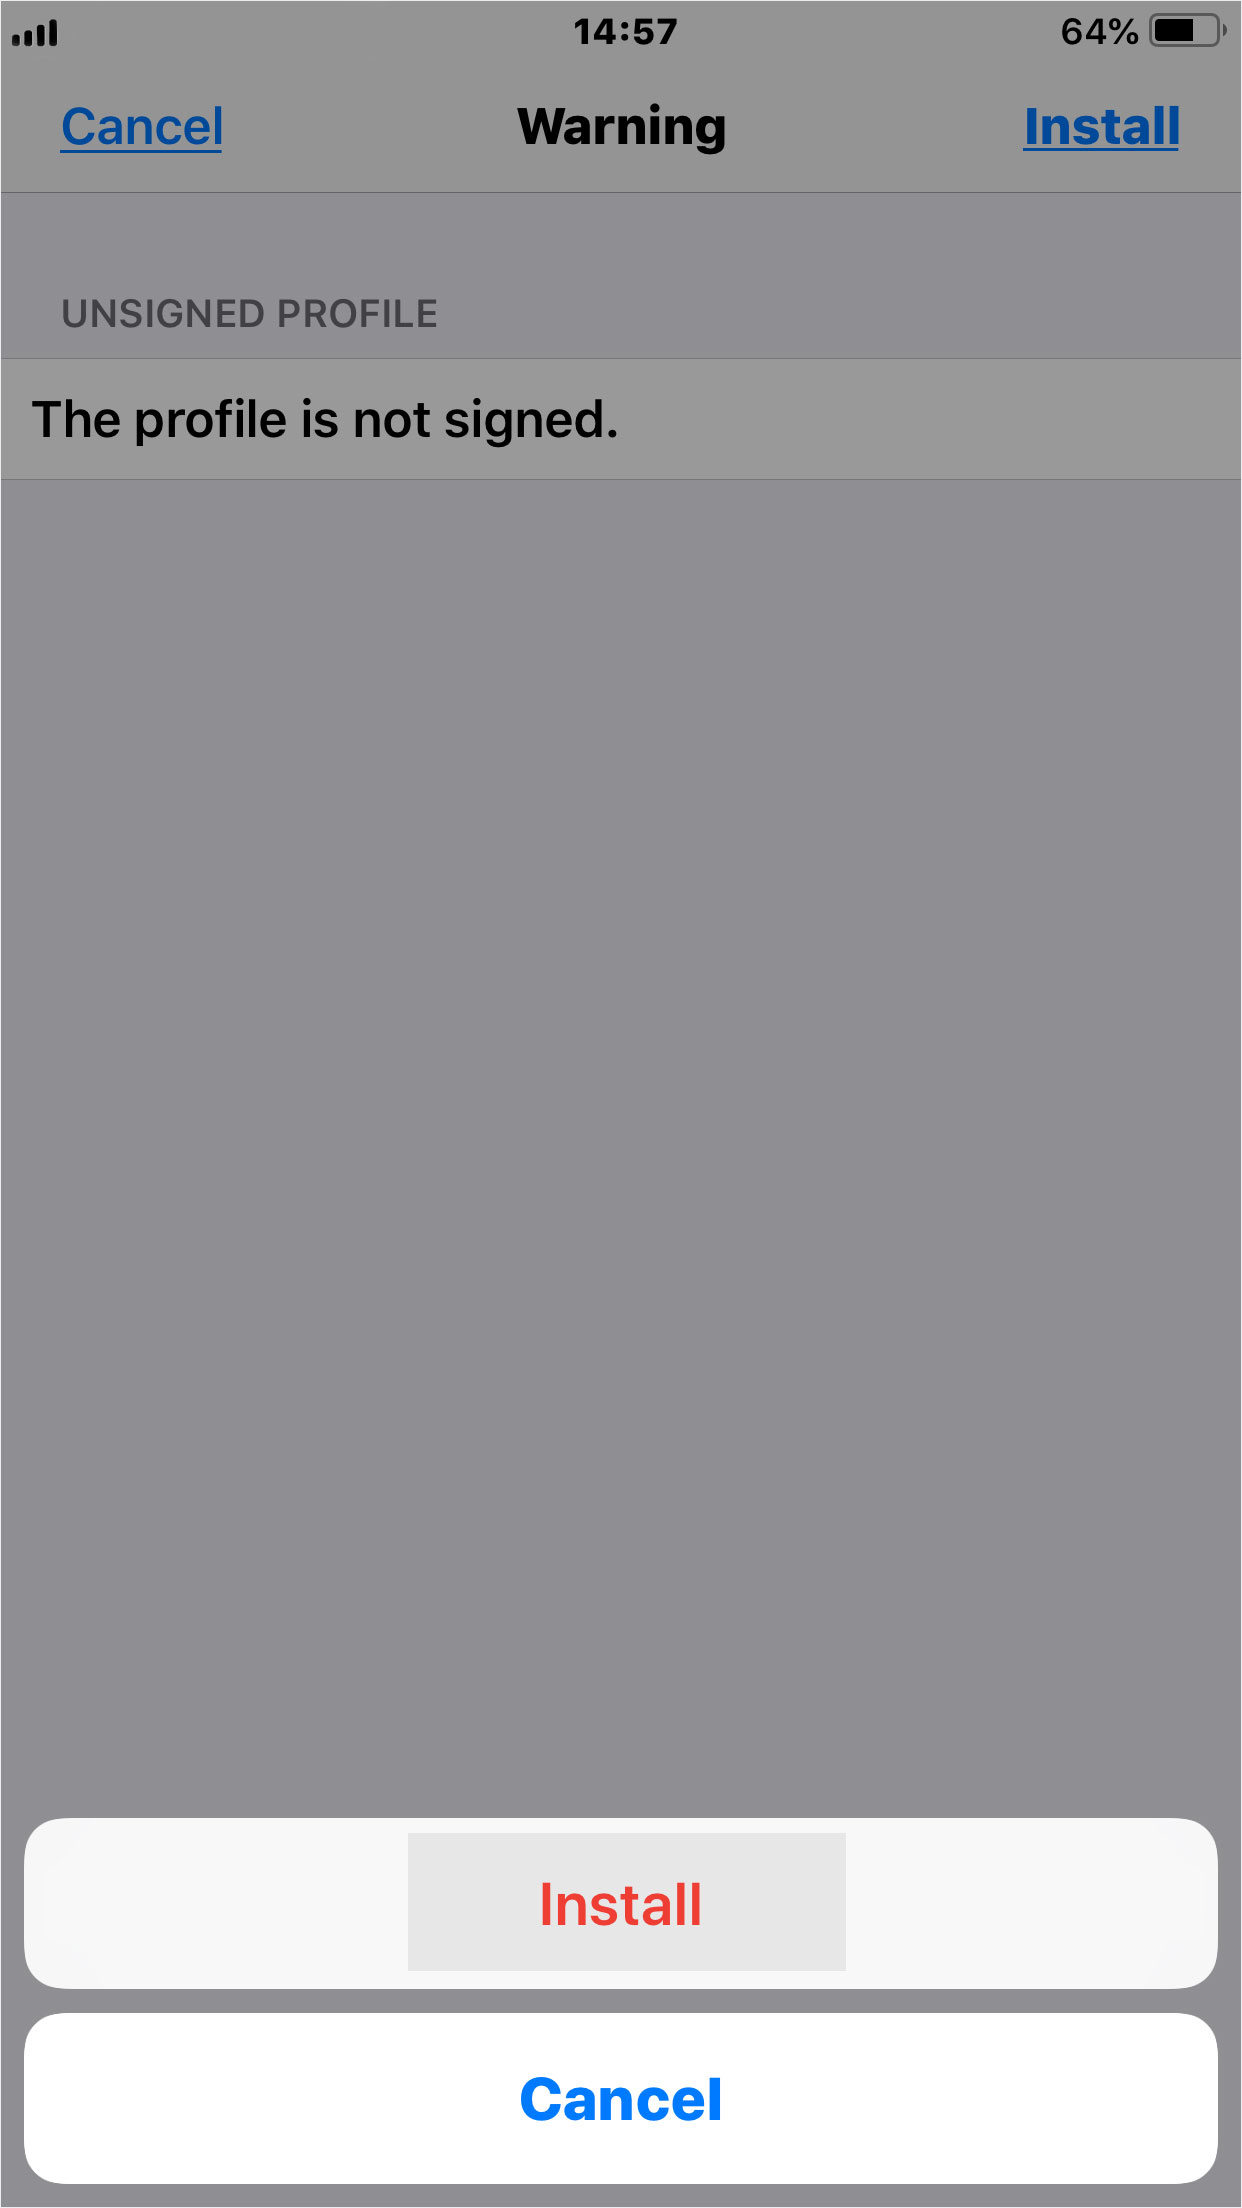
9. Sign profile
The next step will be displayed. Click «Install» here.
10. Confirm installation
Confirm that you want to sign or install the profile by clicking on «Install».
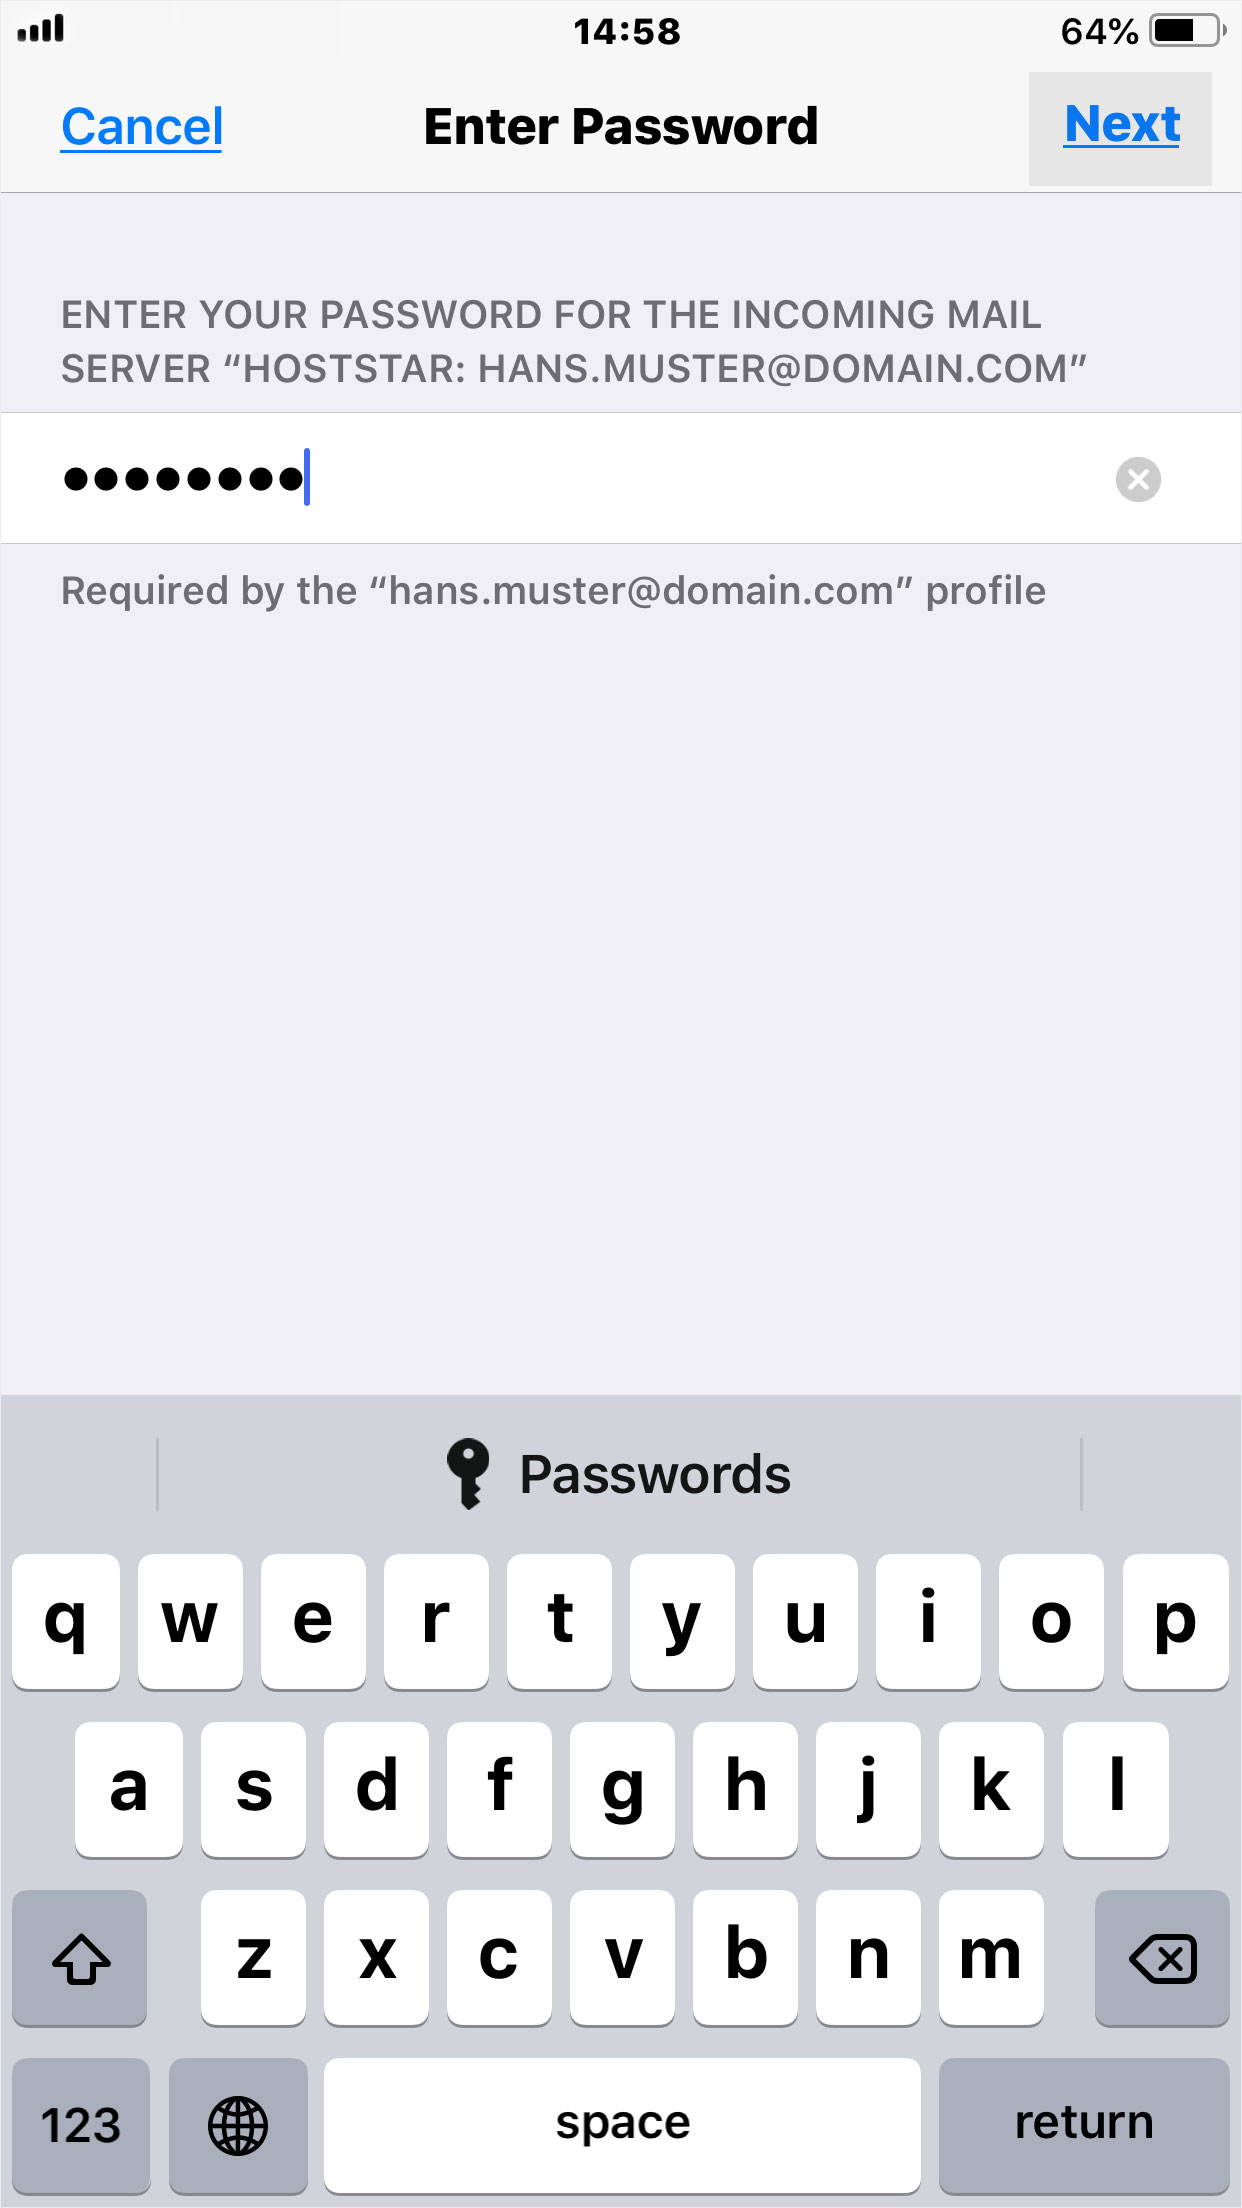
11. Enter mail password
Now enter the «Password» for your e-mail account and click on «Next».
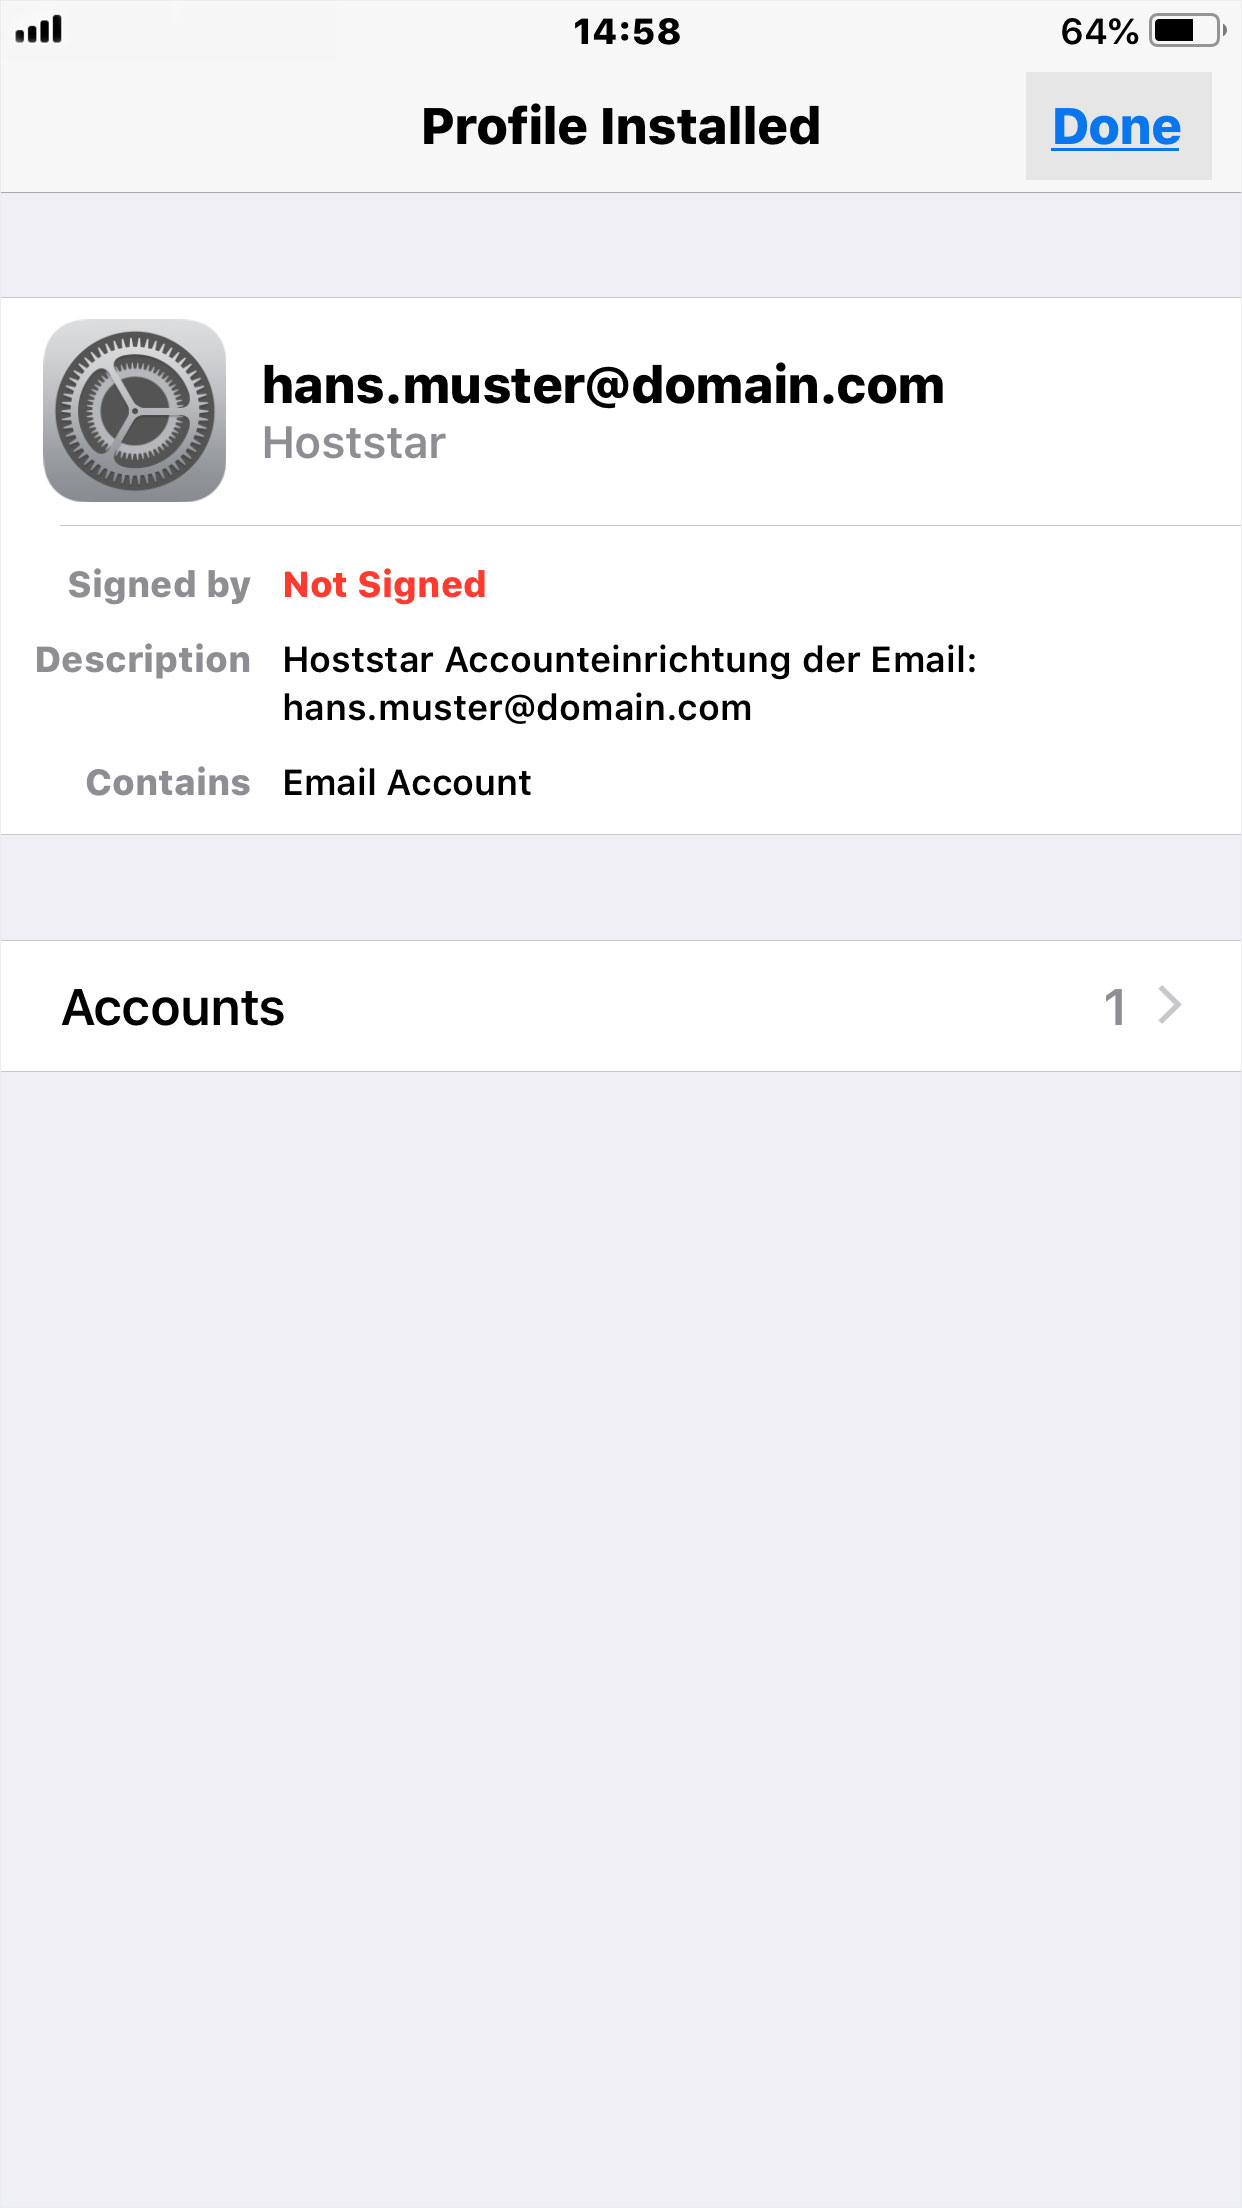
12. Display profile
The installation is almost finished. The profile will be displayed. Now click on «Done» to complete the «automatic installation».
13. Finished
Once the installation is complete, you will automatically be redirected to the browser and the last page opened in it. The e-mail profile is created and available now.
Delete profile
If you would like to delete this e-mail address, this profile, please proceed as follows:
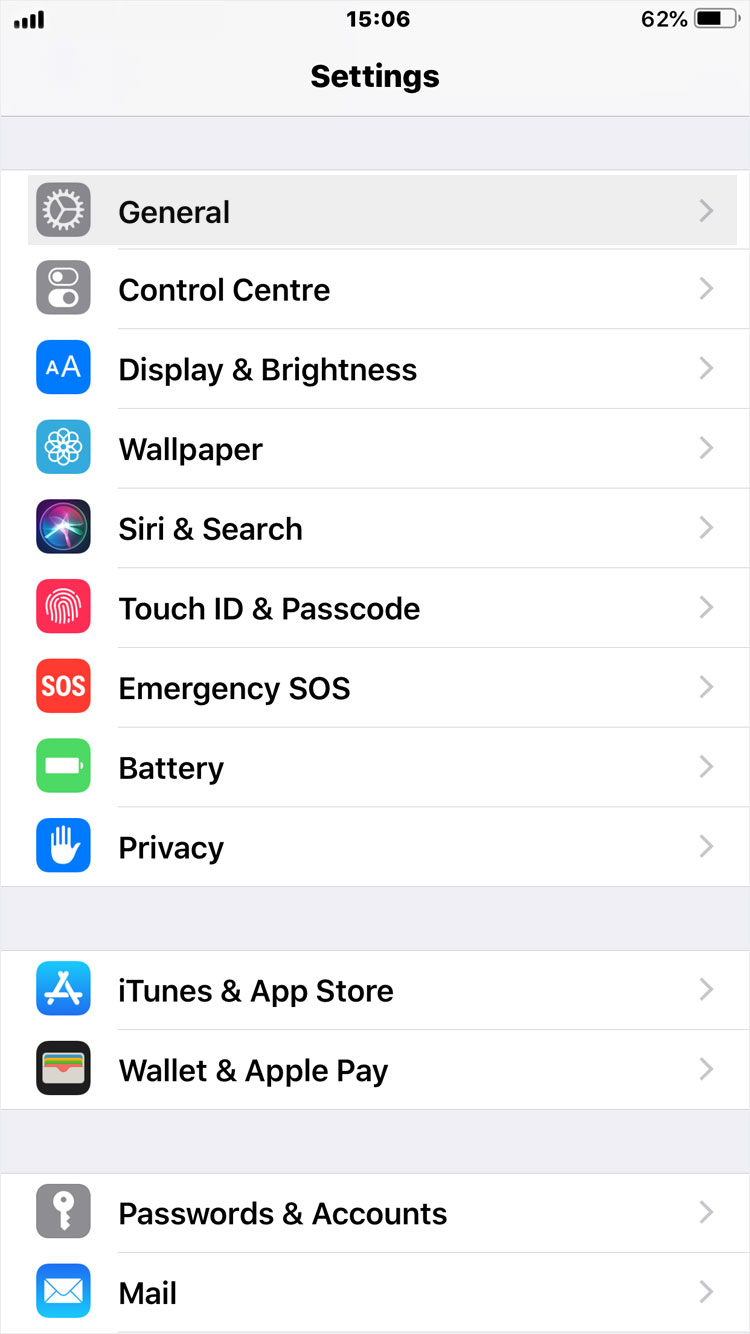
1. Select menu category
On your iPhone, under «Settings», select the «General» category.
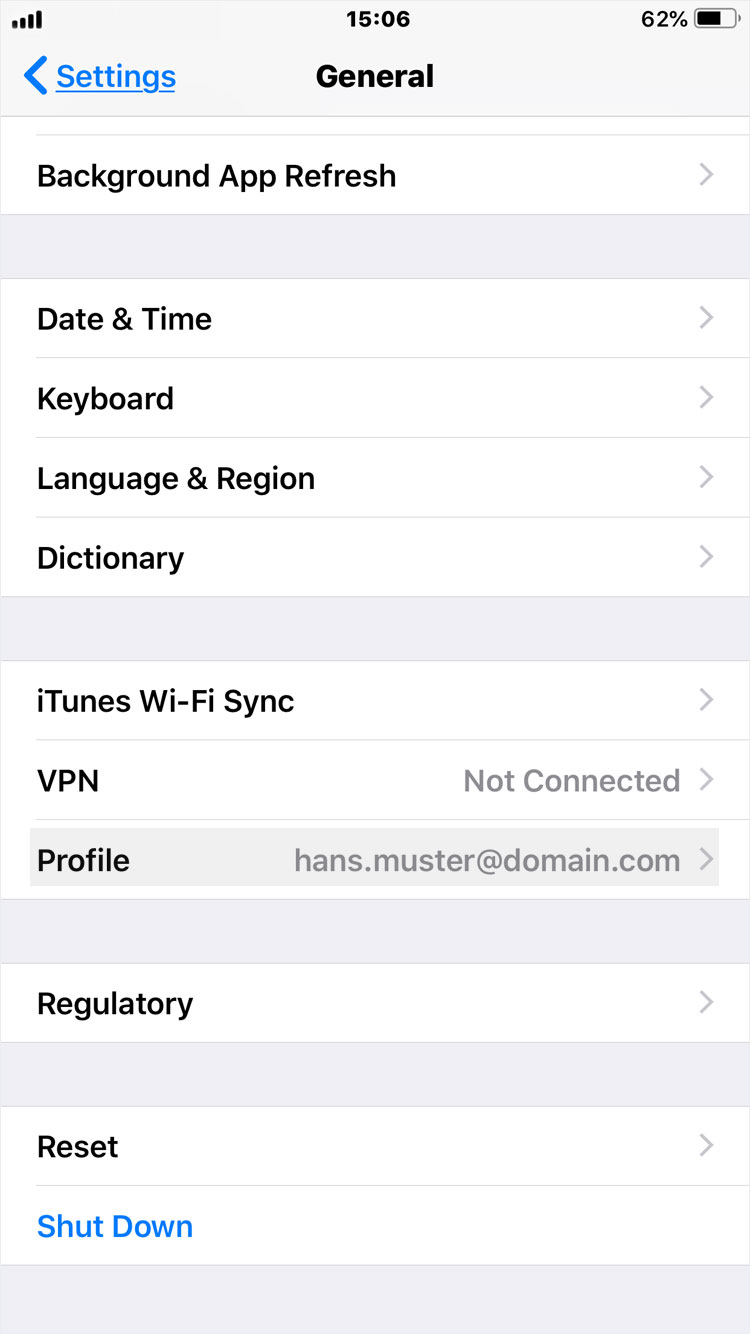
2. Select profile
Now click on the «Profile» area.
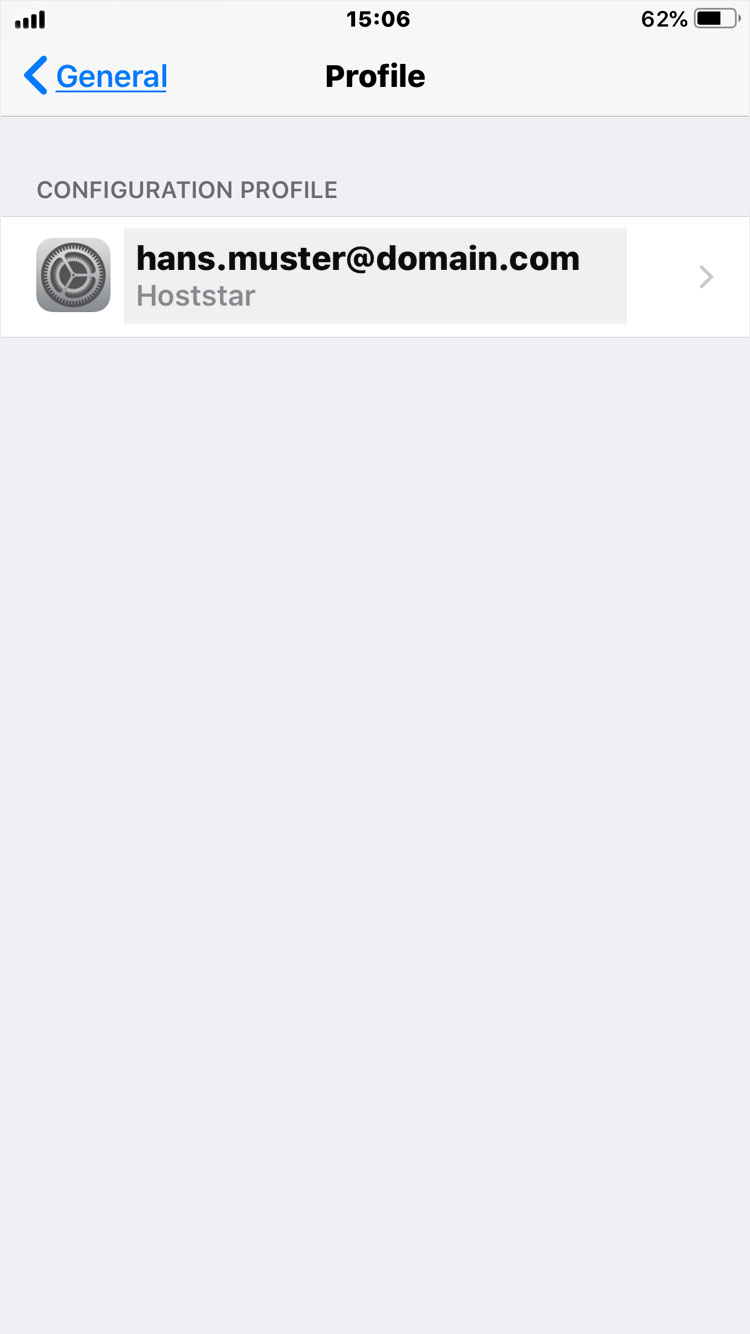
3. Select e-mail
Now click on the «Profile», here e.g. «hans.muster@domain.com».
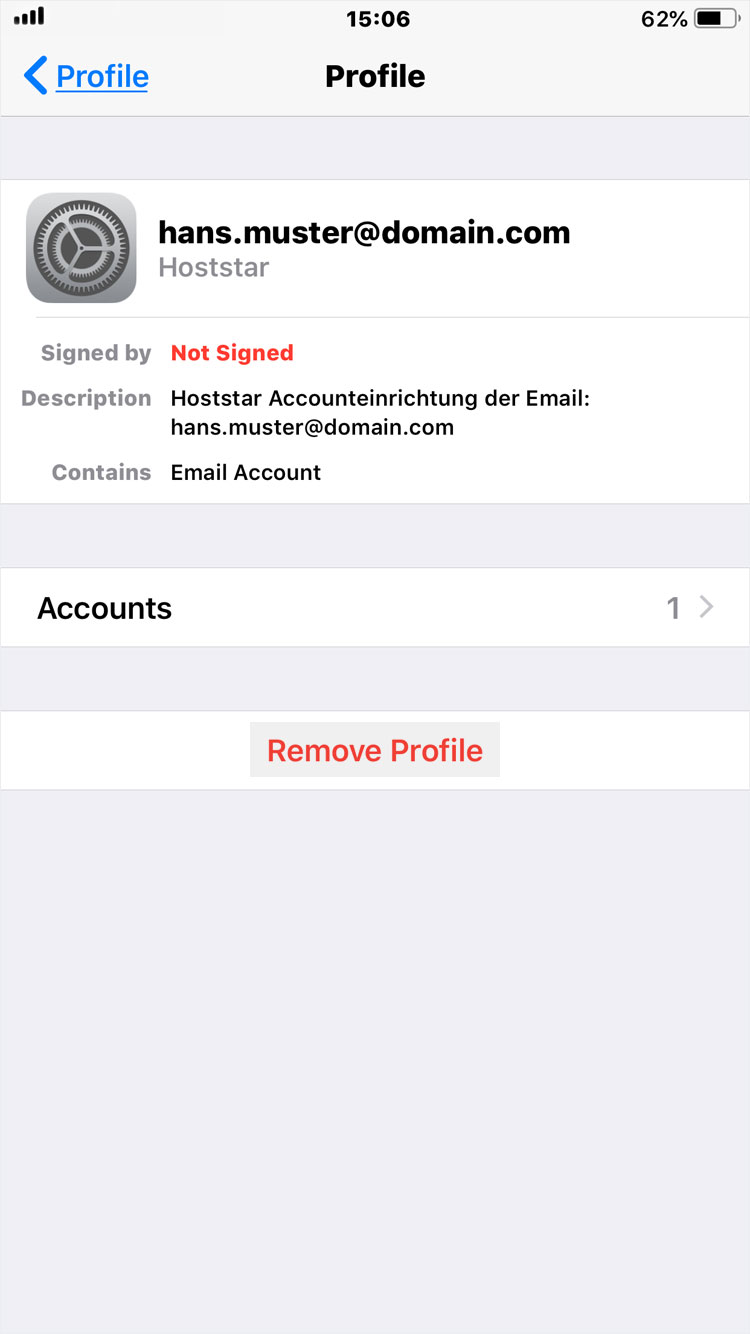
4. Remove profile
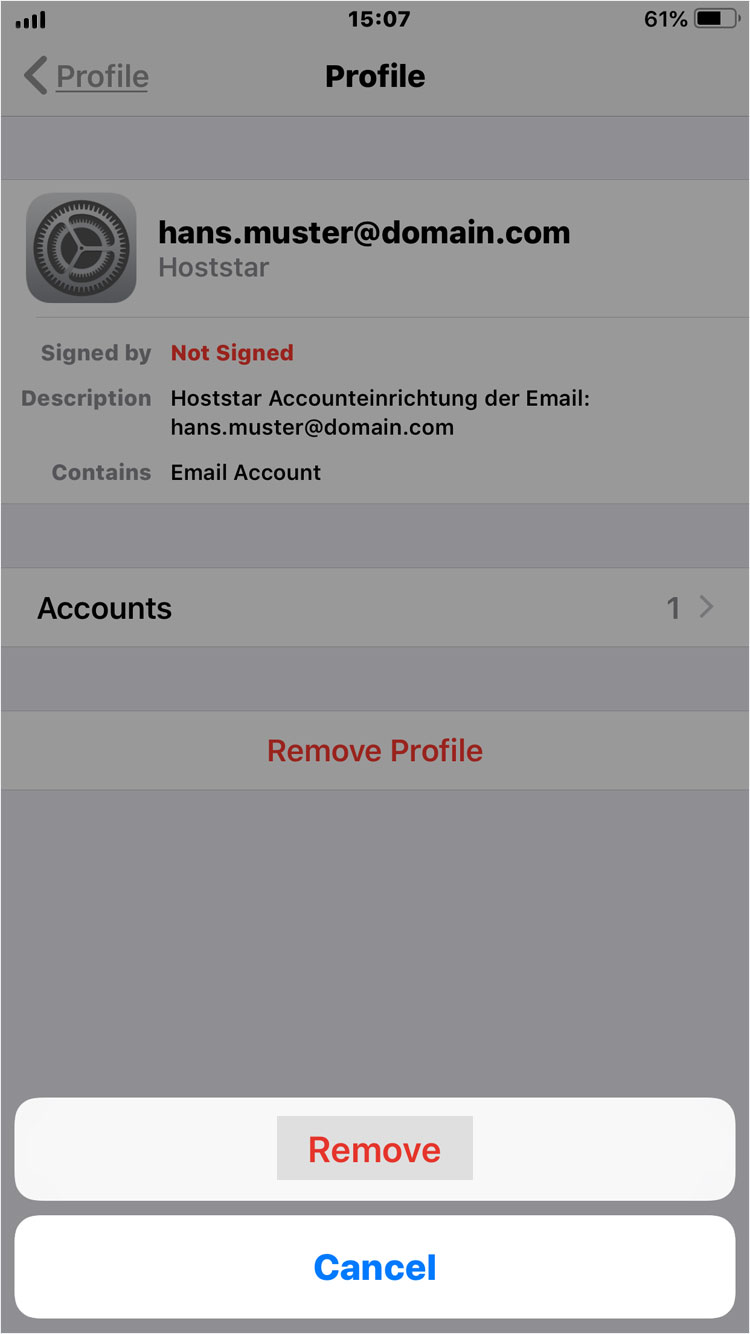
The profile opens and the detailed information is displayed. To delete this profile, click on «Remove profile».
5. Enter lock code
You will now be asked to enter the «unlock code» for your iPhone, if you have one.
6. Confirm
This is the last step. Here you confirm the irrevocable deletion of all data for this e-mail profile. This cannot be reversed.
If you are absolutely sure that you want to delete this profile, click on «Remove».