Adjust mailbox size
To change the size of a mailbox, follow these steps:
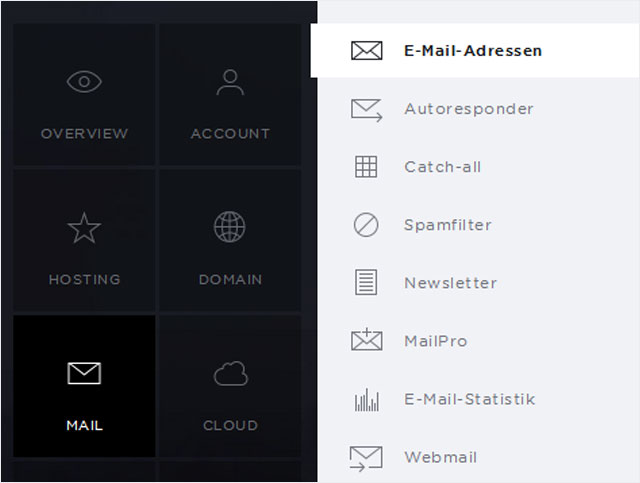
2. Navigate
Click on «Mail» and then «Email addresses».
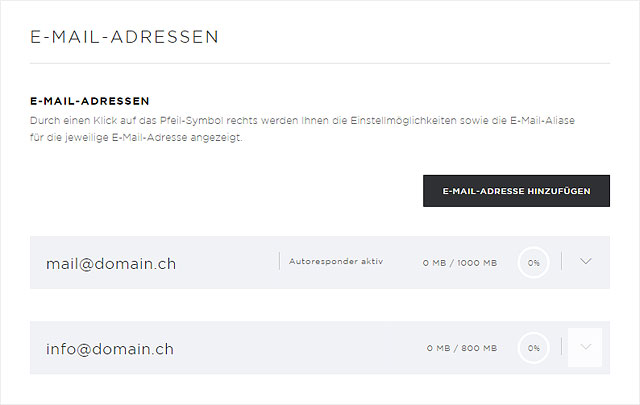
Email and table view
You can choose from two different views:
- Email view (account view) → Here you will see a list of the email accounts (email address, mailbox and email aliases) and then a section underneath for the email forwarders.
- Table view (mailbox view) → Here you will see a list of mailboxes and the links between email addresses and mailboxes in the section below.

Change the mailbox quota from the email view
Under «Email view» you can set the size of your mailbox:
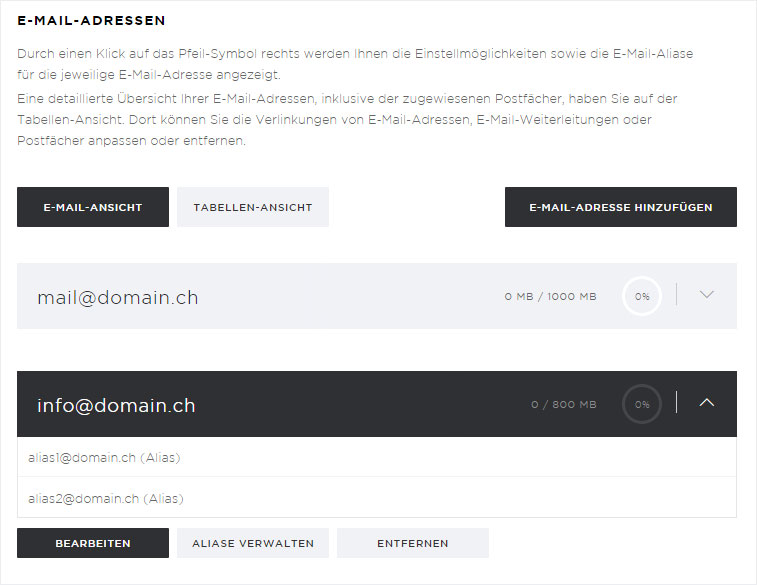
1. Show details
In the «Email addresses» section, click the arrow symbol to the right of the desired email account to show details for it.
2. Edit
You will see several buttons directly underneath. Click «Edit».
3. Change size
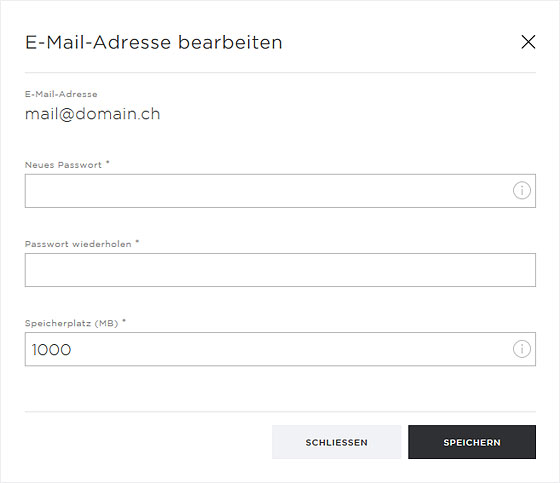
A pop-up window appears. Enter the desired mailbox size in the «Memory» field (in MB, max. 10,000 MB).
Then click «Save» to apply your changes.
Change mailbox size in the table view
Follow these steps to change the size of the mailbox in the «Table view»:
1. Select the mailbox
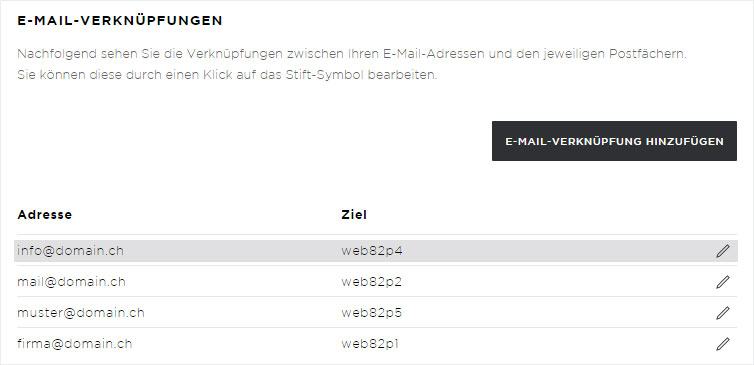
To change the size of the mailbox, select the mailbox to which the email address is linked under «Email links». You will see the various mailbox names in the «Target» column.
2. Edit the mailbox
Under «Mailboxes», click the pencil icon next to the desired mailbox.
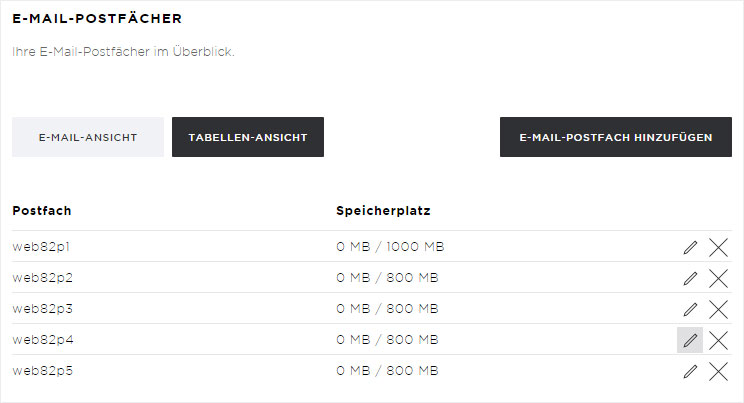
A pop-up window appears. Enter the desired mailbox size in the «Memory» field (in MB, max. 10,000 MB).
Then click «Save» to apply your changes.

