Products – Add product
Enter or edit products (number depends on your hosting plan), enter the «Basic info», manage the «Inventory» and manage the corresponding «Variants».
After logging into Designer, follow these steps:
1. Navigate
You begin on the home page of Designer's editor and are thus in the «Site editor» view. Click left on the menu item «Store».

2. Products
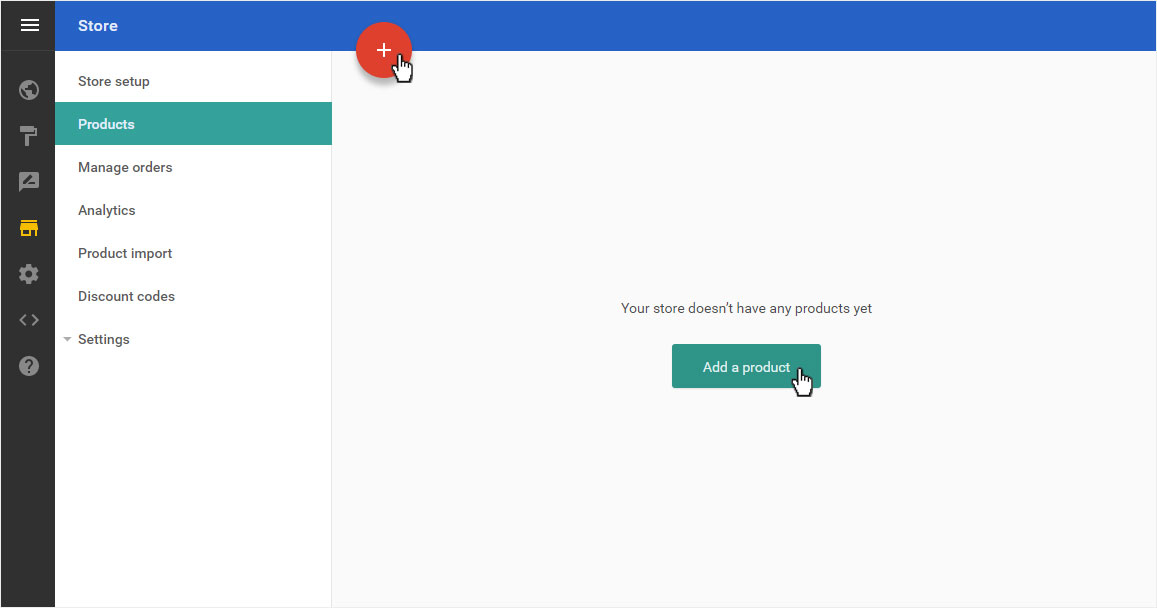
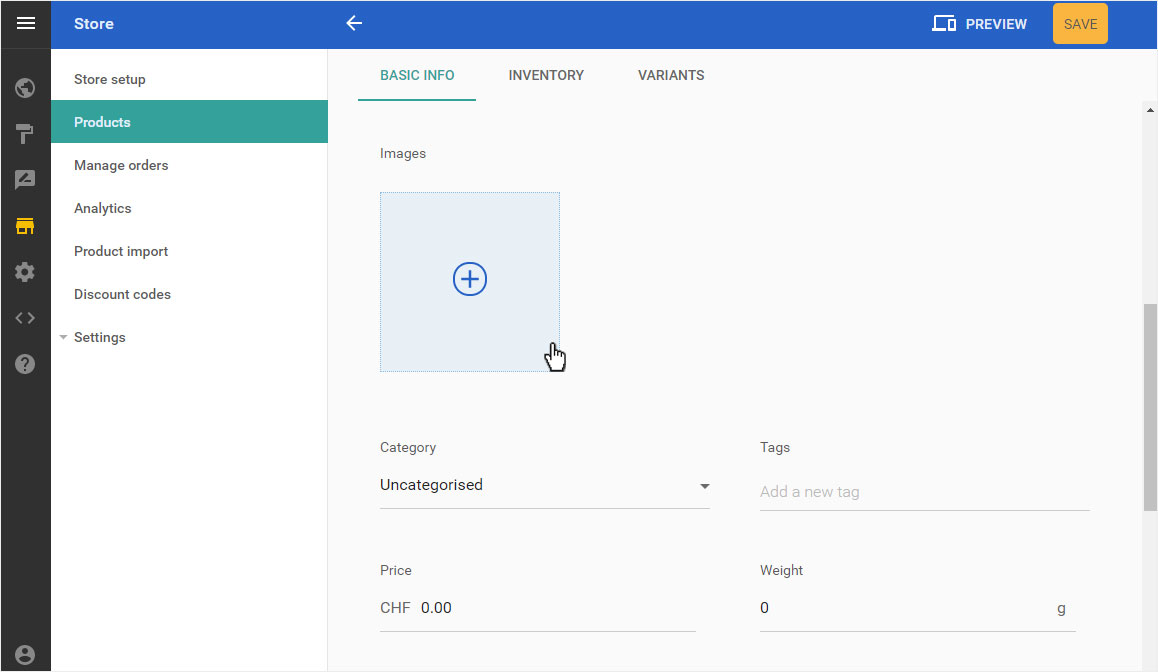
You will automatically be taken to the «products» overview page. If no items have been entered, you can click directly on the green «Add a product» button here.
Otherwise, you will see a list of items that have already been entered. Then click on the big red «+» button in the upper left corner.
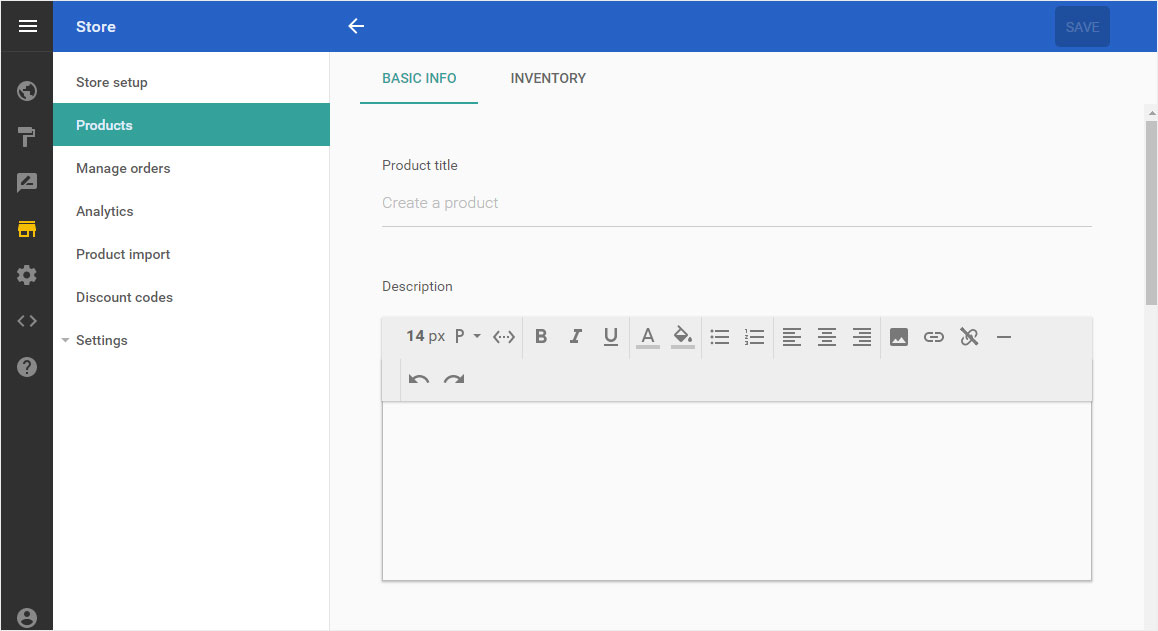
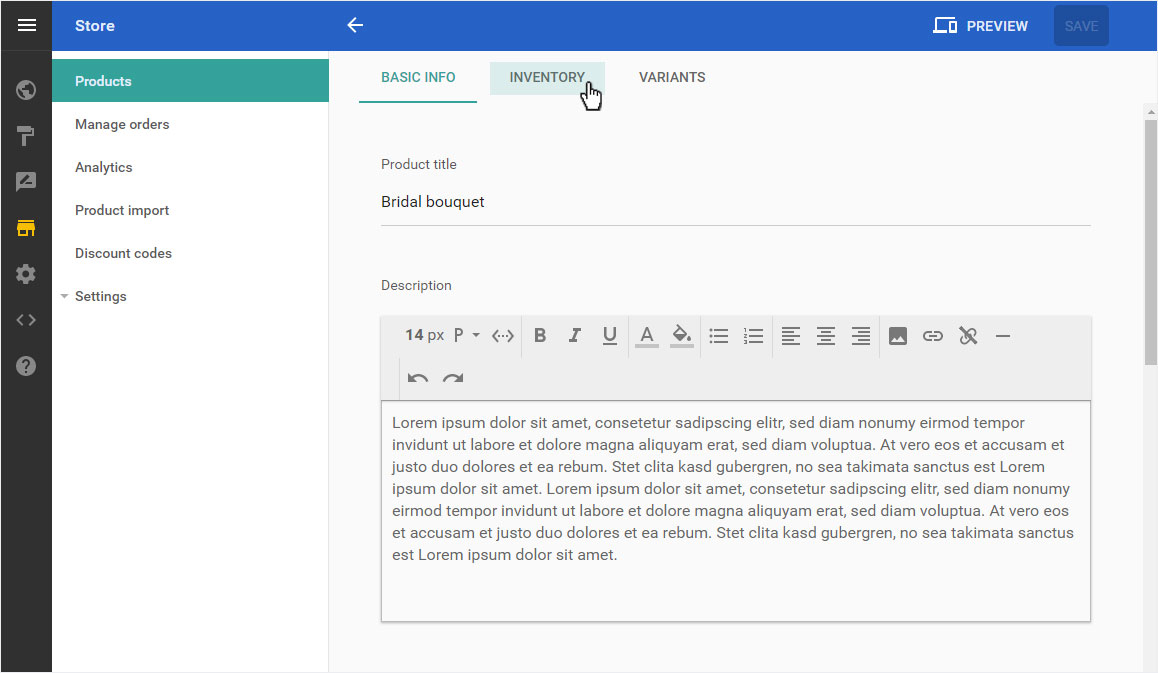
First add the «Product title» (here e.g. bridal bouquet) and click in the description area.
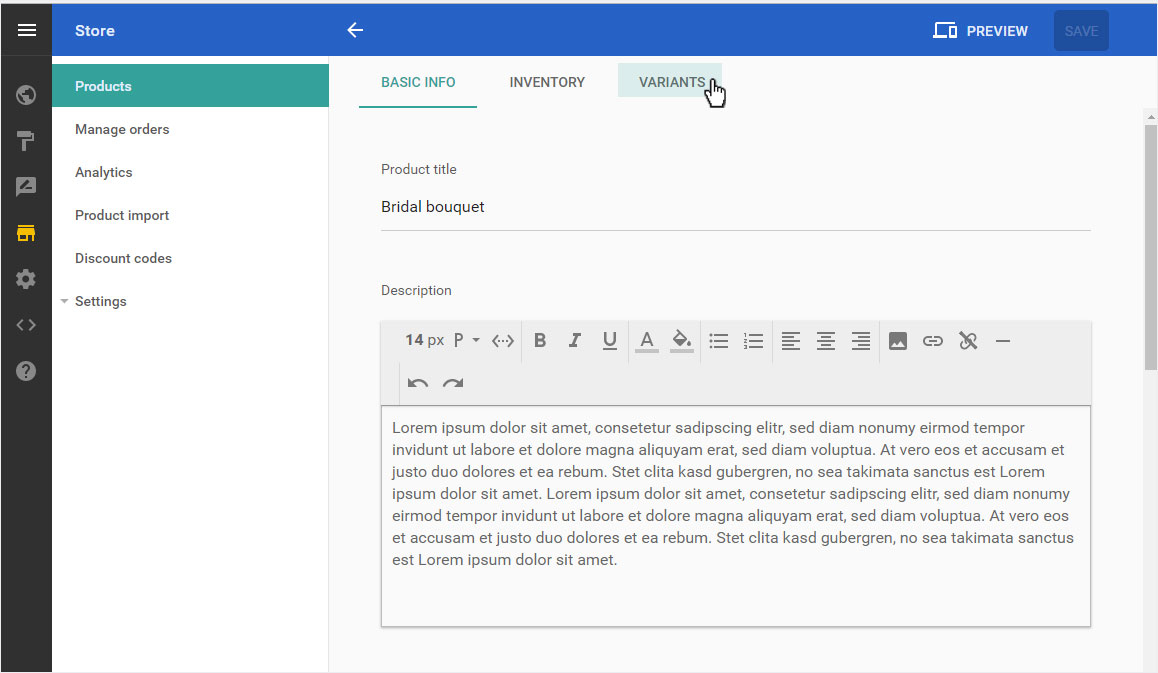
The product will be saved and set up immediately. The «Variants» area becomes visible.

Now enter the product information in the text field under «Description».
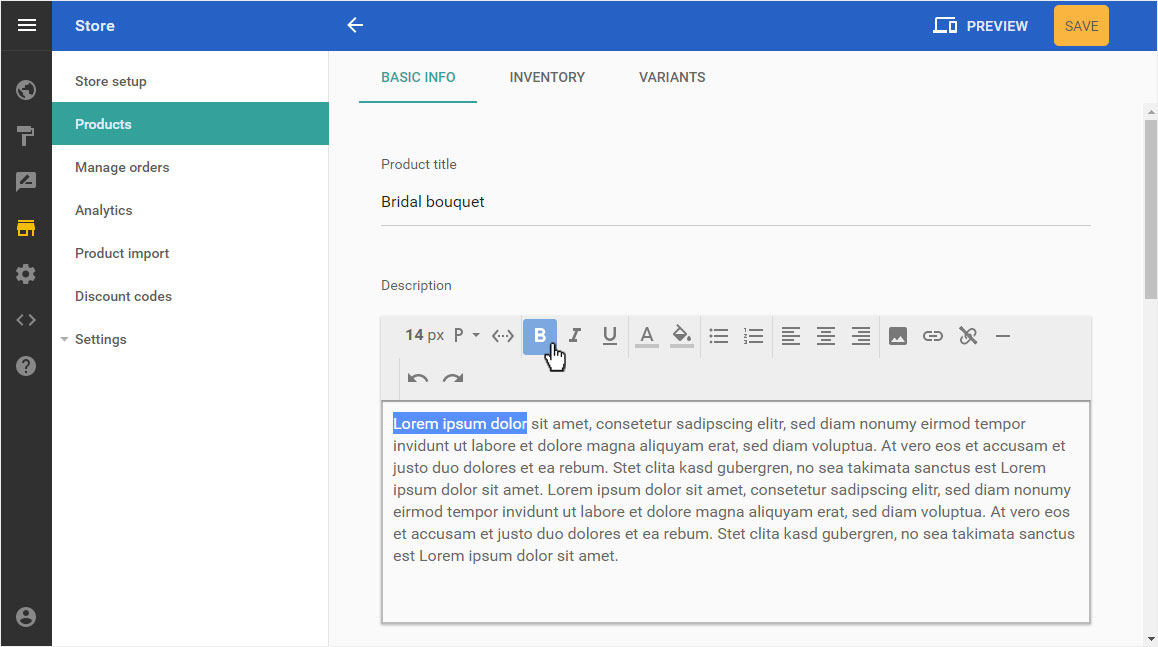
Above the text field you can use some tools to format your text (e.g. «B» for «bold»), change, insert images or links, etc.
Upload the corresponding images by clicking on the blue placeholder in the «Images» area.
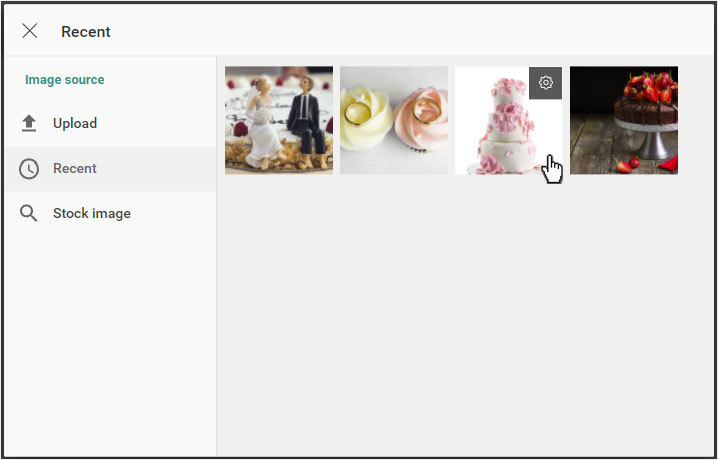
In the popup that opens, you can either upload a new image, select a recently uploaded image or buy a professional image from the image library.
Repeat this until you have added all images to this product.
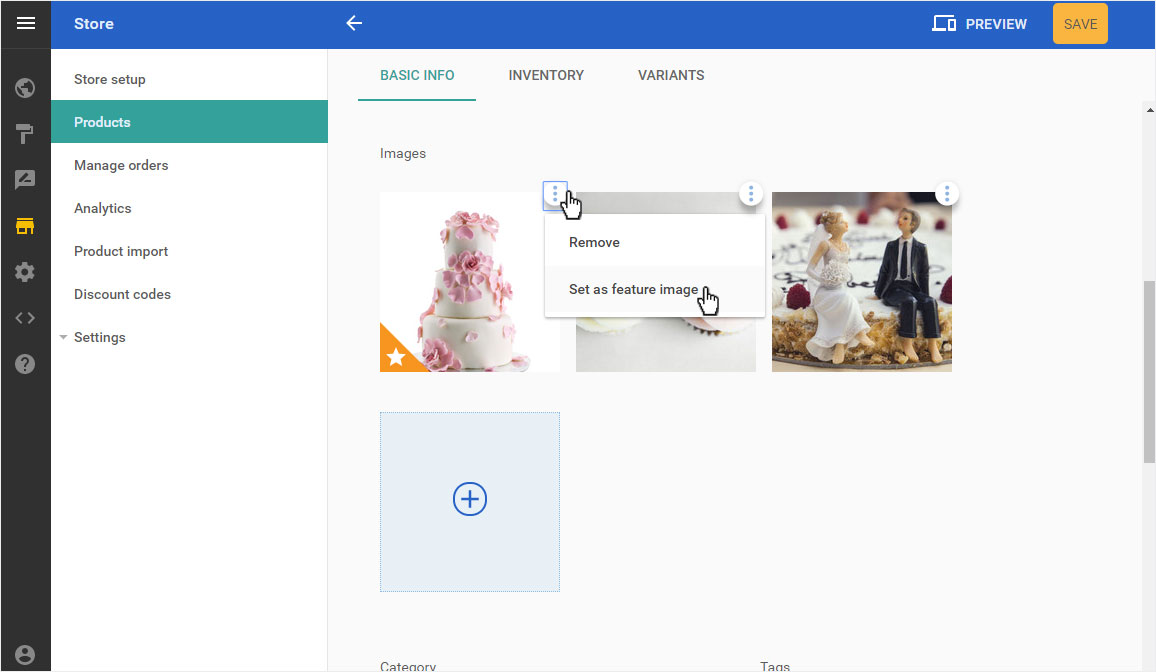
Select an image to be used in the product overview by clicking on «Set as feature image». It is now displayed with an orange pick with a white star.
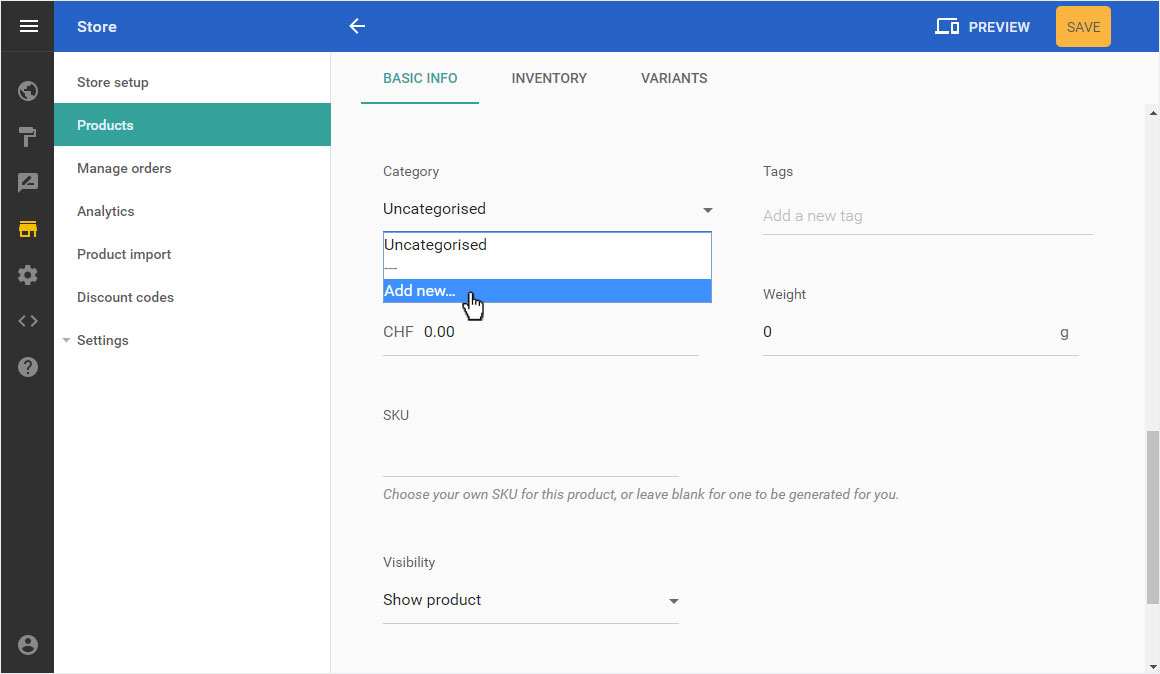
Now select a «Category». If you have not yet entered one, click on «New». Enter the category name and save it by clicking the «Enter» button.
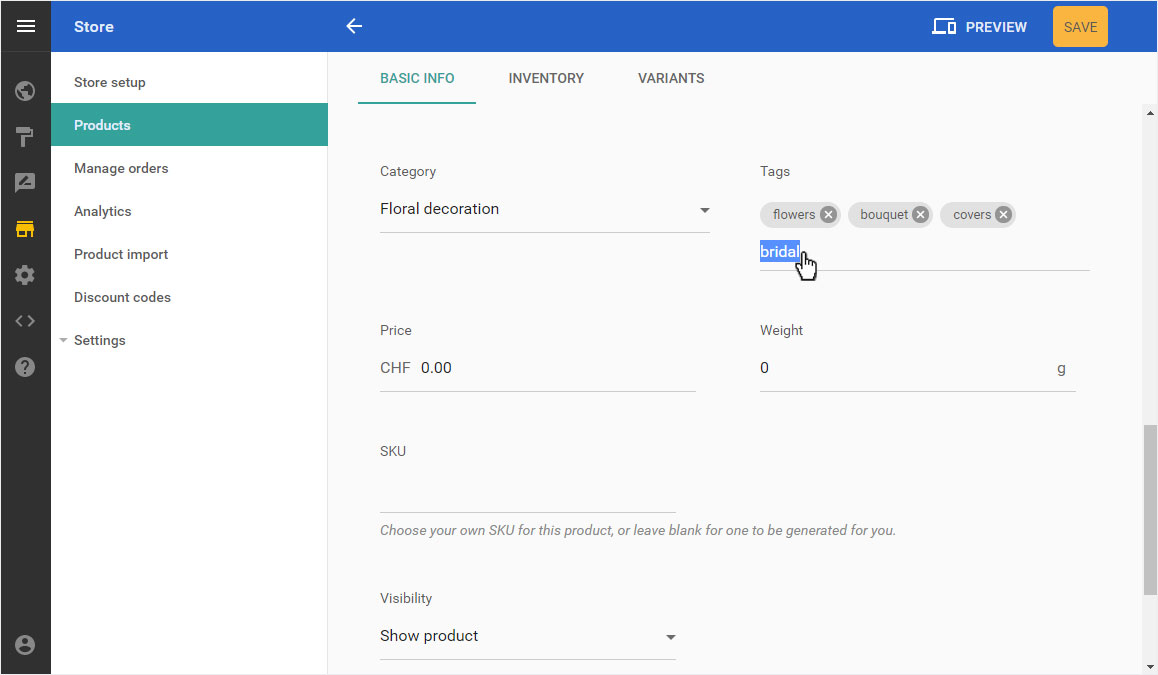
Now enter the search terms you require for this product in the «Tags» section. Click on the «Enter» key to add the individual words.
Now enter the price of the product. If the currency is not correct, adjust it under «Settings» and then under «Currency & Formats».
If required, store the weight. If the weight unit is not correct here, adjust it under «Settings» and then under «Currency & Formats».
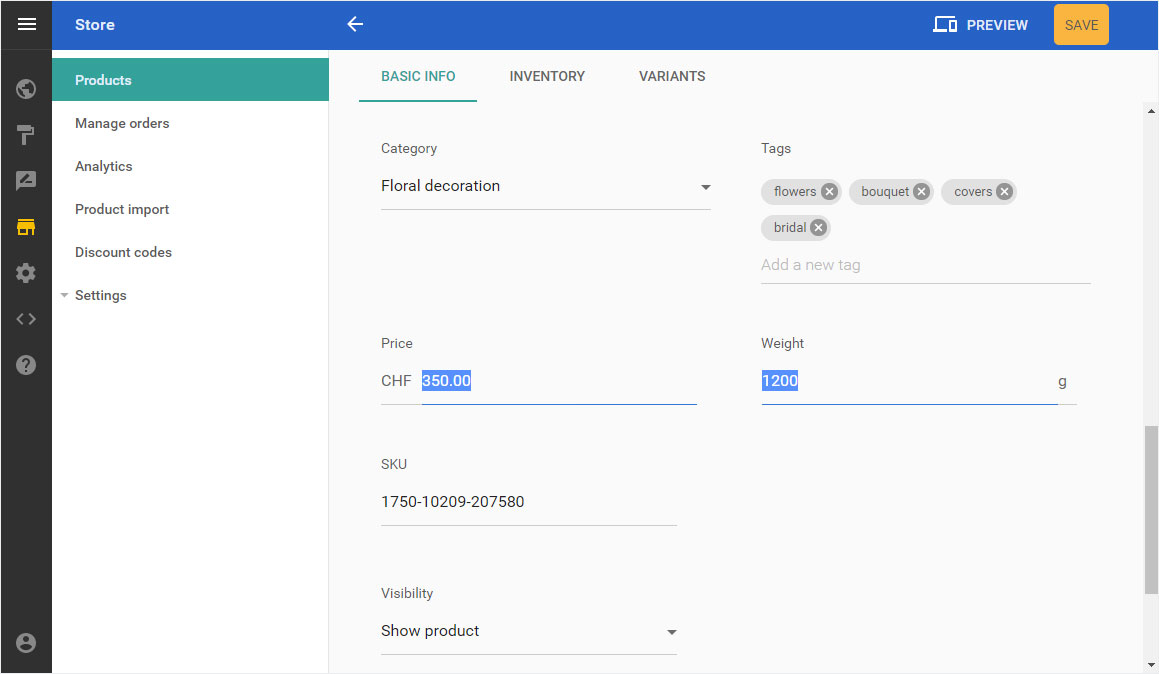
The «SKU» (Stock Keeping Unit) is generated automatically. If you want to use your own numbering system, enter the corresponding article number.
In the «Visibility» section you can define whether this item should already be displayed in your shop or not yet.
A URL is automatically generated under «Permalink» after entering a title for the product.
Once you have entered all the information, click on the yellow «Save» button.

4. Manage your product
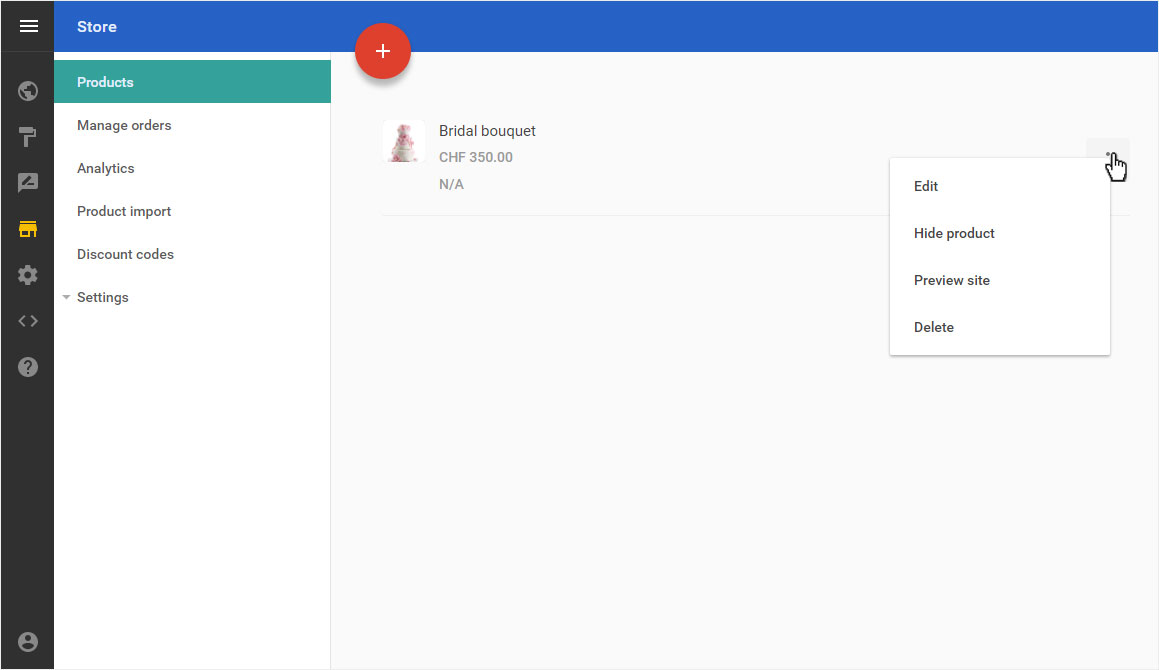
You will automatically be redirected to the «Products» overview page. The newly entered article is now visible.
By clicking on the 3-point symbol a menu opens in which the following settings are available:
- Edot - Customize product details
- Hide / Show product - Changing the visibility of the product in the shop
- Preview site - Preview of the product details page
- Delete - Product is irrevocably deleted
5. Inventory
To edit the «Stock» of your product, select «Edit» for your product and then click on «Inventory».
Activate the «Track inventory for this product» function in the «Inventory» area using the drop-down menu selection.
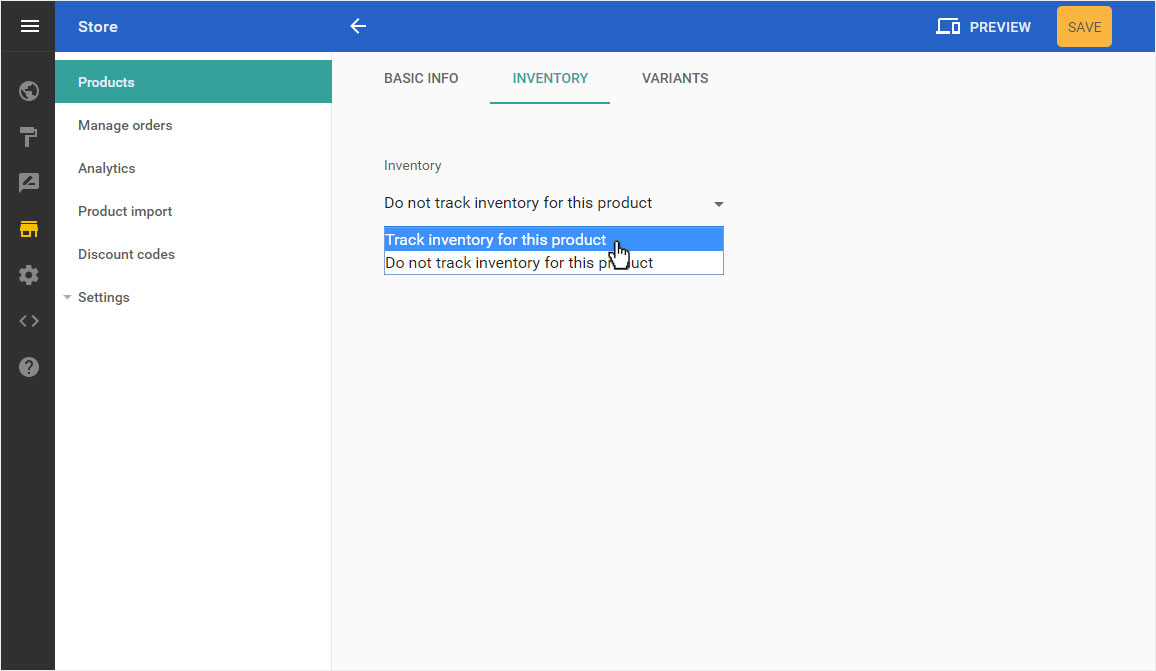
The adjustment is automatically saved after selection and further setting options are displayed. This allows you a small stock management.
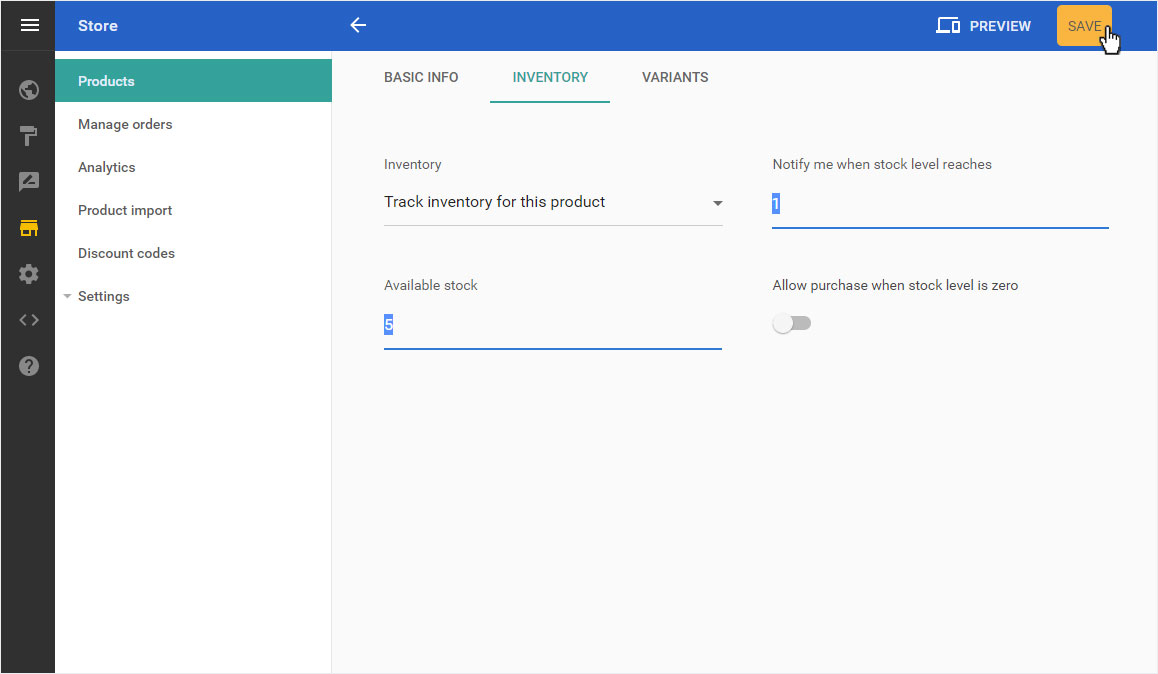
Enter the available stock. You can insert a number in the «Notify me when stock level reaches» area. When the stock reaches this level, you will receive a reminder by e-mail.
If you want to offer your customers the possibility to buy items even if the stock level is 0, activate the function «Allow purchase when stock level is zero».
Then click on «Save».
6. Variants
To enter «Variants» for your product, select «Edit» for your product and then click on «Variants». Proceed according to these «instroctions».