Add post
You can write posts (blog articles) at any time and publish them straight away or later as you prefer.
After «logging into Designer», follow these steps:
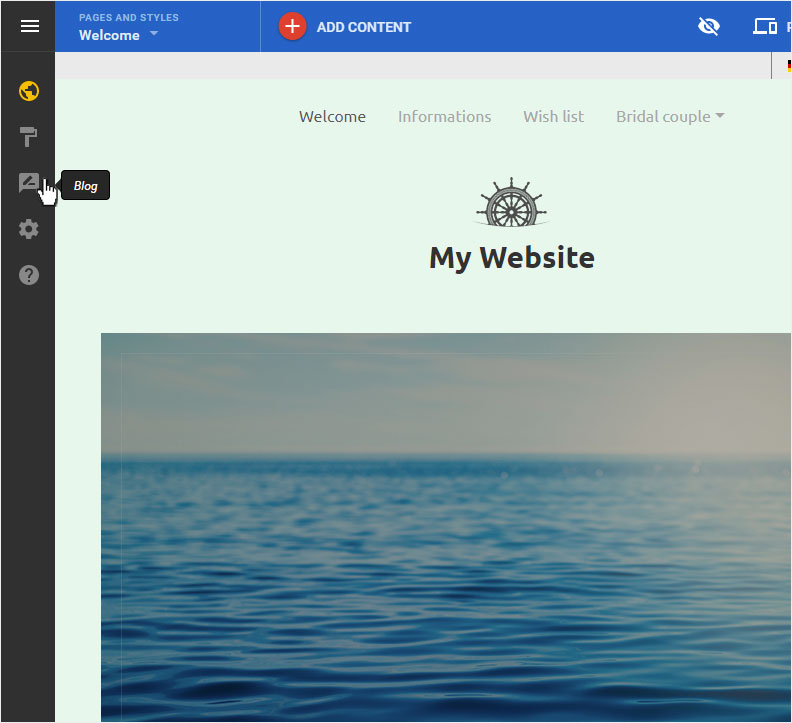
1. Navigate
You begin on the home page of Designer's editor and are thus in the «Site editor» view. Click left on the menu item «Blog».
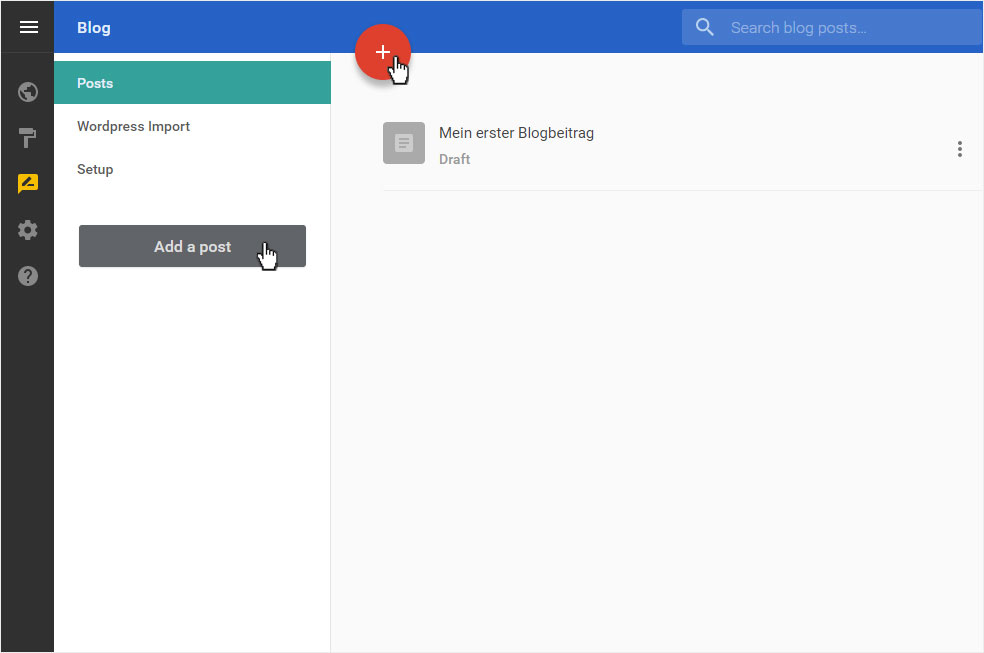
2. Blog overview
Here you see the «Posts» page of the «Blog». If you haven't created any blog posts yet, the overview will be empty. Now click on «Add post» or on the big red «+» button.
3. Create post
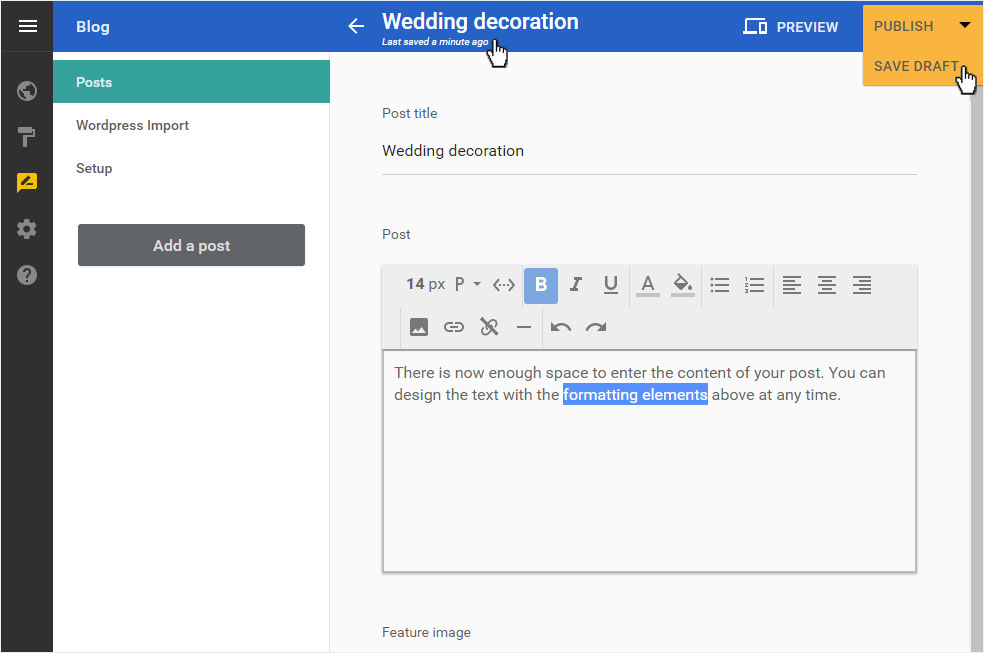
Enter a title for your post in the «Post title» text field.
In the text field below you can insert the content of your post. There are several formatting and layout tools situated above the text field for polishing your blog post’s appearance (e.g. «B» for «bold»).
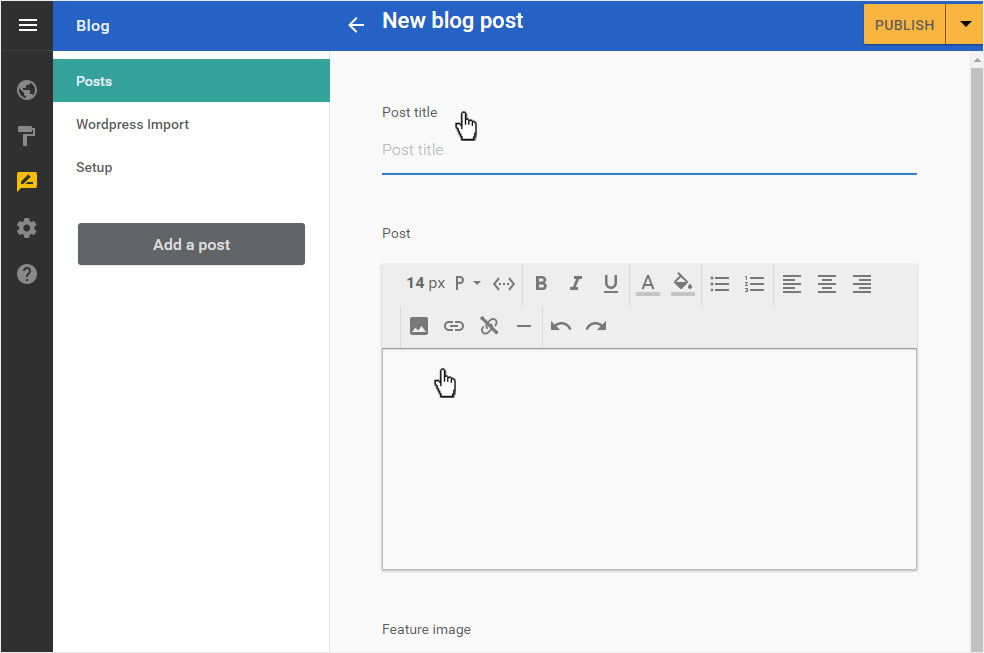
By clicking on the «arrow»-symbol next to «PUBLISH» you can choose whether you want to save the already collected data as «Draft» or directly «Publish».
During creation, the data is automatically backed up again and again (see note above).
If you scroll down a bit, you will see a space where you can add details about your post.
Add a main image for your post under «Feature image».
Add a category to your post under «Category». Add a new category by clicking the «arrow» icon and then «Add new».
Enter individual keywords under «Tags». Enter the desired words and then press Enter.
Under «Post summary» you can enter a short information for the overview page of the Blog.
After you have entered a title for the post, a URL is automatically generated under «Permalink».
Then click «PUBLISH».

4. Preview
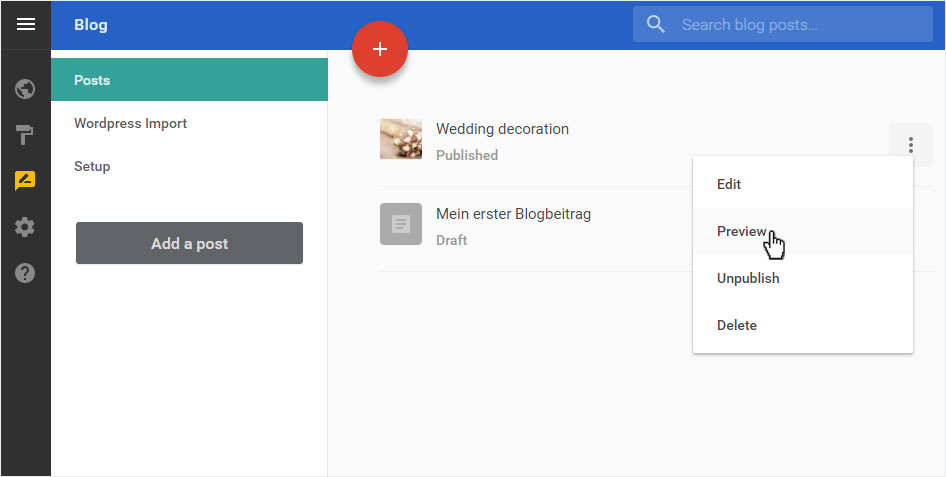
With «Preview» you can immediately view your post. Simply click on the «3 Point» icon and select «Preview» from the drop-down menu.
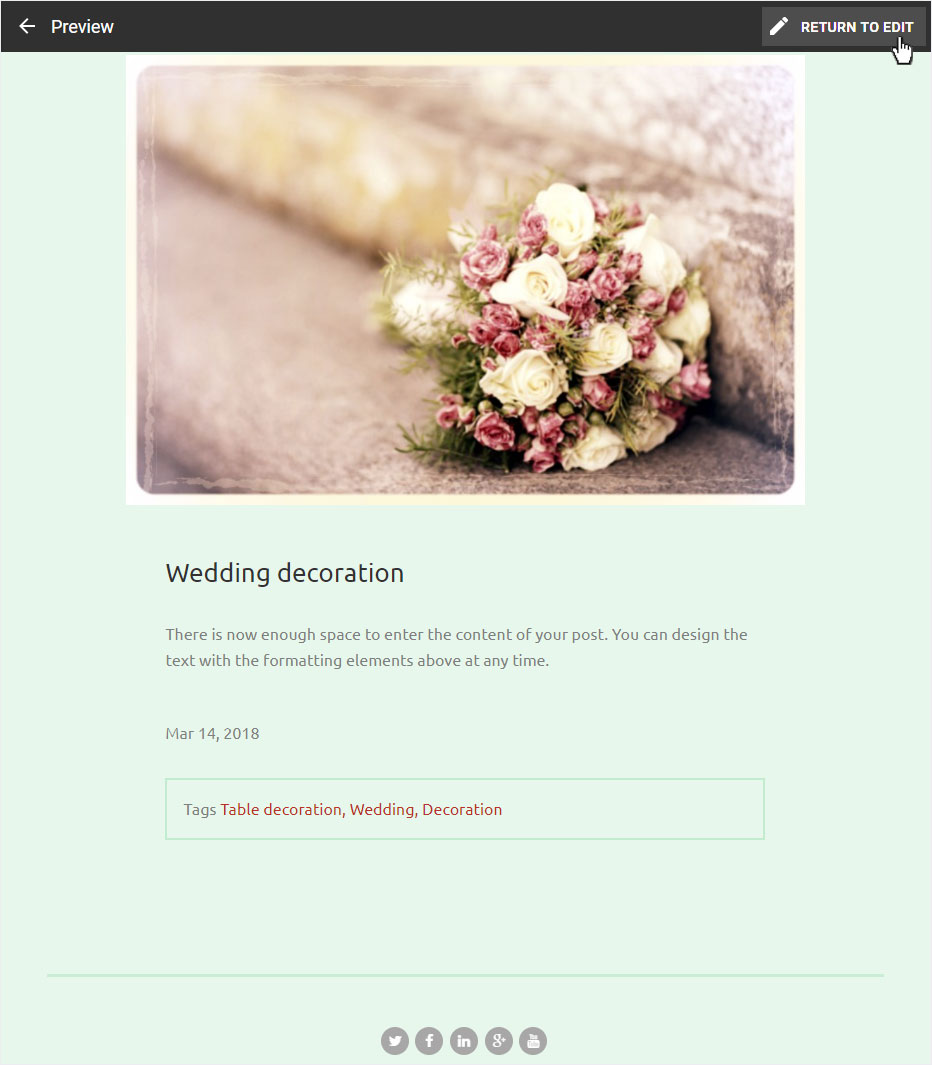
The blog post will be displayed in a new tab.
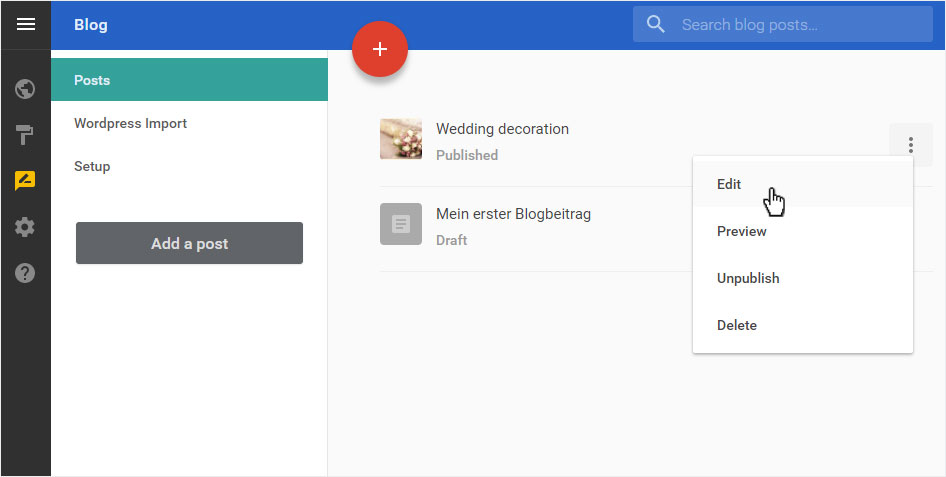
If you want to make any adjustments, go back and click on the «3 points» icon and select «Edit» from the drop-down menu.
Customize your post and save your changes by clicking on «PUBLISH».
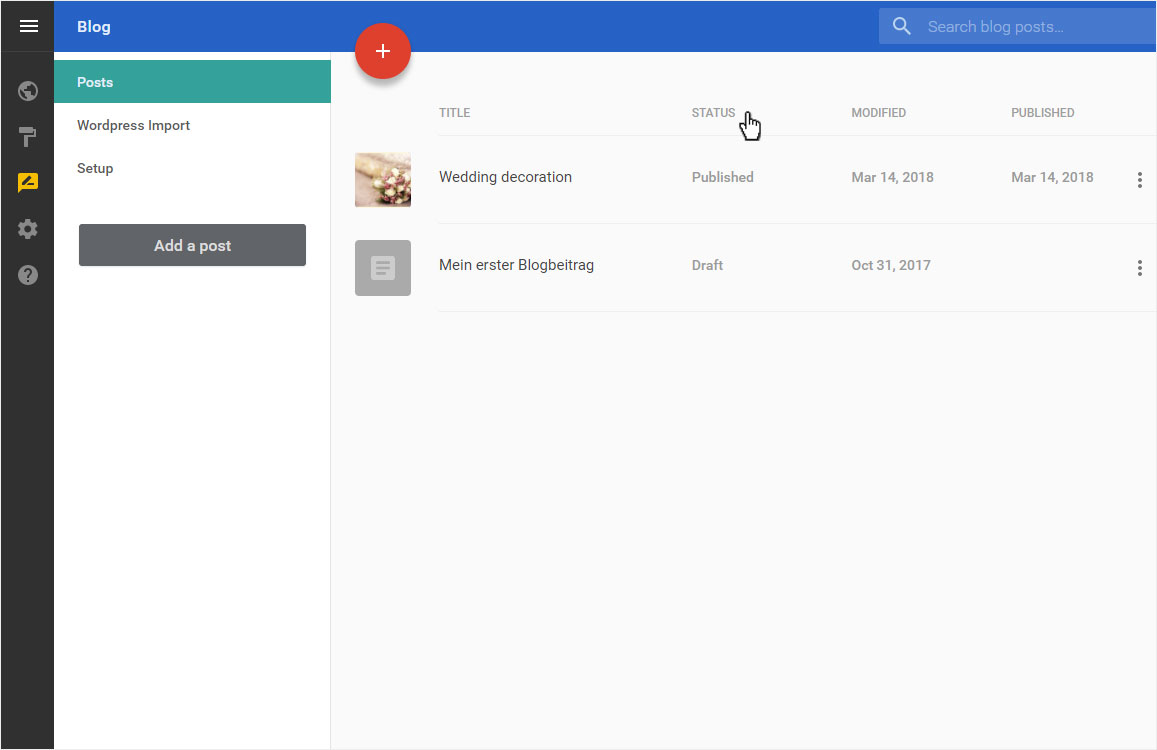
5. Overview of posts
The recently saved post now appears under the «Posts» menu item. All posts are saved as a «draft», meaning that they are not yet «published».
To publish or manage this post, follow the instructions in «Managing posts».