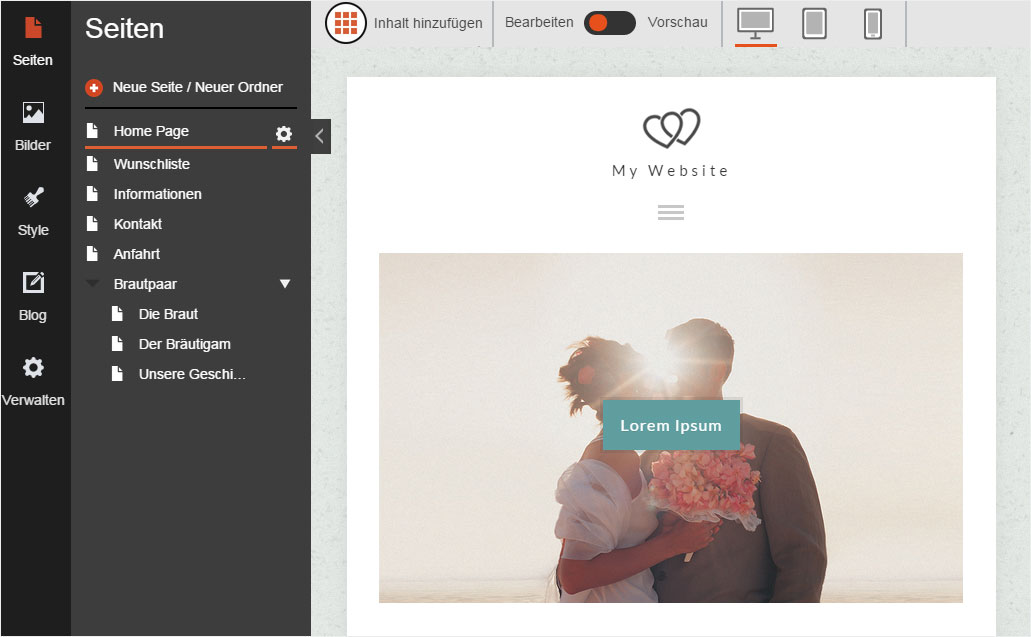
Add sub-pages
You can also create sub-pages of main menu items. These are displayed in drop-down menus in the navigation.
After «logging into Designer», follow these steps:
1. Initial view for pages
You begin on the «Site» page of Designer's editor. Click «Add new page / folder».

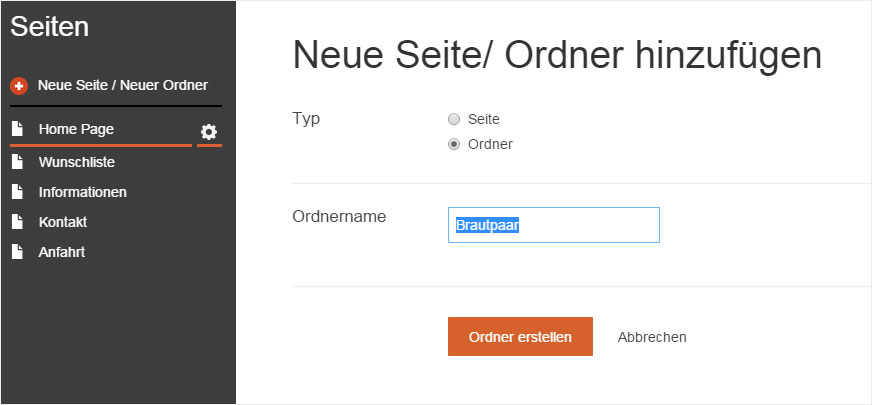
2. Create folder
To create a «drop-down menu» in the navigation you must first create a new «folder». It will function as a menu item to which you can add sub-pages.
Select «Folder» as the type and enter your desired «Folder name». Then click «Create folder».
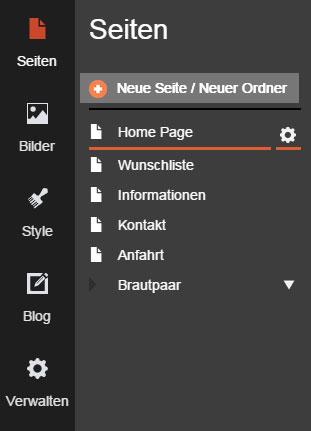
3. Folder created
The folder is created immediately and displayed under «Site».

4. Insert sub-page
To create the desired sub-page, click «Add new page / folder» again.
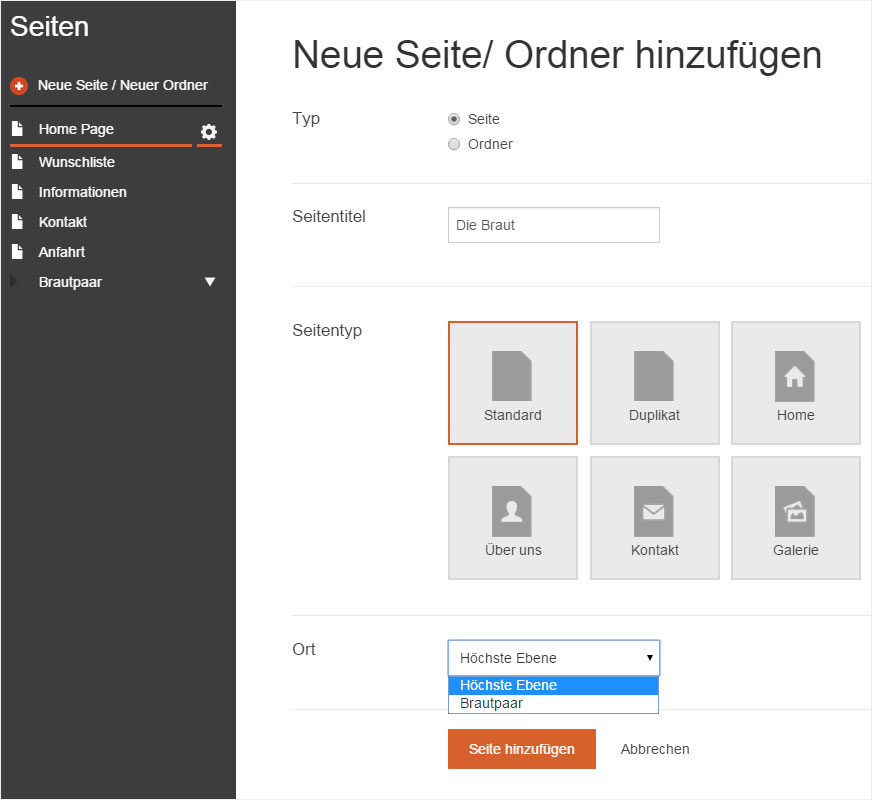
5. Add sub-page
You can now create a sub-page by selecting the option «Page», adding a «Page title», selecting a «Page type» and selecting a «Location». Click the «arrow» icon next to «Top level». A drop-down menu appears. You can now select your desired folder (in this example, Bridal couple).
Next, click «Add page».
Please note that once you have selected the «Page type» and created the page, you cannot change it again. If you selected the wrong page type, you have to delete the page and create a new one.
6. Sub-page added
The page is immediately added to the selected «folder» and displayed under «Site».
You now see an «Index» page as well. You can and should hide it. To do so, follow the instructions in «Hide folder-index page».

7. Add other sub-pages
Repeat the procedure until you have added all the sub-pages you want.
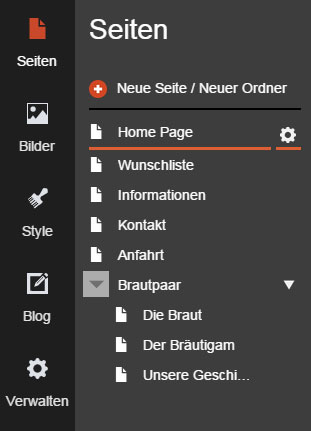
8. Menu preview
To see a website preview of the menu structure, including its drop-down items, click «Preview». The view changes, and the website is displayed without the various Editor elements.
Clicking «Edit» returns you to editing mode.

9. Page structure
You can of course also «add pages» and change the page order in the menu (Navigation order). Click on the respective link to read the relevant instructions.
