Manage settings
You can manage the settings for your store at any time.
After logging into Designer, follow these steps:
1. Navigation
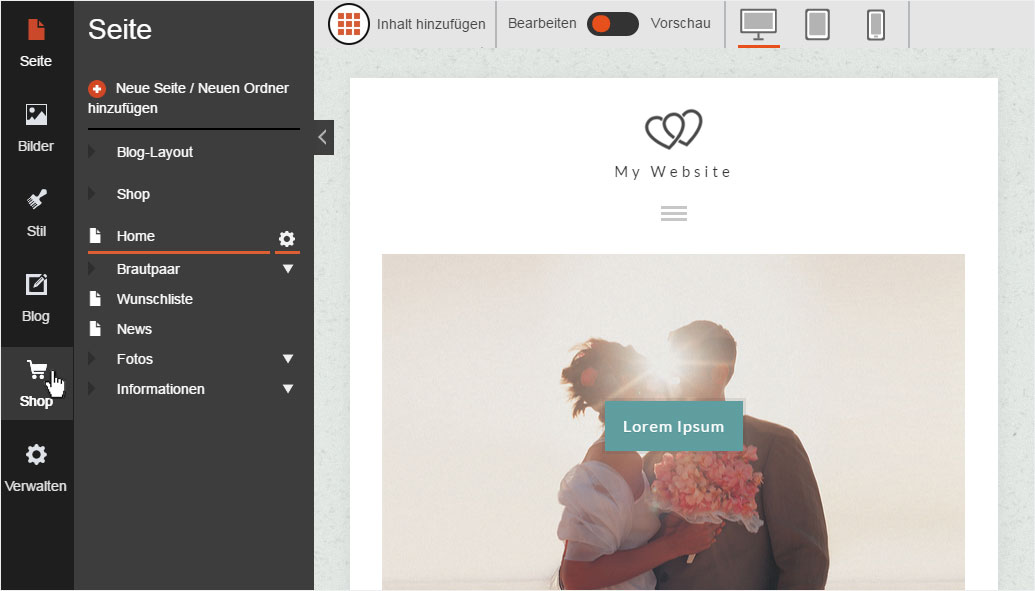
Click on the menu item «Store» at the left.
2. Settings
Then click on «Settings» in the navigation at the left.
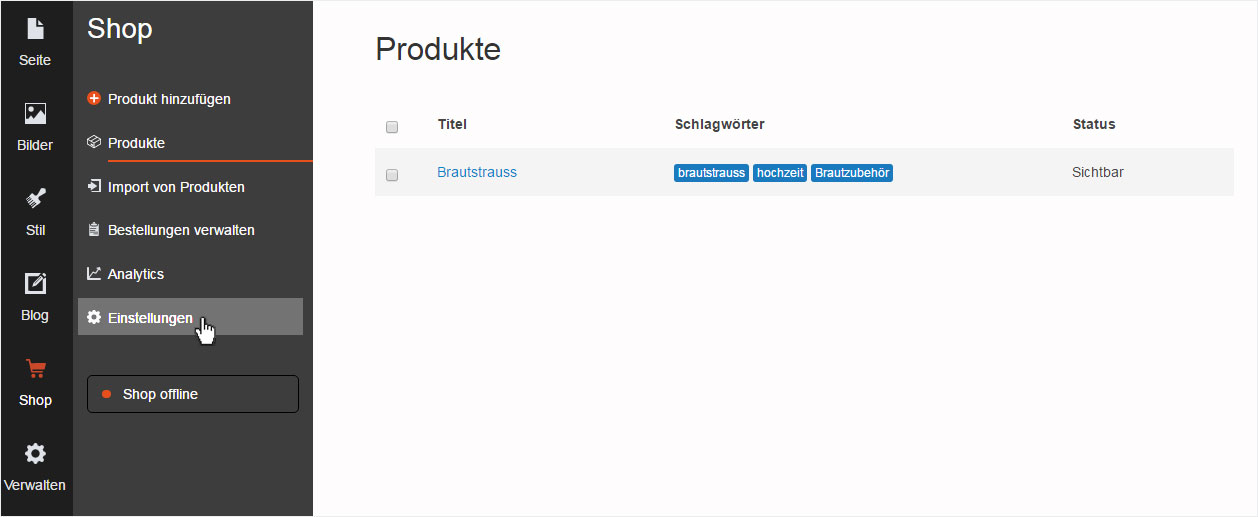
You will be taken directly to the settings overview for the store.
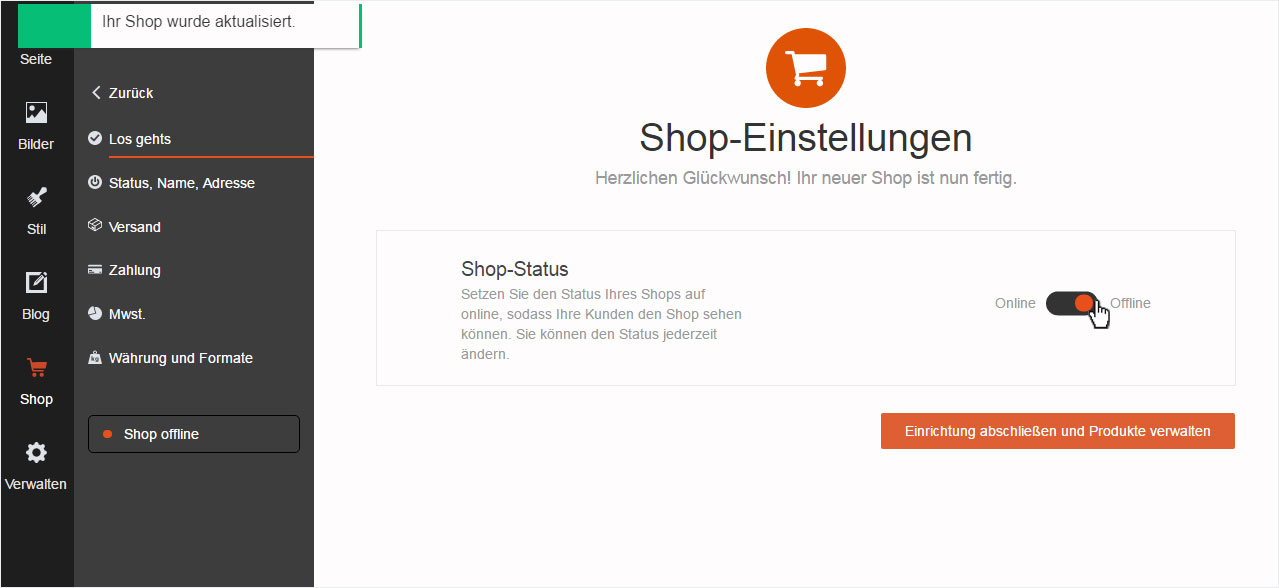
3. Getting started
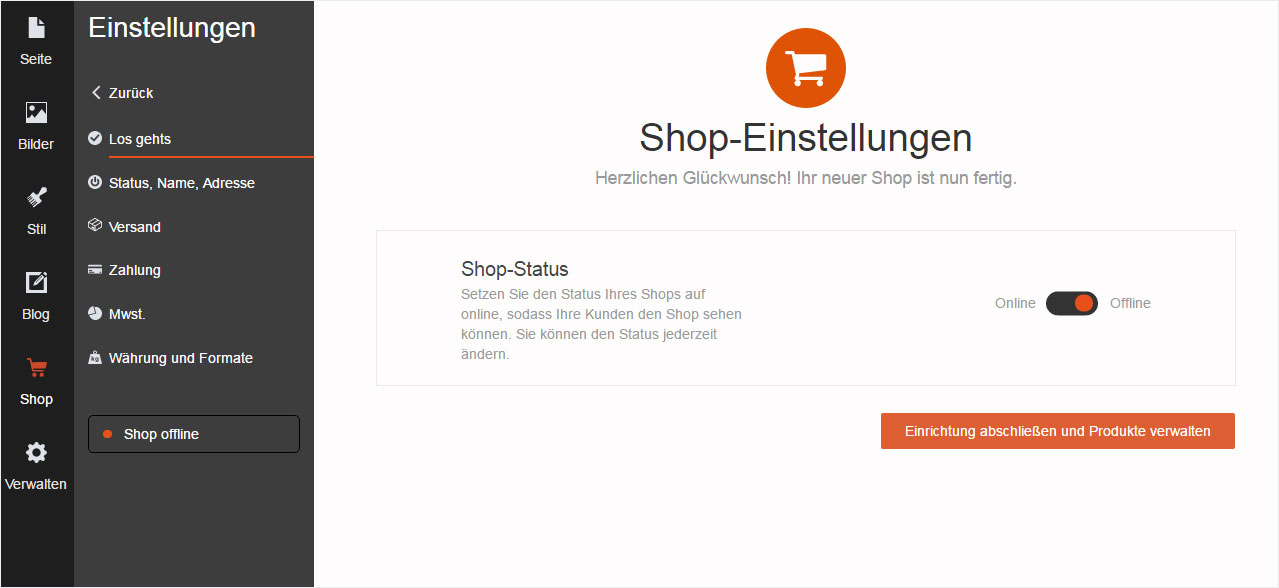
Under «Settings», click the «Get started» menu item.
You can then switch the status of your shop between «Online» and «Offline» by clicking the appropriate option. The change is applied immediately.
4. Status, name, address
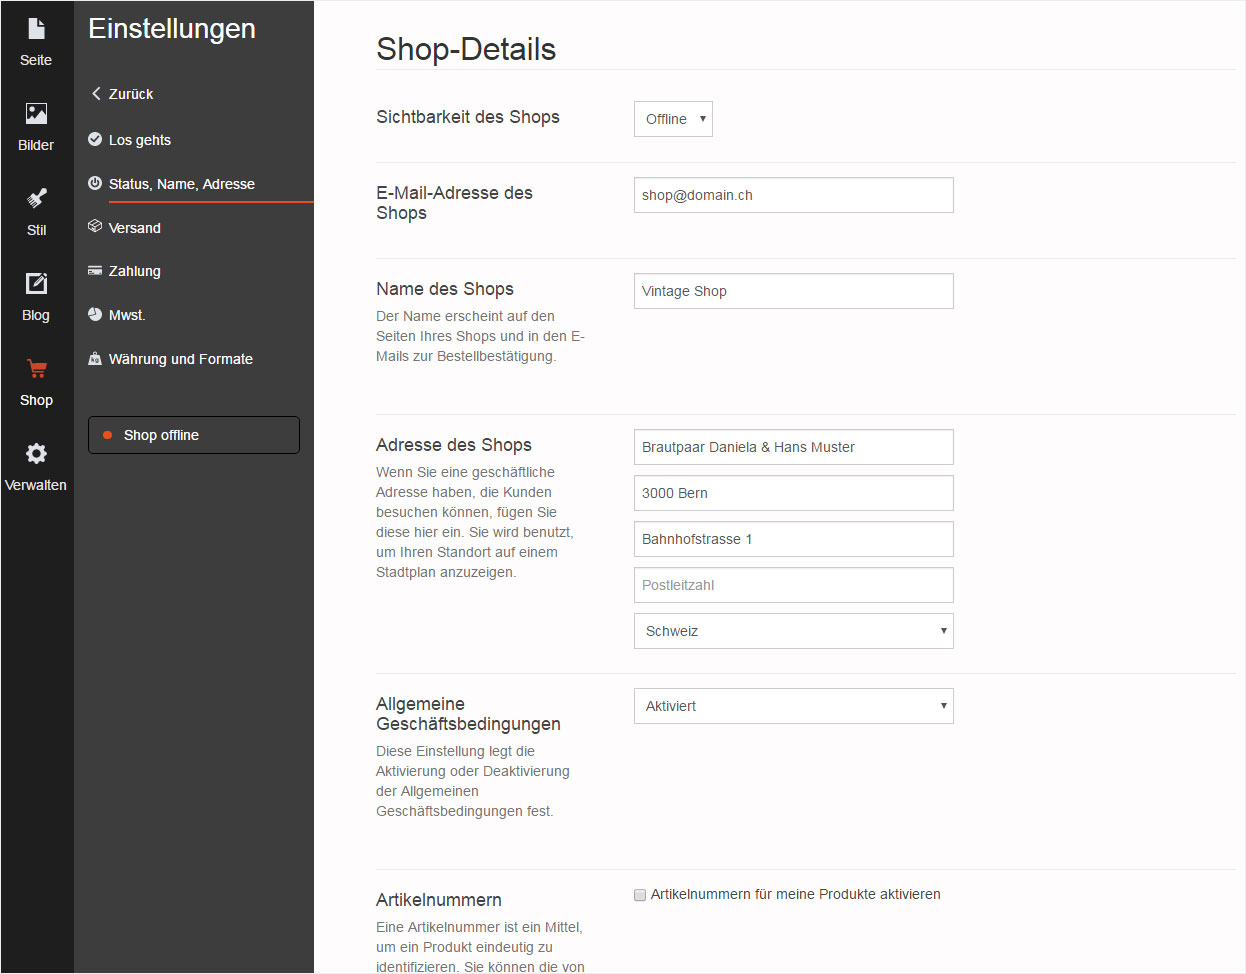
Under «Settings», click the «Status, Name, Address» menu item.
Here you can make the following changes:
- Store visibility (Online/Offline)
- Store Email
- Store Name
- Store Address
- Terms and conditions (enable/disable)
- SKUs (enable/disable)
- Low stock warnings (enable/disable)
5. Shipping
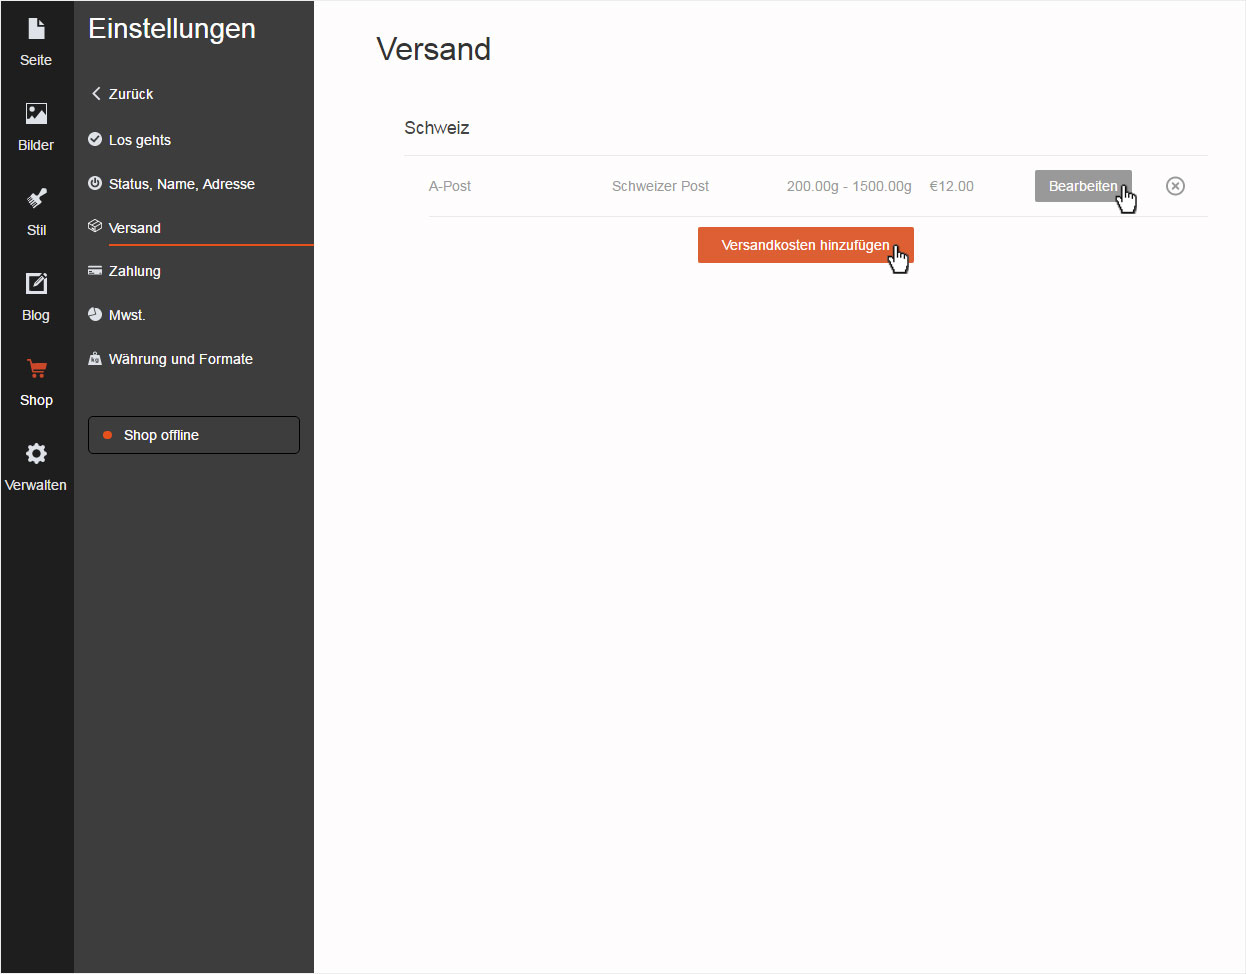
Under «Settings», click the «Shipping» menu item.
Here you can make changes to the current shipping rates/options and add new ones at any time.
6. Payment
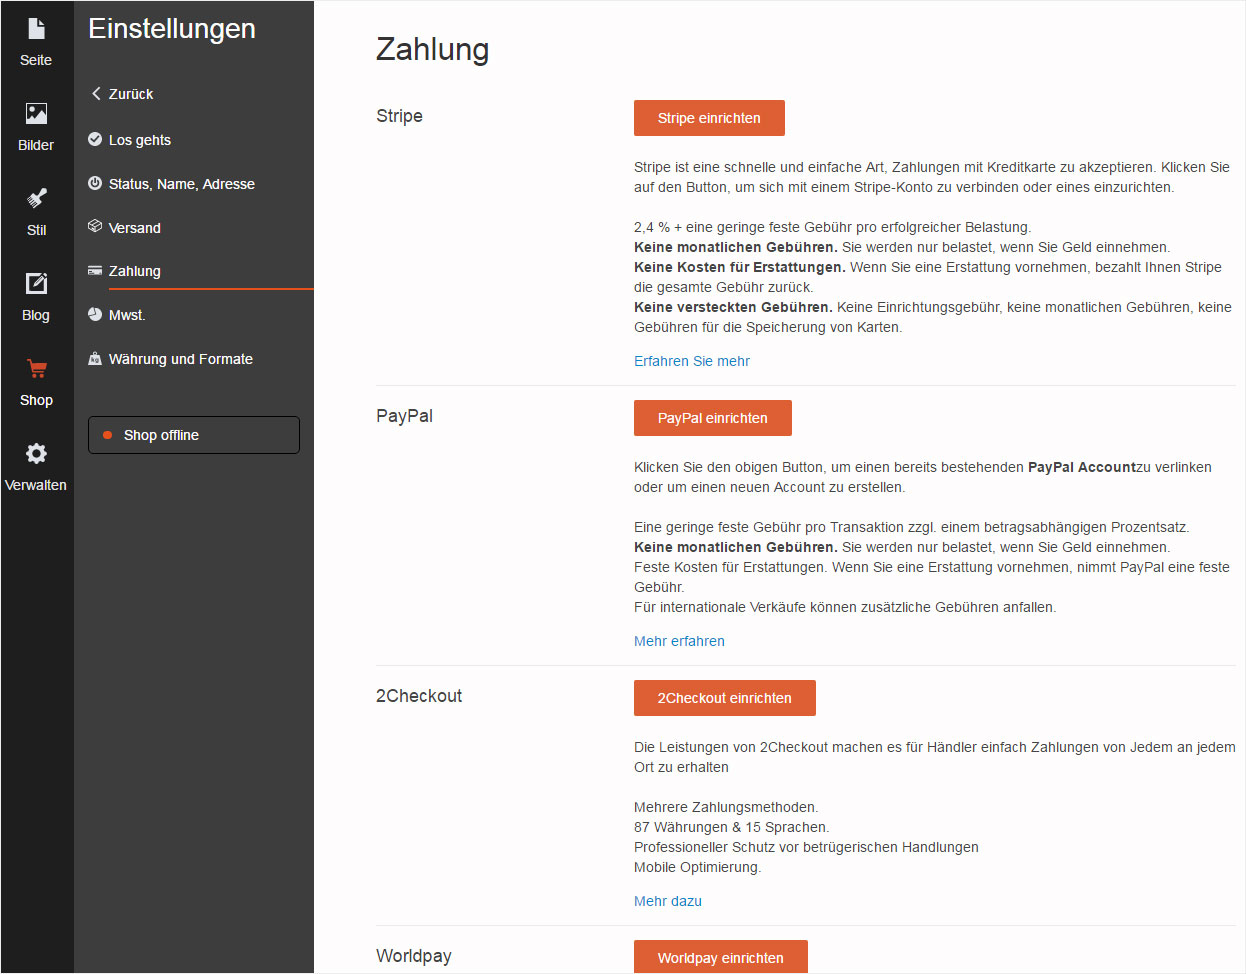
Under «Settings», click the «Payment» menu item.
Here you can click to add the desired payment methods.
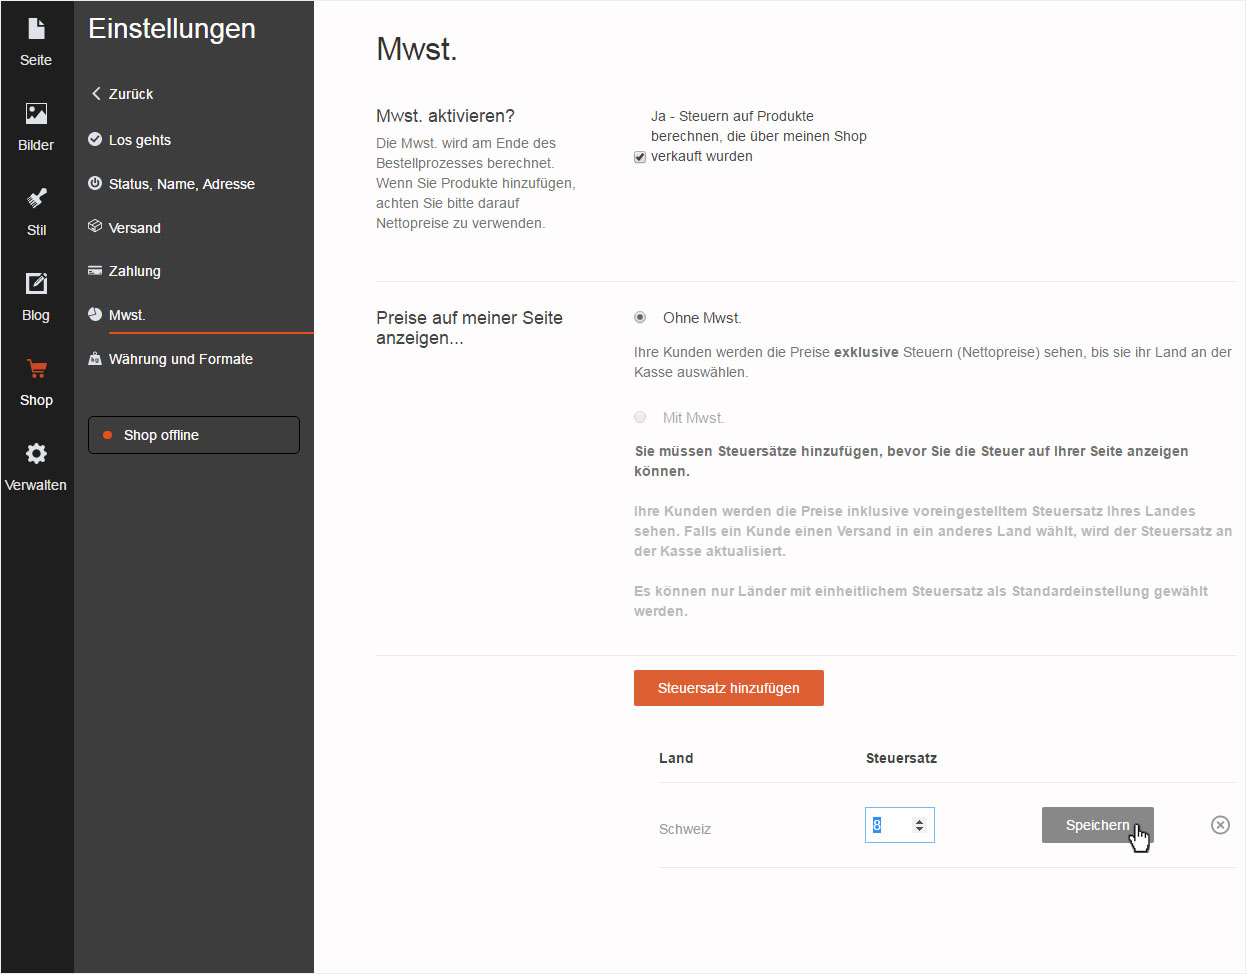
7. Tax
Under «Settings», click the «Tax» menu item.
Enable or disable tax, add tax rates and choose whether the product price should be displayed including or excluding tax. You can modify all of these items here.
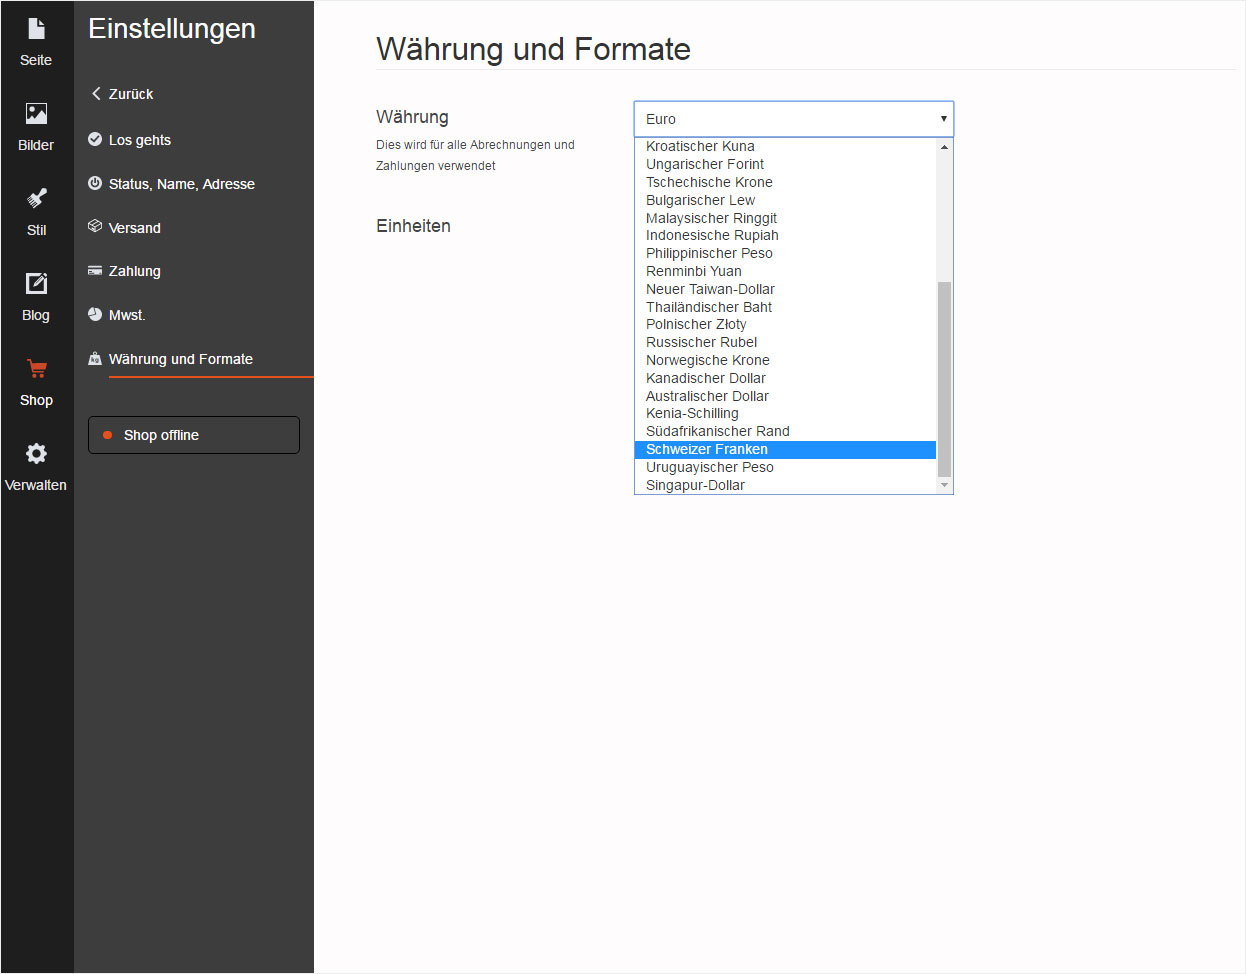
8. Currency and formats
Under «Settings», click the «Currency and formats» menu item.
This is where you change the standard currency and weight unit for your store.
