Install Designer
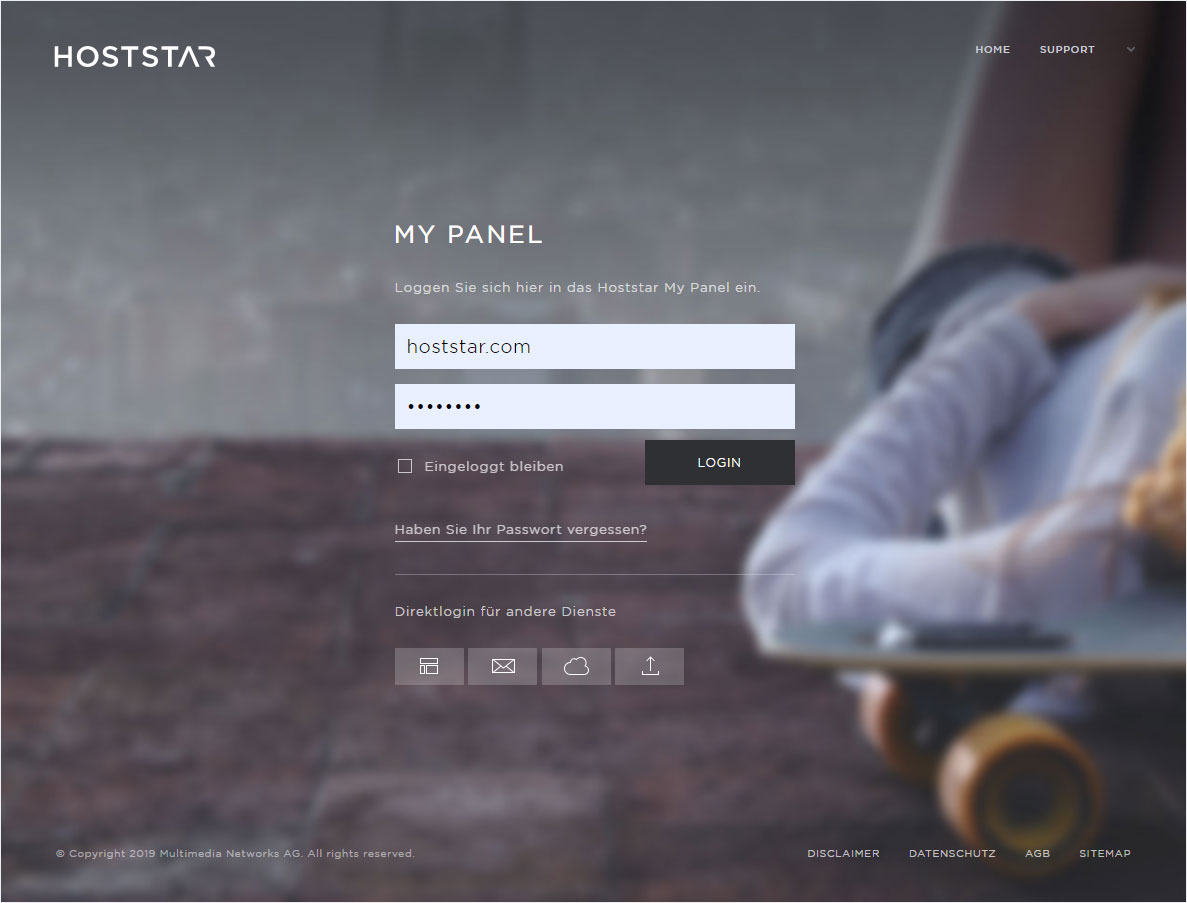
If you want to use Designer, follow these steps:
2. Navigate
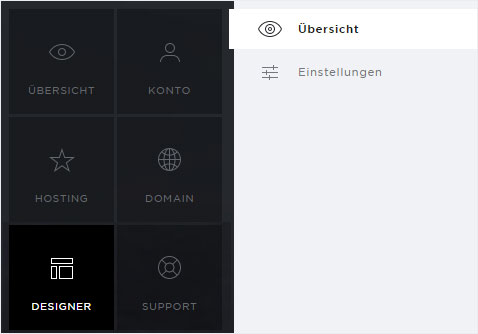
Click the «Designer» menu item and then «Overview».
3. Product video
You can begin by watching our product video about Designer.

4. Start installation
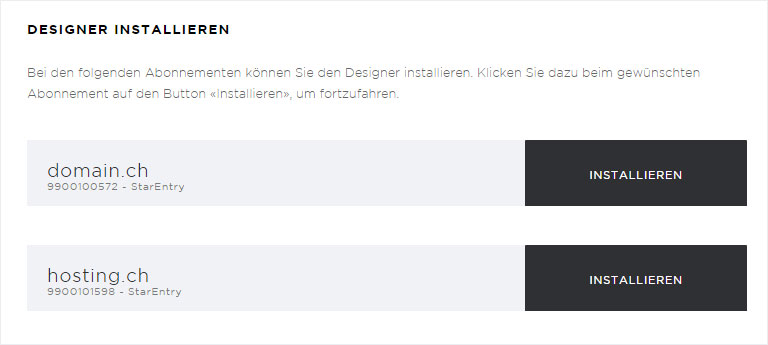
The web hosting subscriptions that allow you to install Designer listed in the «Install Designer» section. Click «Install» for the desired subscription (domain.ch in the example).
5. Select domain
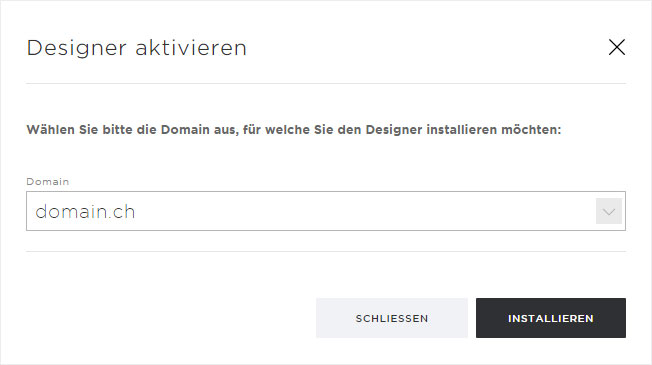
A pop-up window appears. Please choose the domain into which you would like to install Designer.
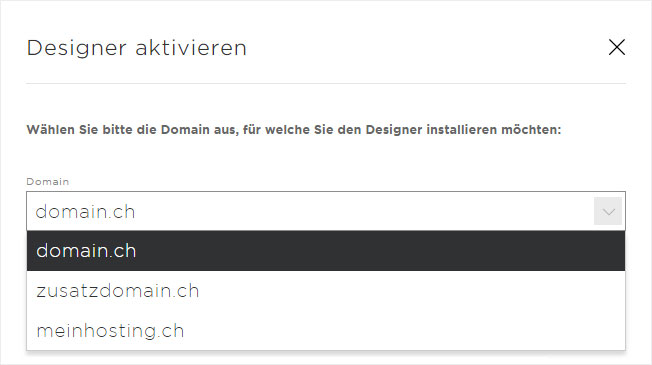
If instead of installing Designer into the «main domain» you would rather install it for an available «additional domain», click the «arrow» icon.
6. Select additional domain
You can all the installed domains of the current hosting subscription. Select the desired domain name and click «Install».
7. Order received
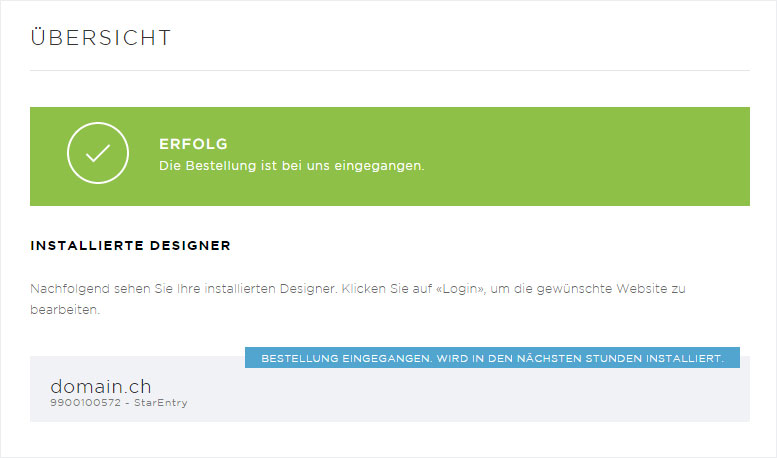
Once the installation order for Designer has been successfully entered into our system, this is indicated with a small label next to the appropriate subscription in the overview under «Installed Designer».
8. Designer «active»
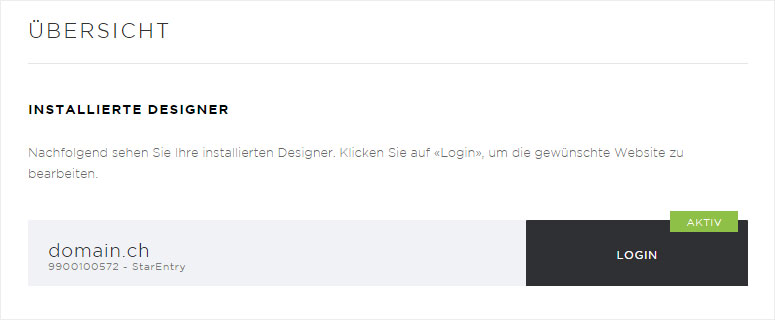
As soon as Designer has been installed for the desired subscription, its status changes to «Active» and a «Login» button appears.
You can now begin designing your website. If you want to make your website accessible over the Internet, you must make sure that you have specified Hoststar’s name servers and activate the domain for access over the internet (activate Designer).
