Create album
You can group images into albums using Designer.
After «logging into Designer», follow these steps:
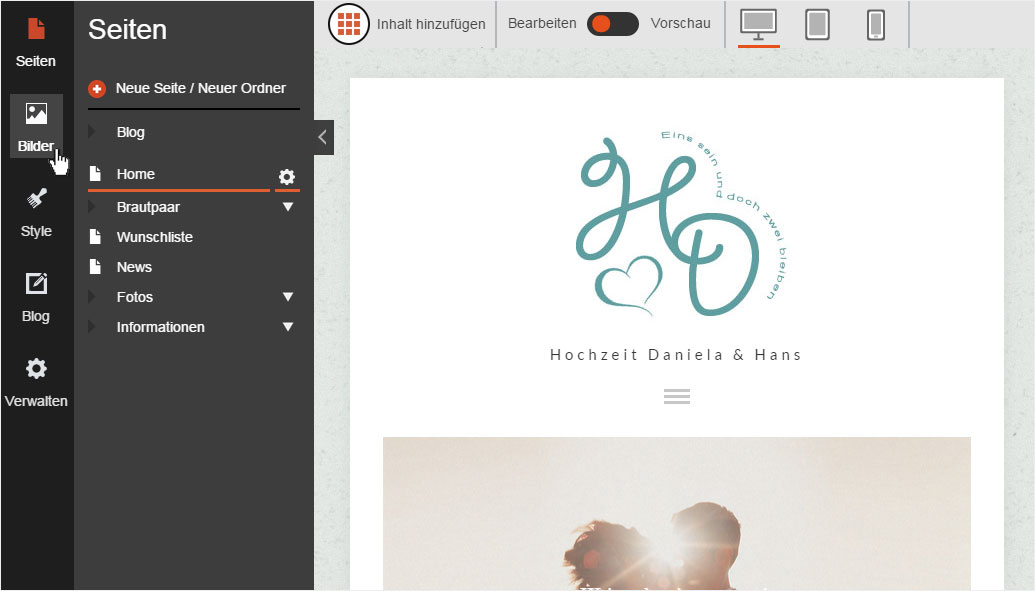
1. Navigate
Click the menu item «Images».
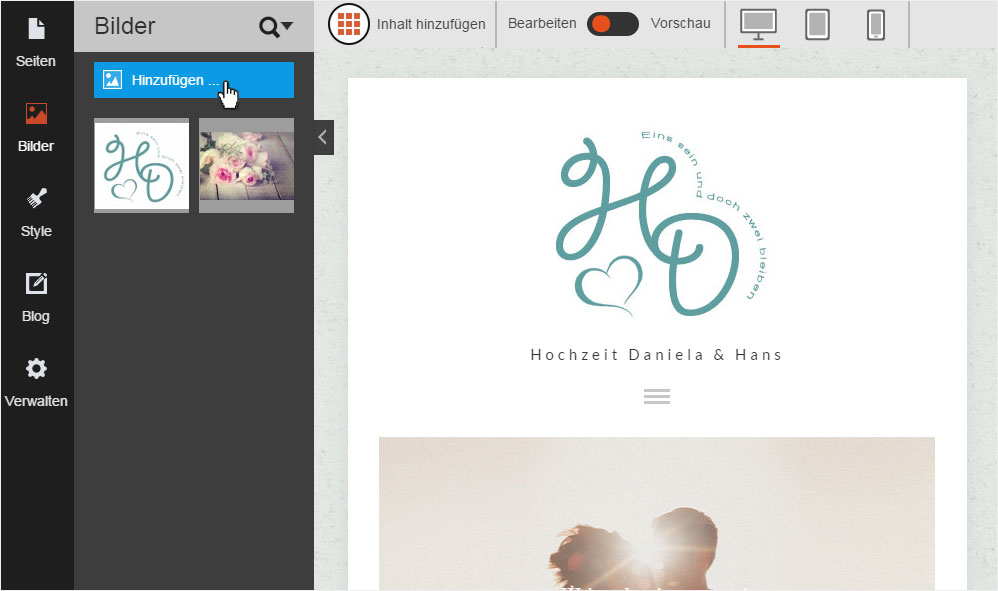
2. Image overview
Click the «Add images...» button to create a new album.
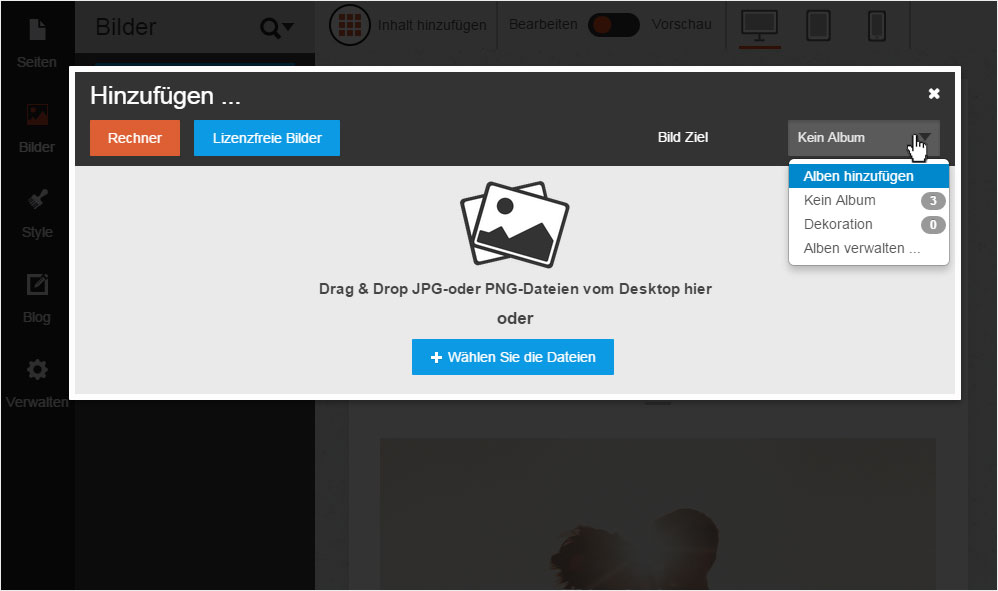
3. Selection
In the Drop-down menu, click «No album». You will see the following options:
- Add albums
- No album (with the number of associated images)
- Decoration (for the previously created album, still without images)
- Manage Albums... → Link to «Image albums» in the «Manage» area
Select «Add albums».
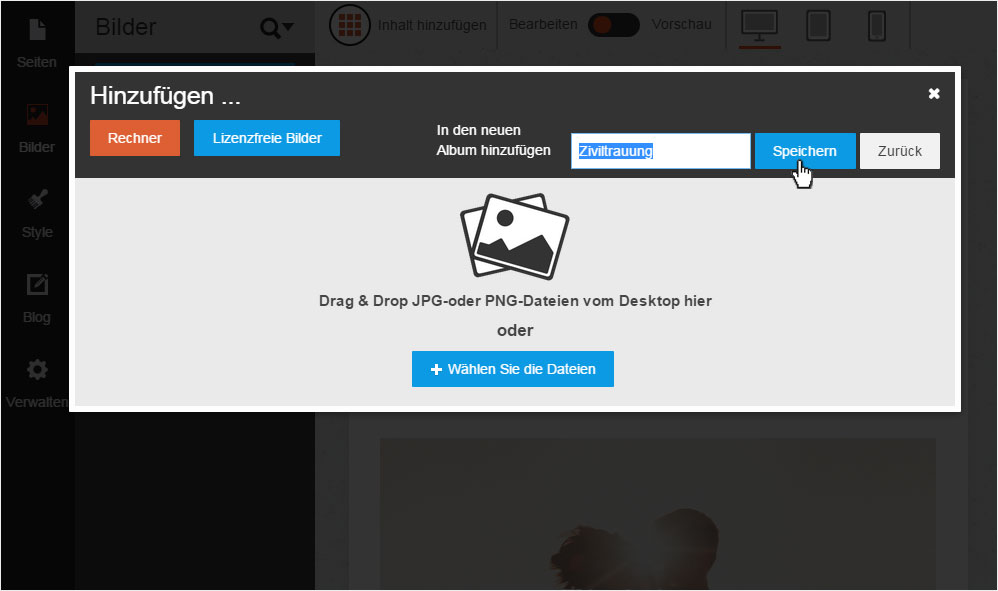
4. Name album
A text field (with the current date) appears. Give the album a name. Click «Save» to create the album.
5. Album created
The album name now appears in the grey drop-down menu. You can now add images or close the window by clicking the «X».
