Add image
You have the following options for uploading image files to Designer:
After «logging into Designer», follow these steps:
1. Navigate
Click the menu item «Images».
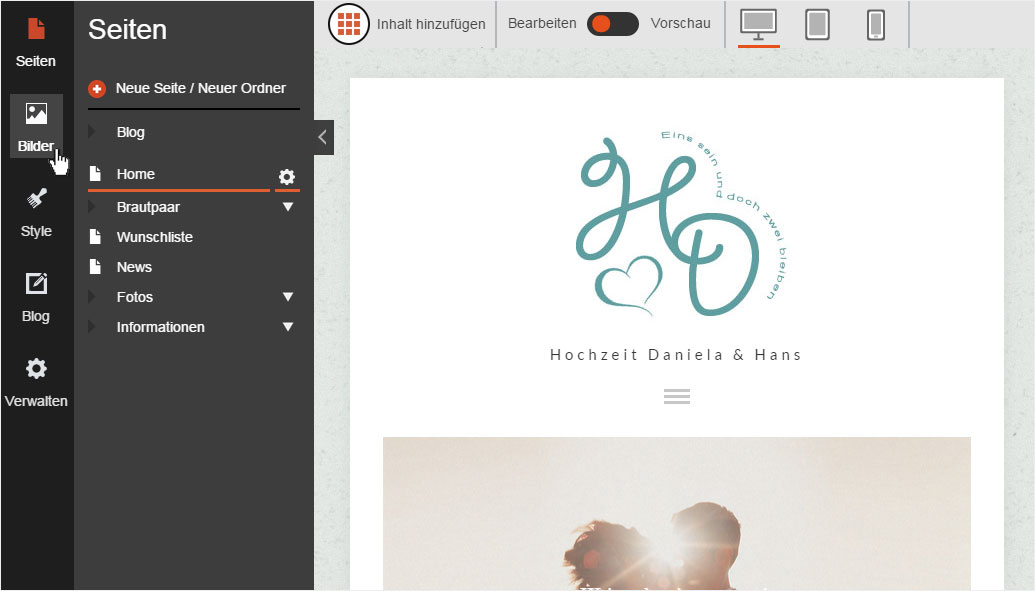
2. Images overview
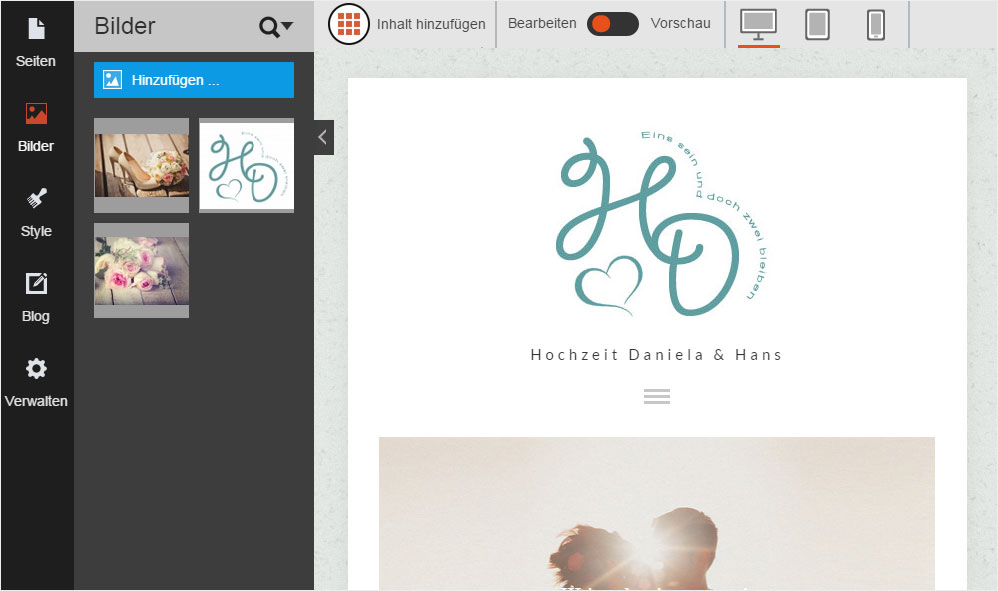
You now see the «Image management» overview. Click «Add images...» to add a new image to the database.
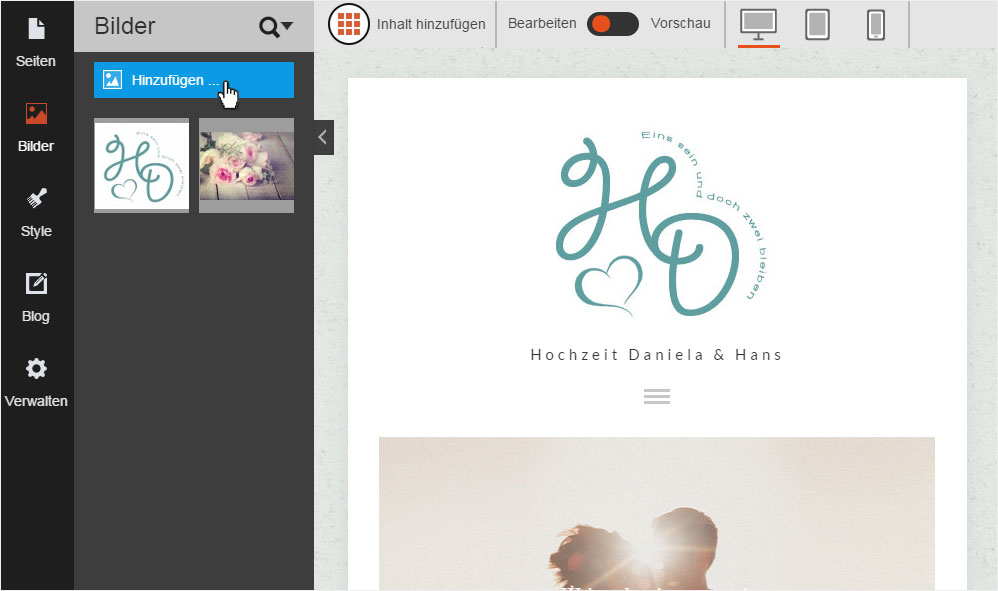
3. Add image
A pop-up window appears. By clicking the relevant button, you can now select whether the image will be uploaded from your device (computer), or whether you want to use a «Stock images».
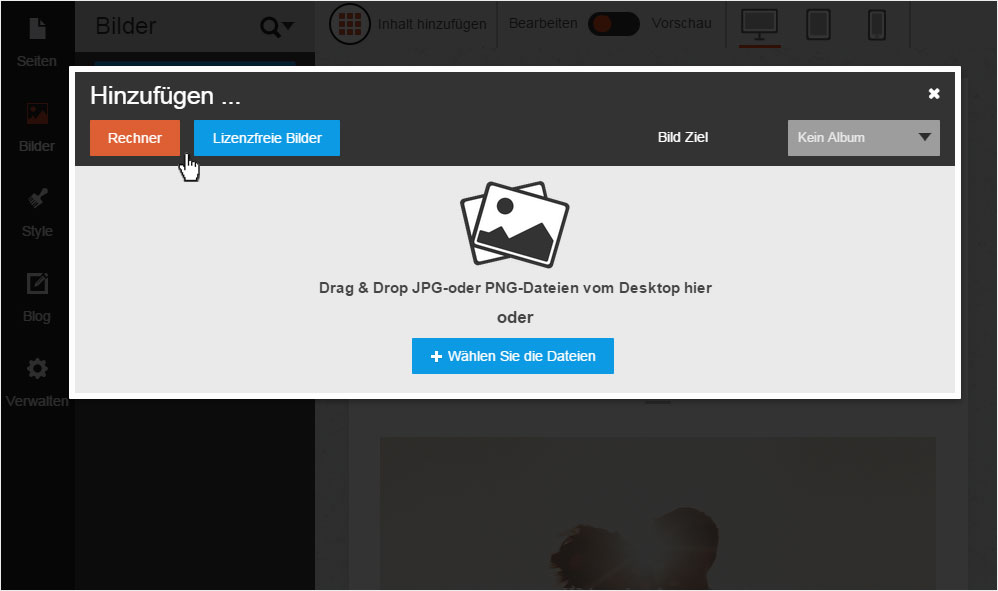
Computer
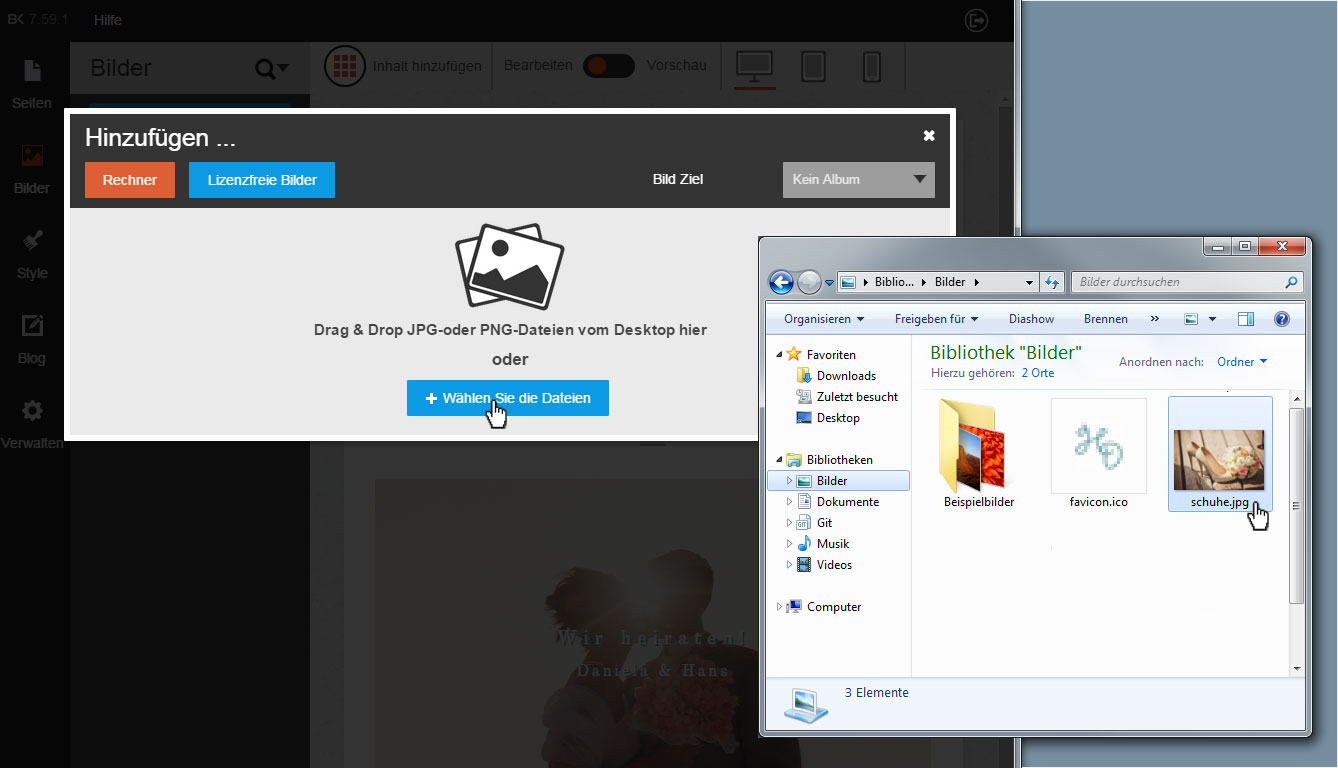
If you selected «Computer», you can drag and drop the file from your directory into the pop-up window.
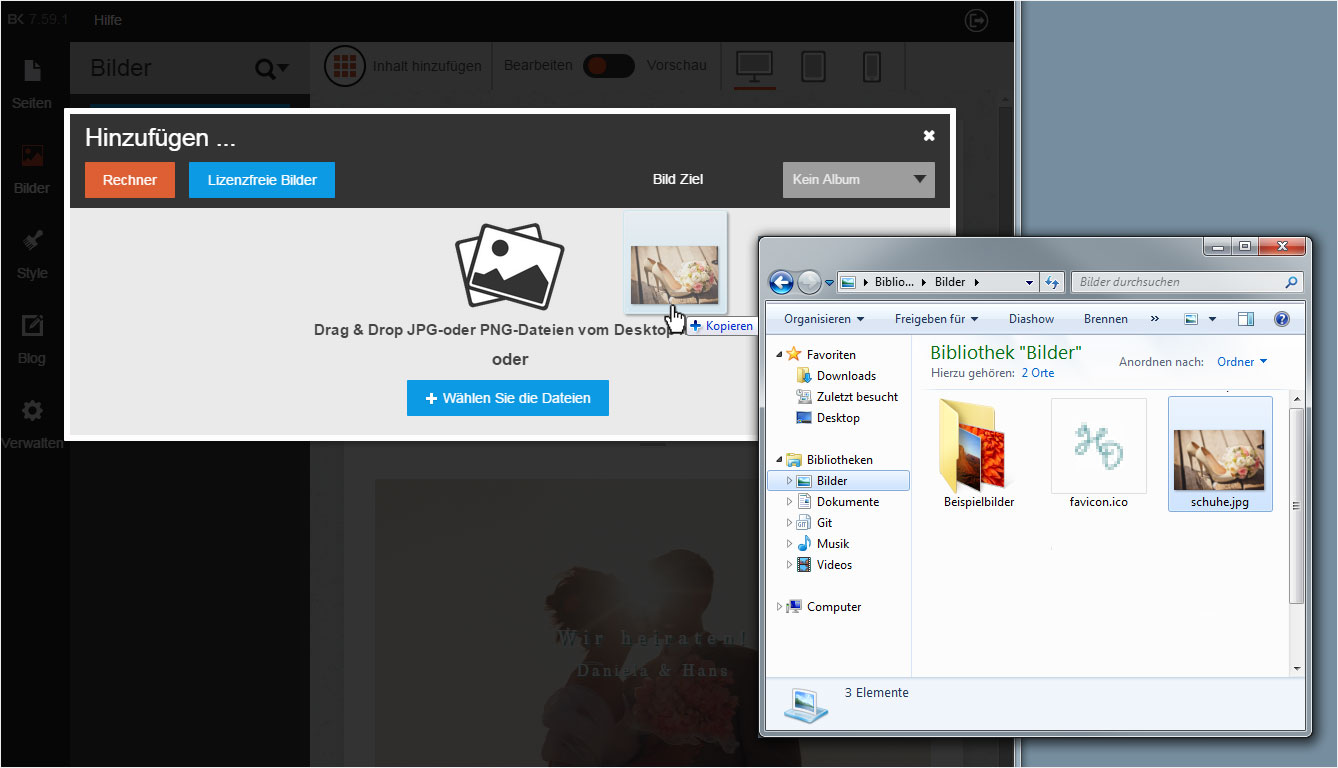
You also have the option to click the «+ Select files» button in the relevant directory to select the desired image file.
The image is immediately saved to the image management area in Designer. You are then automatically taken back to the overview page where you can now see the image you added.
Stock images
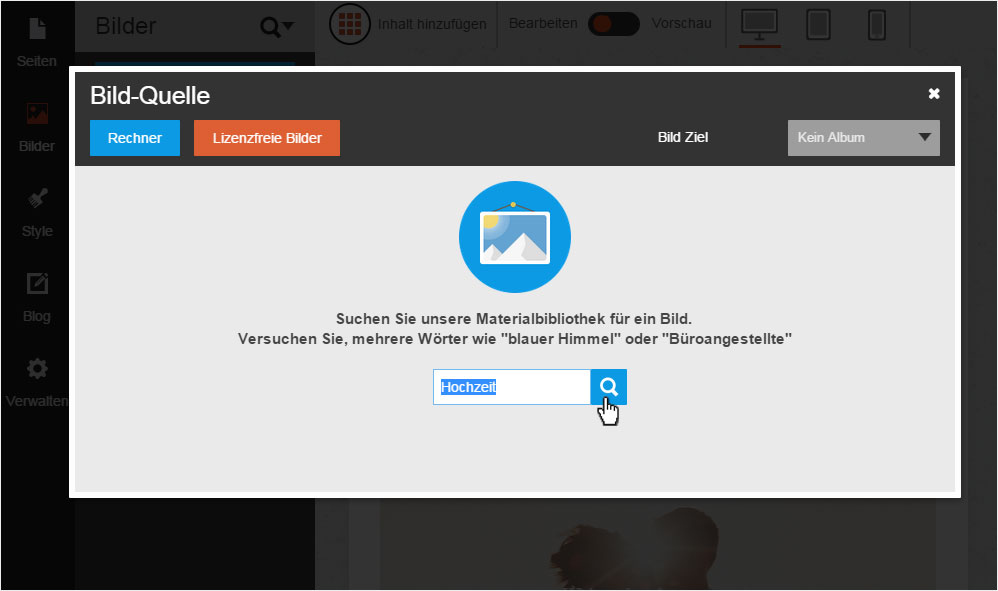
If you choose «Stock images», you can use the «Search here» field to search for a particular type of image. Enter a search term (e.g. wedding) and then click the «magnifying glass icon».
Please note that you have a certain number of photo credits for designer depending on your subscription (StarEntry: 5, StarBiz: 10, StarPlus: 20).
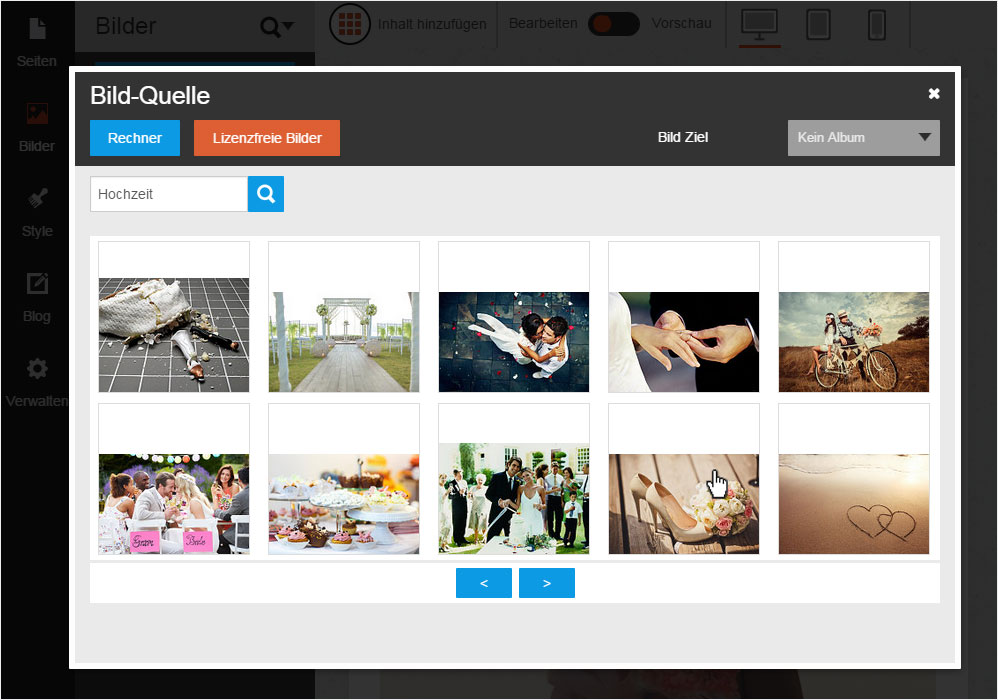
The search is started and shows pictures matching your search criteria. Click on the desired image.
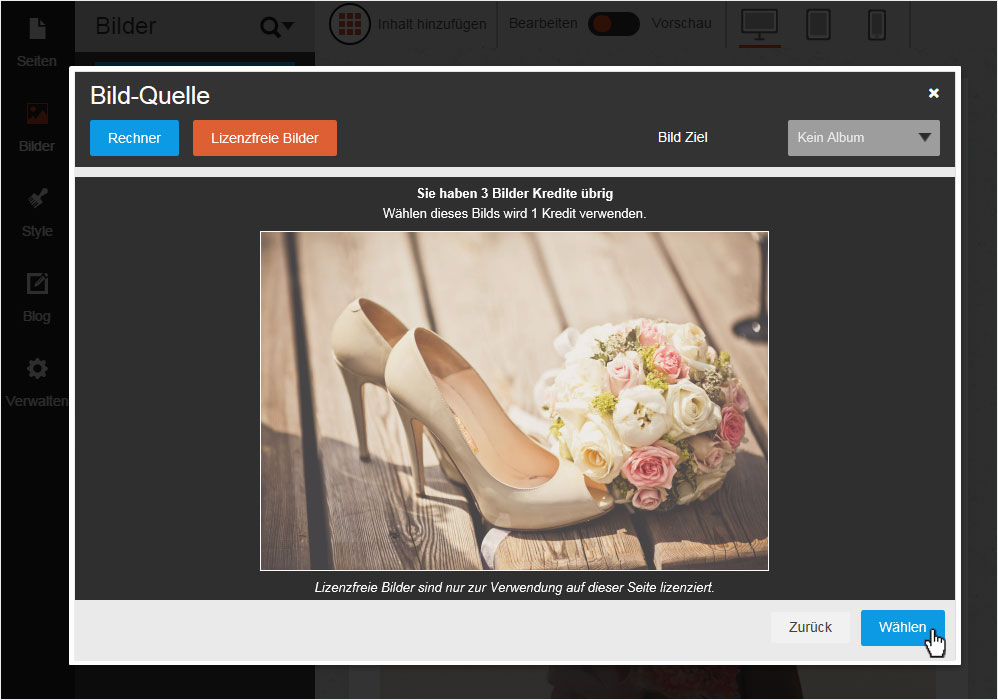
The selected image is displayed along with your credits (1 credit = 1 image). Click the «Select» button to save the image to Designer’s image directory.
Please note that you cannot delete or exchange any saved image. Your selection is definitive. The image credit is deducted from your balance, and the image is permanently saved to your Designer image directory.
The image is immediately saved to the image management area in Designer. You are then automatically taken back to the overview page where you can now see the image you added.
